Notes

Introduction
Notes are text boxes that are added during the post-processing phase to a model results to provide additional information or comments.
Each note can be attached to a specific entity (such as a node or element) and will automatically reflect the updated result values when the solution is recomputed.
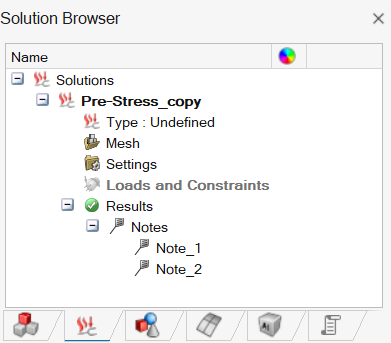
All notes associated with the active solution are listed in the Solution Browser under the corresponding result section. From there, users can add, delete, or edit notes, and toggle their visibility on or off using the Notes icon.
Creating a Note
To create a note, a result must be displayed in the graphics window. Notes can only be attached to entities (nodes or elements) that have associated result values.
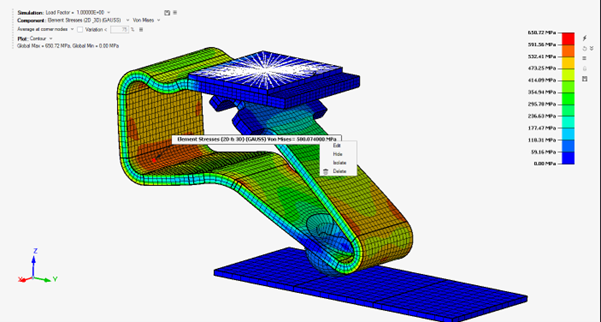
- Select the Notes tool from the Results ribbon and pick a node or an element. Alternatively, right-click on a selected entity and select “Create Note” from the context menu.
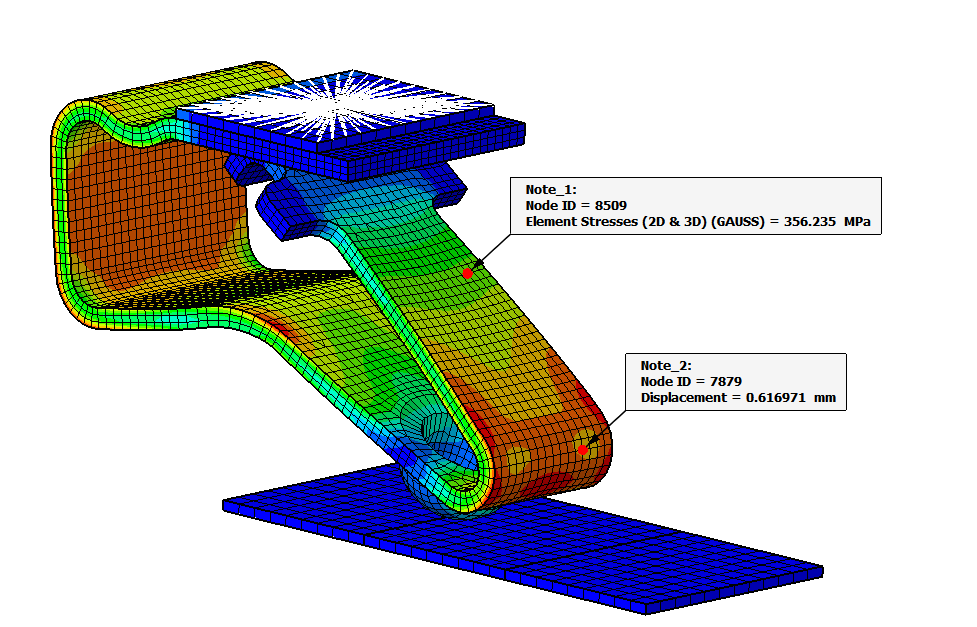
- The Note will be created and attached to the selected entity. The result
value measured on this entity will then be displayed in the note’s text box.
- Notes can only be created for results attached to a solution. Once created,
they are listed in the Solution Browser under the corresponding
result.
Editing a Note
To edit a note, double-click on it either in the Solution Browser or directly in the graphics window.
This opens the Edit Note dialog box, where you can review or modify all the properties of the selected note.
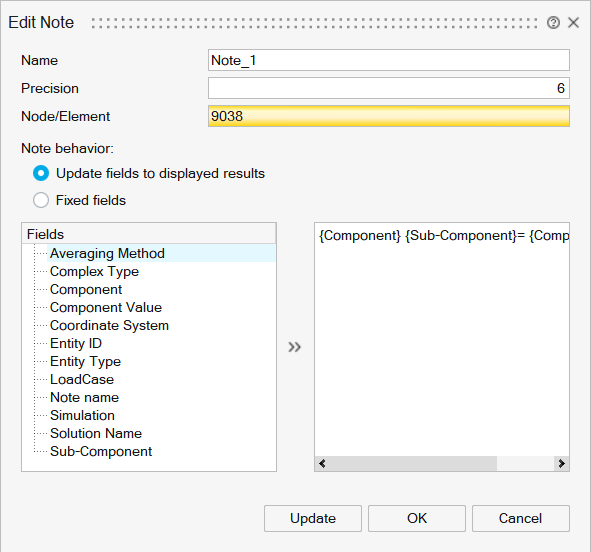
Name
Displays the name of the note as it appears in the Solution Browser.
You can modify this field to rename the note.
Precision
Defines the number of digits displayed for the result value in the note.
By default, six digits are shown.
Node/Element
Displays the entity (node or element) to which the note is currently attached. Only one entity can be associated with a note.
You can change the attached entity by selecting a new node or element in the graphics window.
The note will automatically update to display the corresponding result value for the newly selected entity.
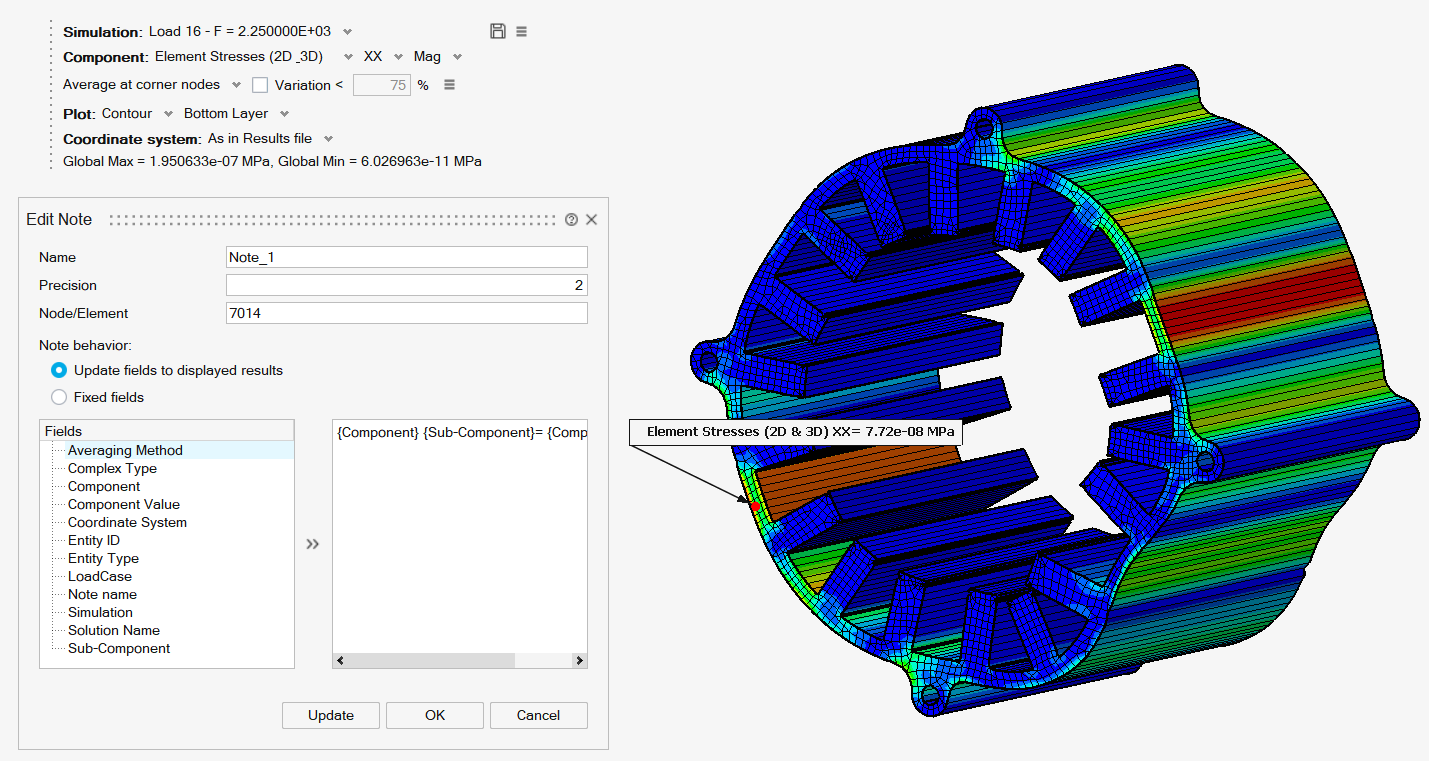
Note Behaviour
Controls how the note content responds to changes in the Results panel.
- Select Update fields to displayed results to update the note content according to the results currently displayed in the Results panel. Use this option when you have changed the displayed results and want the note to reflect the new results.
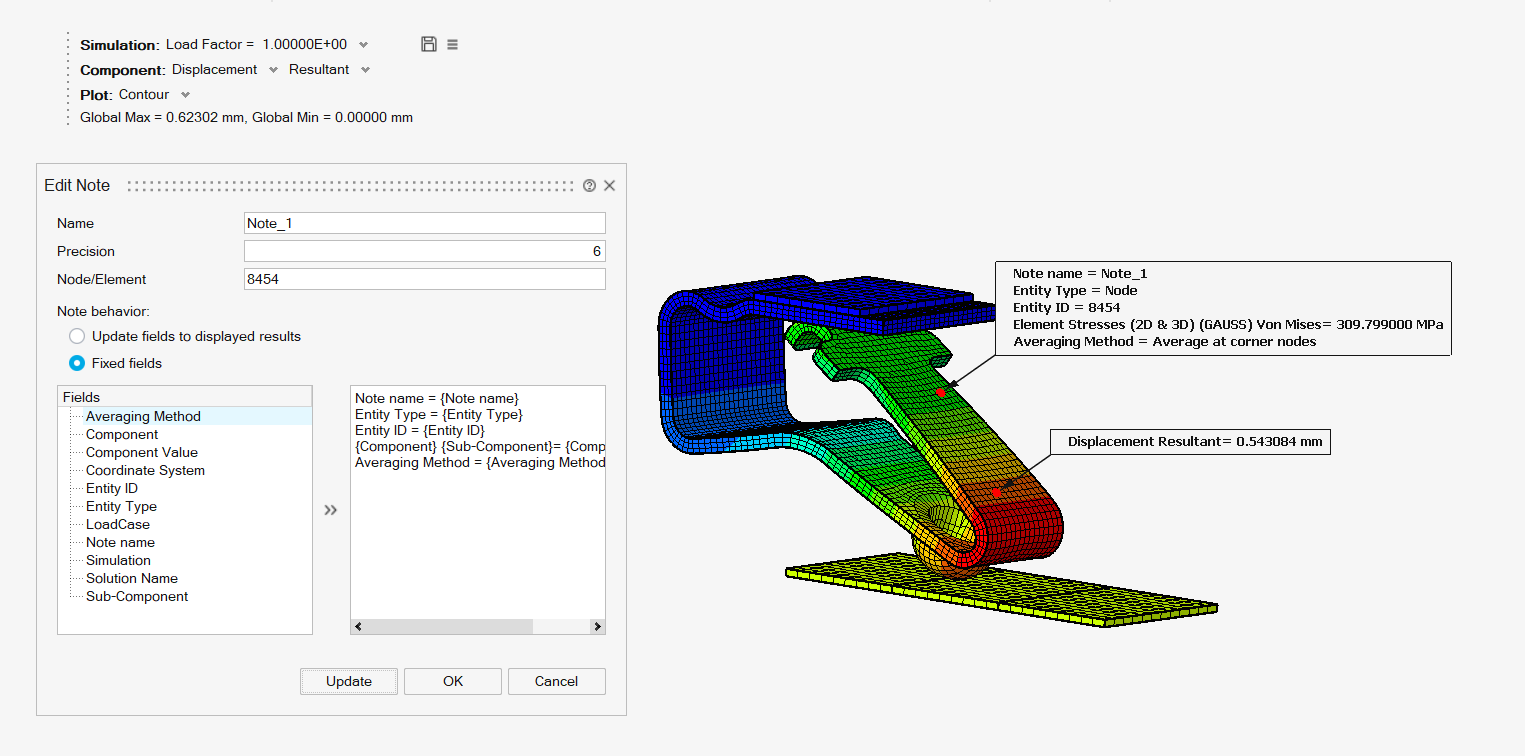
- Select Fixed fields to lock the note content, so that it does not change when switching to a different result in the Results panel Use this option to keep the original content visible even when other results are displayed.
Fields
From the list of available fields on the left, select the information you want to include and click >> to add it to the note.
These fields provide additional context about the displayed results. Users can enter their own text manually on the right side of the dialog. Any user-entered text will appear in the note exactly as typed.
Once all modifications have been made, click OK in the dialog box to confirm the changes. The note will then be updated in the graphics window and in the Solution Browser to reflect the applied modifications.
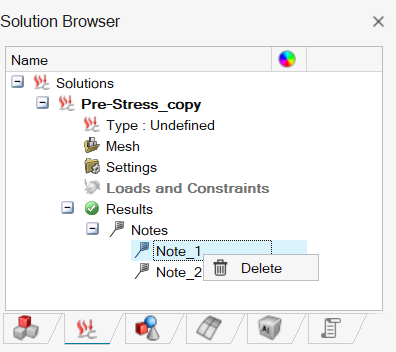
Deleting a Note
A note can be deleted either from the Solution Browser or directly from the graphics window.
- From the Solution Browser: Right-click the note you want to remove and
select Delete from the context menu. You can also simply press the Delete
key on your keyboard.
- From the graphical window: Right-click the note in the graphics window and
select Delete.