Define Representation Controls
Create your own user defined representations using controls. Representation controls remain available across HyperMesh sessions.
-
In the Assembly ribbon, click the Controls icon.
Figure 2. 
Tip: Alternatively, you can right-click on Part Assemblies or Parts in the Part Browser and select from the context menu. -
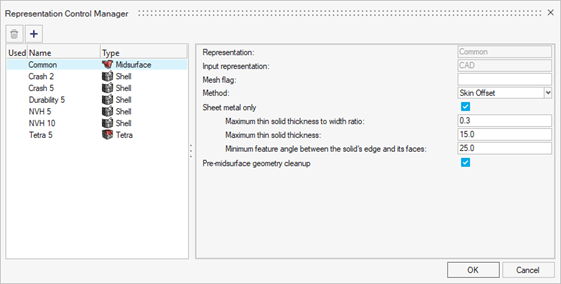
In the Representation Control Manager dialog, click
 to add a new
representation.
to add a new
representation.
-
On the left pane of the dialog, under the Type column, click on the control's
type to change it.
A drop-down list appears with the following types: CFD 2D Mesh, Hexa Bounding Box, Hexa Thin Solid, Midmesh, Rigid Body Mesh and Tetra.
- In the Representation field, enter a name for the representations to be created when applying the control.
-
Review the input representation field.
The representation specified in this field must be available to successfully use the control for creating new representations.
- Optional: To auto-create representations, fill in the Mesh flag field accordingly (see Create Representations).
-
Select and fill in the other fields to complete the control definition.
Tip: For more information regarding the options exposed under each representation control, see the documentation for the respective ribbon tool.
- Optional:
To remove a part control, select the control and click
 .
.
- Click OK to accept or Cancel to reject your changes.