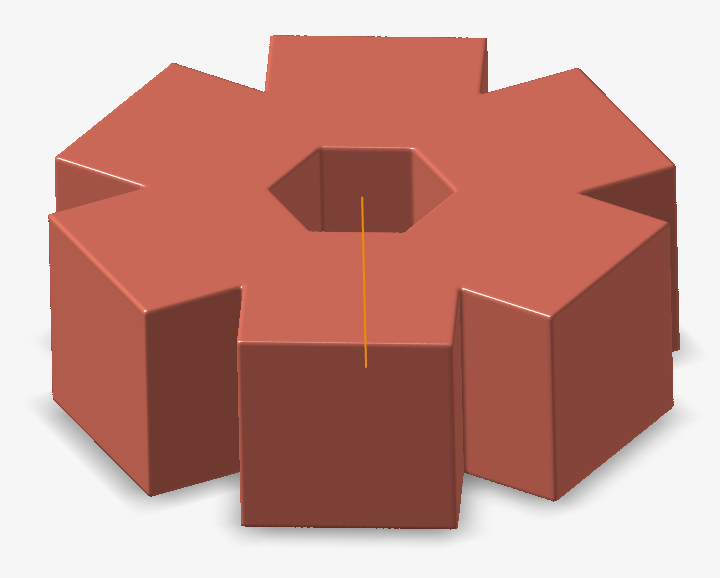
Pattern Implicit Geometry
Create a rectangular, circular, conformal, or point-cloud pattern of implicit bodies.
The Pattern operation takes a user-selected body and distributes multiple identical instances according to patterning rules. Three high-level pattern types may be constructed: rectangular, circular, or point cloud.
-
On the Implicit Modeling ribbon, select the Pattern
tool.

- The Body button is active. Select an implicit body to pattern.
-
Choose whether you want to modify the Scale of the
patterned objects.

-
Choose the type of transition between each copy in the pattern.
-
- Sharp: The lattice abruptly joins the surrounding outer body.
- Fillet: The lattice blends into the outer body using a fillet. If you select this option, define the fillet Radius.
- Chamfer: The lattice blends into the outer body using a chamfer. If you select this option, define the chamfer
- Distance. For Fillet, the distance is the radius of the fillet and, for Chamfer, the distance is the setback of the chamfer. You can directly enter the distance, controlled with a variable, or controlled in each position in space using a field (field-driven design).

-
-
Pick the pattern type.
- Rectangular: This tab allows you to pattern along
up to three linear or conformal directions.

- Circular: This tab allows you to pattern around a
cylindrical axis.

- Point Cloud: This tab allows you to pattern a
copy of the selected body to each point in the point cloud.

- Rectangular: This tab allows you to pattern along
up to three linear or conformal directions.
-
Rectangular
-
Circular
- Click the Select button next to the Vector label and pick an axis or linear edge to use as the axis to pattern around.
- Select the type of circular pattern.
- Number of Copies: Select this option to specify the angle between each copy and the number of copies.
- Equal Spacing: Select this option to space the copies equally within a specified angle.
- Use the Angle value to define the angle between each copy or the total angle within which the copies will be equally spaced. This value can be constant or a variable.
- Use the Count value to define the number of items to pattern around the selected axis. This value can be constant or a variable.
-
Point Cloud
- Use the Point Cloud dropdown list to create or select an existing point cloud.
- The first point in the point cloud will act as the anchor position for the subsequent items in the pattern.
- Every other point after the first will be used to create an instance of the patterned object at that position. The orientation of the patterned object will remain the same as the original.
- Right-click and mouse through the check mark to exit, or double-right-click.
