Applying Material Properties to the Model
Apply material properties to the floor, ceiling, doors, walls and windows.
-
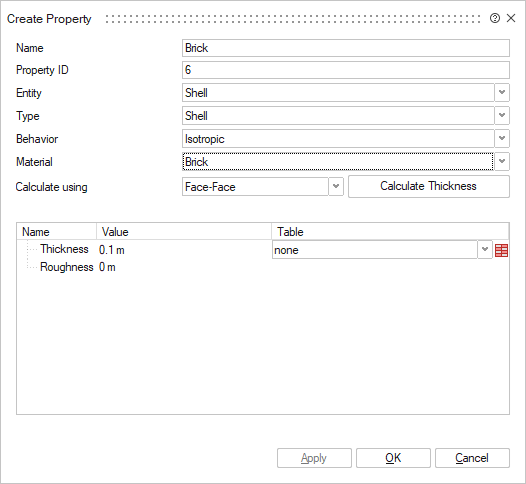
Assign the material brick to the walls with a thickness of 10 cm.
-
On the Analysis tab, in the
Property group, click the
 Property icon.
-
In the table, in the Thickness field, change the
value to 0.10 m.
-
On the Analysis tab, in the
Property group, click the
- Repeat Step 1 and assign the material wood to the doors with a thickness of 0.005 m.
- Repeat Step 1 and assign the material glass to the windows with a thickness of 0.005 m.
- Repeat Step 1 and assign the material cement to the floor with a thickness of 0.01 m.
- Repeat Step 1 and assign the material plaster board to the ceiling with a thickness of 0.001 m.
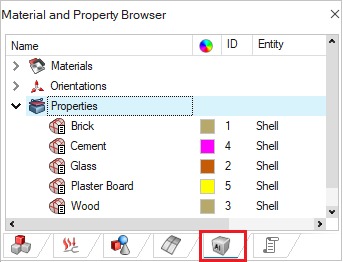
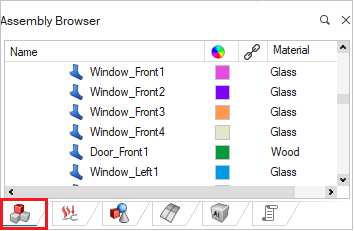
Tip: Confirm that the materials are correctly assigned:
- View the assigned material properties in the Assembly Browser.
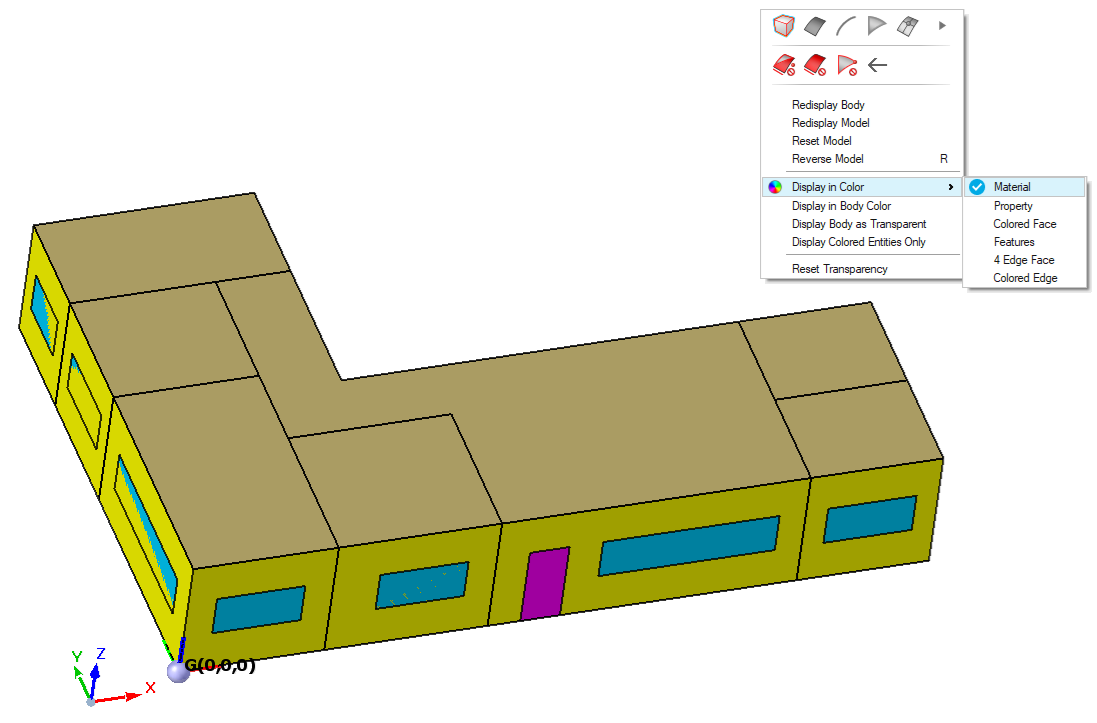
- Color the building by material or property by right-clicking in the graphics
window and clicking or .