Create Rib
![]()
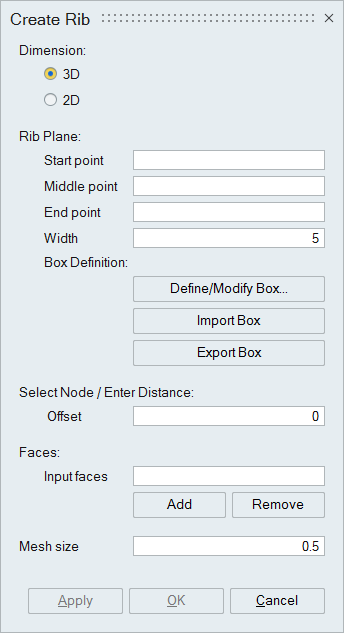
Dialog Box
| 3D Dimension | 2D Dimension |
|---|---|
 |
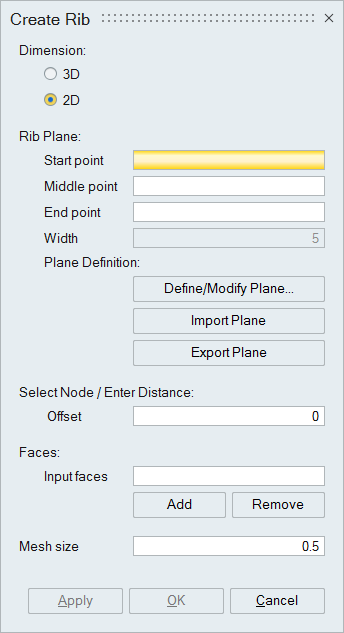 |
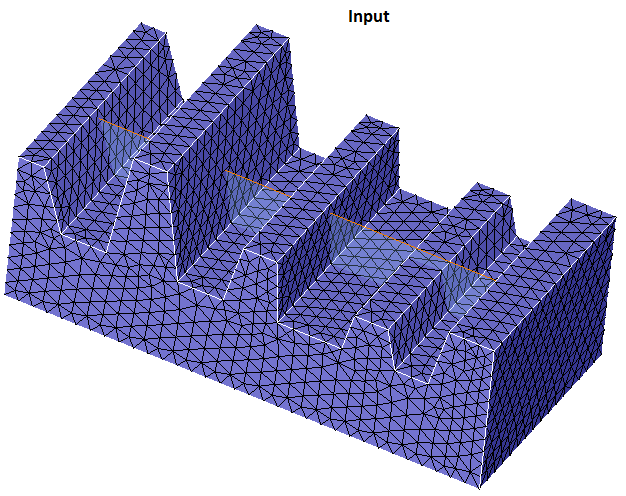
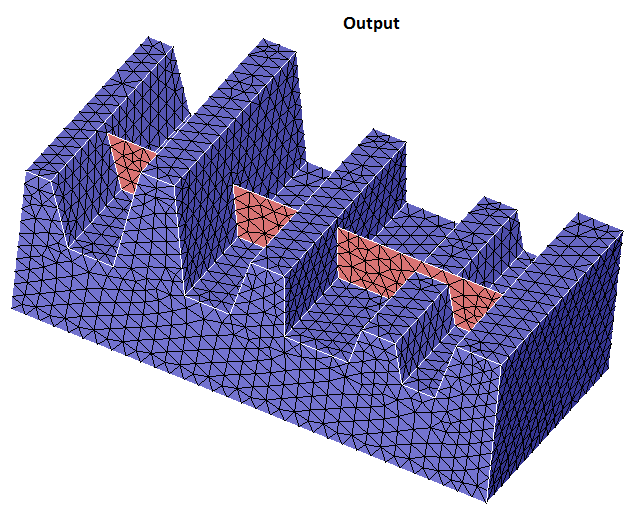
This is used to create ribs in the meshed body(both 2D and 3D). A transparent box/plane is created first and adjusted to suit the shape of the rib. For this, the 2D rib plane or the center plane for the 3D rib is defined first by selecting three nodes. Clicking Display/Modify button will display the transparent box/plane. Width of the box can be changed by giving the value and pressing the Display\Modify Box. The transparent box/plane can be adjusted by picking and dragging the sides of the box/plane. The Rib will be in similar shape as that of the transparent box/plane. So it is necessary to define the box/plane correctly. The box/plane should cover all the faces that need rib.
- Rib plane
The plane/box must be defined by selecting the nodes in the order as shown below:
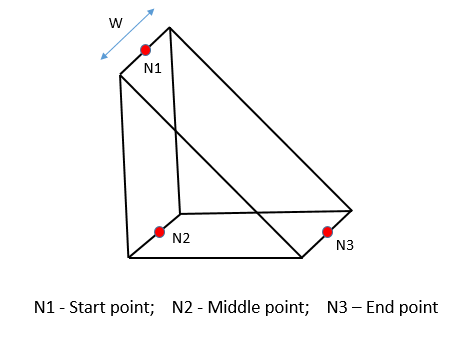
- Width
Specify the width of the rib. This is applicable only for 3D rib.
- Define/Modify Box(Plane)
This button will update the display of the transparent plane/box.
- Import Box(Plane)
The box/plane data can be imported from the xml file.
- Export Box(Plane)
The box/plane data can be exported as an xml file.
- Offset
Specify the distance or select a node to offset the box or plane.
- Add
The input faces can be selected using this option. There is no need to select all the faces by hand. Select one face and click this button.
- Remove
The input faces can be deselected using this option. Select one face and click this button.
- Mesh size
Specify the rib mesh size.
Steps
- Select three nodes to define the box or plane.
- Specify the width factor (in case of 3D rib).
- Click on Define/Modify box(plane) to visualize the box/plane.
- Offset the box/plane either by picking a node or specifying the distance if needed.
- Resize the box/plane by picking and dragging the sides of the box/plane.
- Select the input faces using Add/Remove button.
- Specify the rib mesh size.
- Click on Apply button.
Examples
- Example(3D)
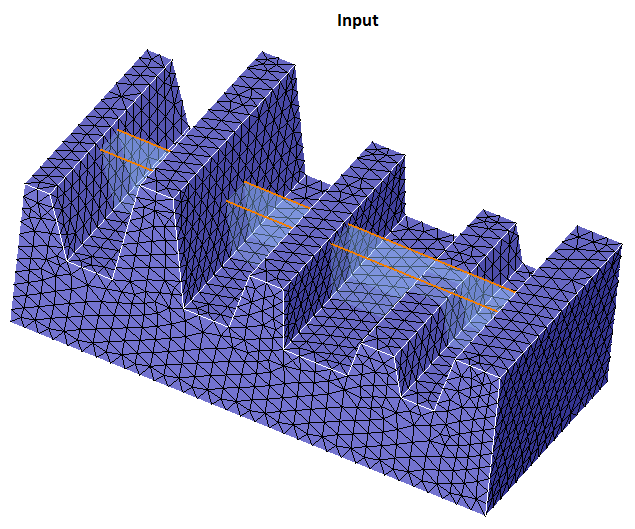
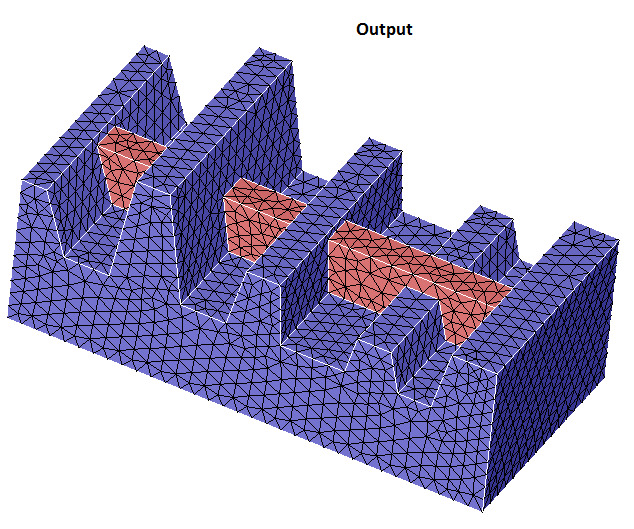
- Example(2D)