Map Meshing
Use the Map tool to create and edit a mesh of solid elements in a solid geometric volume.
Only relatively simple solids can be meshed; complex objects must first be partitioned into simpler sections so that the sections can be meshed individually.
- Blue
- A solid that has not been edited at all, and therefore is not evaluated for mappability.
- Orange
- A solid that has been edited, but remains completely unmappable (further partitioning may enable mapping).
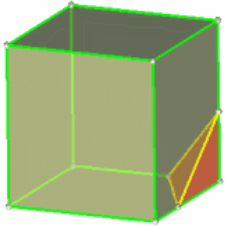
- Yellow
- A solid that is mappable in one direction.
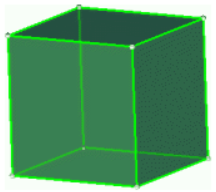
- Green
- A solid that is mappable in three directions (this is very rare).
 |
 |

The above Map workflow helps you find mappable solids and auto-detect sources and targets. However, you can also select mappable solids manually and feed the source and target hints of your choice.
With this new workflow, you can define element size on source (main) surfaces and add density/biasing on source surface edges and along edges.
Finally, once you are done with 2D mesh editing, upon clicking Mesh, it'll create hexa-penta elements.