UI Designer
Create a graphical user interface with predefined objects from the UI Designer toolkit.
The UI Designer toolkit provides an easy drag-drop method to create graphical user interface designs without manual coding. The intuitive workflow lets you assemble a GUI design with predefined objects, preview and modify the design, then save the design as a Python code skeleton that you can further develop.
- In the Automation section, select UI Customization, and then choose UI
Designer.
The UI Designer opens in a new window.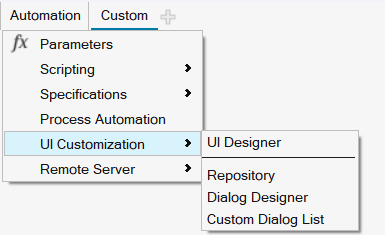
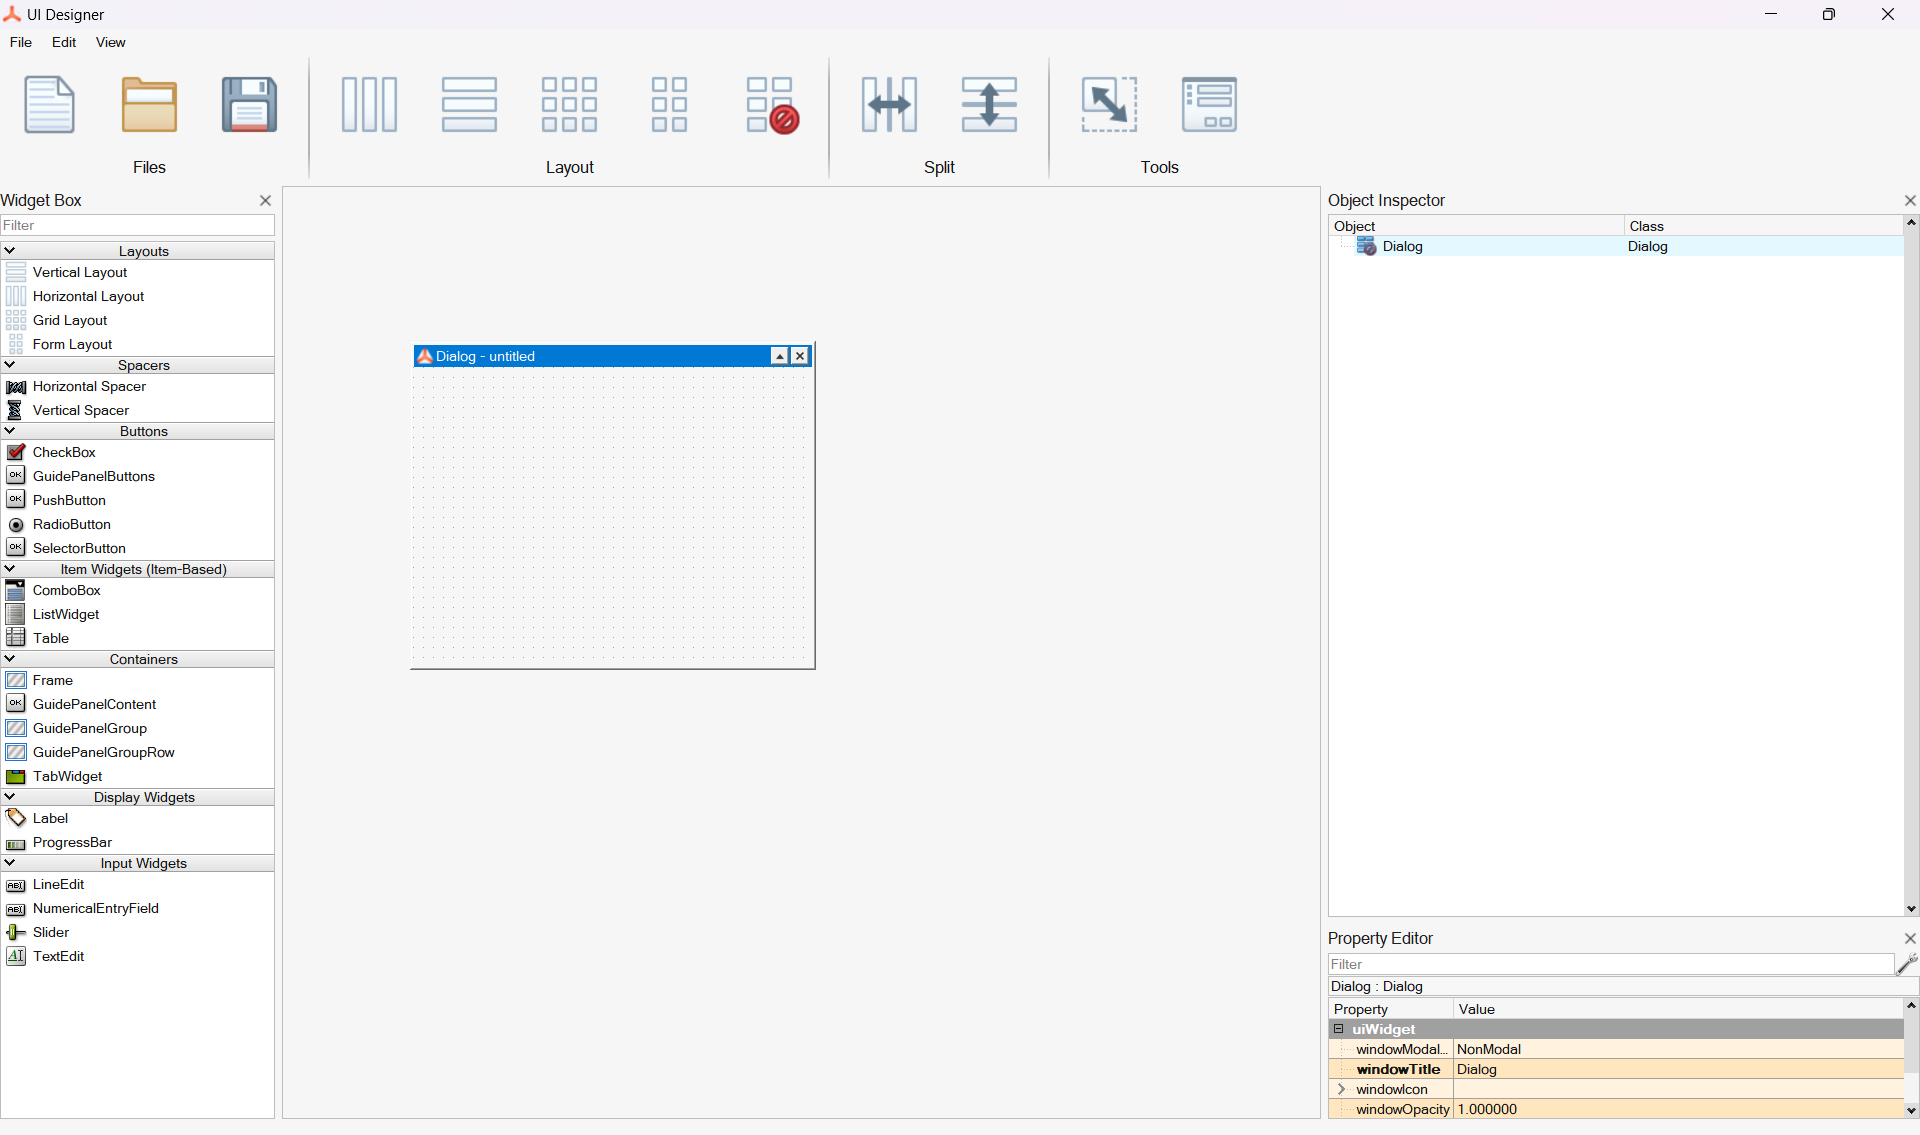
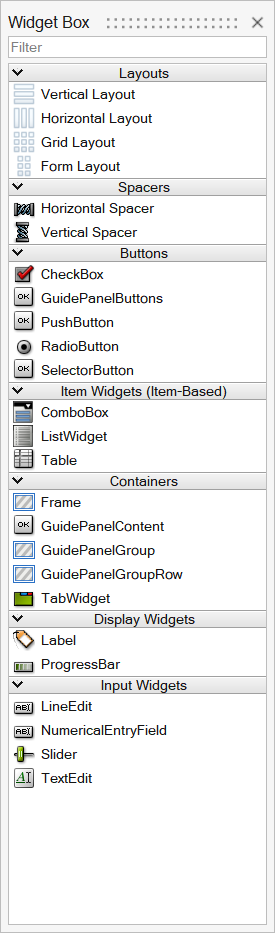
- Drag objects from the Widget box into the Dialog to create your GUI
design.
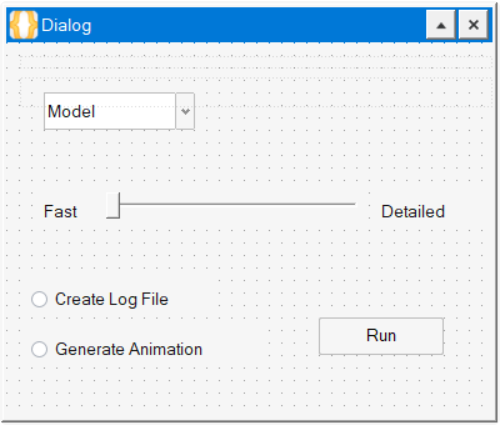
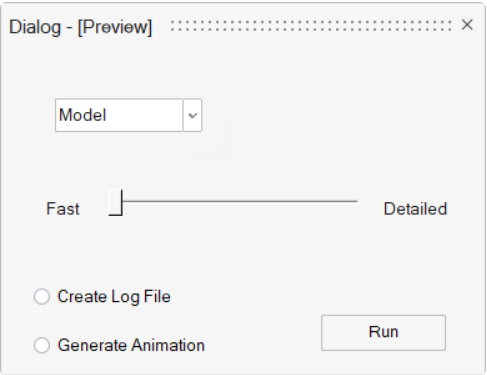
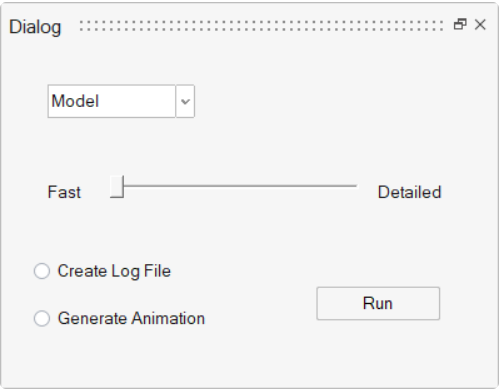
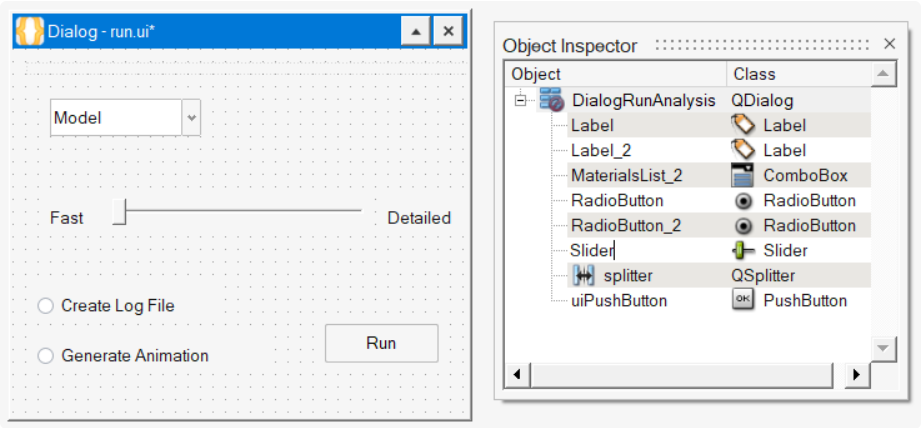
The following example shows a simple GUI with a list box, slider, radio buttons, push button and labels.
- Modify the location, name, and properties of each object as required for
your design.
- To adjust location, select the object and move it with your mouse or arrow keys.
- To modify properties, select an object, then modify the desired
properties in the Property Editor.
You can also right-click an object and define several properties through the context menu.
Important:For information about laying out widgets automatically (for example, when a panel is resized or the text length changes in a localized GUI), see https://doc.qt.io/qt-5/designer-to-know.html#the-concept-of-layouts-in-qt.
- From the UI Designer ribbon, select the Preview button.

A preview of your graphical user interface design is displayed. Review your design, then close the Preview window.
- Save your design and specify your preferred file format:
Save As Description *.ui Saves your design as a UI Designer file. Use this file format when you want to continue working on your design through UI Designer. .py Saves your design as a Python file. Use this format to generate a code skeleton. Note:Once you save your design as code, you cannot load it back into the UI Designer. If you want to keep a working version of your design that you can open through the UI Designer, save a version in .ui format before saving as code.
- Return to the SimLab window and load the .py file with your design.
- Run the file.
The software produces a GUI based on the code file you saved through the UI Designer.
Rename Objects
Use the Object Inspector, Property Editor, or context menu to rename objects in your user interface design.
All objects that you include in your user interface design are listed by name in the Object Inspector. Choosing meaningful names can help you organize and manage objects as you develop your design. The object names are reflected in the code when you save your design as a Python file.
- Review the objects in your design.
 Note:
Note:The object names are not to be confused with text that can be used as a label such as "Fast" and "Detailed" that you see in the example Dialog. Text is an object itself and is listed in the Object Inspector.
- Change an object name with the following options:Important:
Spaces and special characters are not allowed in object names.
- Double-click an object in the Object Inspector and type in the
desired name.
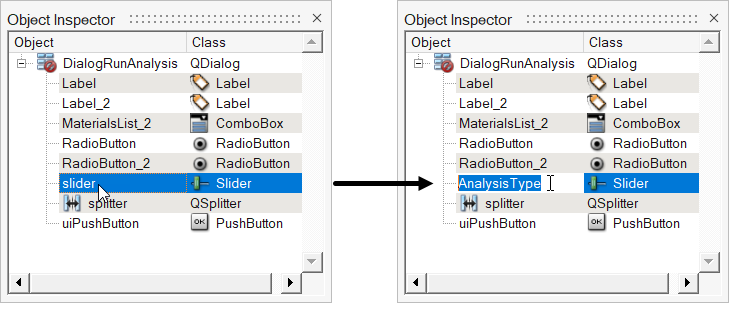
The example shows the name change for the Slider object from Slider to AnalysisType.
- Right-click an object in the Dialog or Object Inspector and select changeObjectname from the context menu, then type in the desired name in the microdialog.
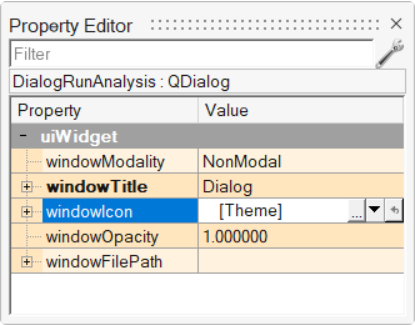
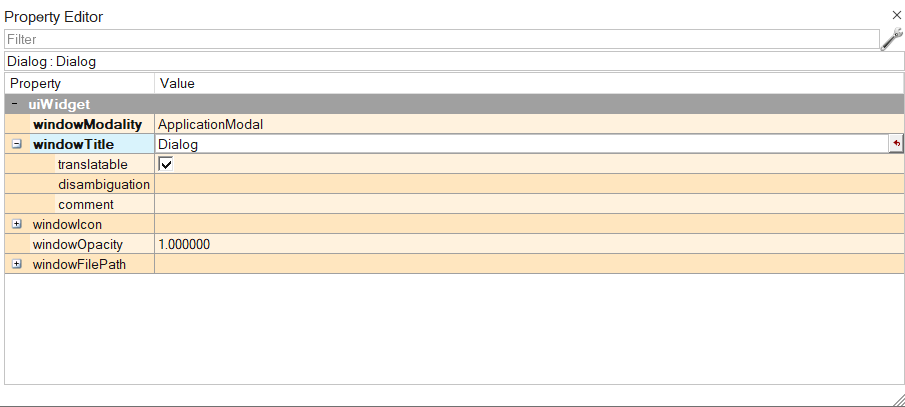
- In the Property Editor, select the [widget]Title field,
and then type in the desired name. The top-level dialog can only
be renamed in the Object Inspector.
Name changes are also reflected in the code when the design is saved as a Python file.
- Double-click an object in the Object Inspector and type in the
desired name.
Modify Object Properties
Use the options in the Property Editor to modify objects in your user interface design.
The Widget Box contains the objects that are available for your interface design. Each object includes a set of properties that you can modify through the Property Editor.
The following properties are common for all objects.
| uiObject Property | Description |
|---|---|
| objectName | Specify a name for the object. |
| uiWidget Property | Description |
|---|---|
| enabled | Select this property to enable the object in the GUI.This
property correlates to the enable property in
the uicontrol object. |
| geometry | Expand the geometry settings and define the object dimensions
as X and Y or Width and Height.This property correlates to the
position property of the uicontrol object.
All geometry settings will be saved as ‘normalized’ unit
positions, relative to the parent. |
| font | Expand and define the settings for font. |
| visible | Select this property to set the visibility of the widget as
on or off.This property correlates to the
visible property of the uicontrol object.
If the visibility is off, the widget is not
visible. |
| toolTip | Enter the tooltip text or specify a file for the tooltip. |