Move Faces
Translate, rotate, copy, or extend features.
Move Features
Move holes, pockets, and surface features.
-
On the Geometry ribbon, select the Move
Faces tool.

Note: The tool may be hidden in the dropdown menu. To access the dropdown menu, you can do one of the following:- Select
 at the lower right corner of the
currently displayed tool.
 - Click and hold the currently displayed tool.
- Select
-
Click in the modeling window to select features to move.
- To select multiple faces, hold down Ctrl while clicking.
- To select adjacent faces, double-click.
-
Choose from the following options:
To Do this Translate Drag the selected faces. Translate along an axis Drag the arrows. Translate within a plane Drag the squares. Rotate around the center of the tool Drag the curved arrows Move features freely in 3D Drag the center of the tool Move features a precise distance Enter a value in the microdialog. - Right-click and mouse through the check mark to exit, or double-right-click.
Tip:
- All features being moved must be located on the same part.
- While translating or rotating, the selected faces will snap to vertices, snap points, and certain reference points that appear when using the Move Faces tool. You can temporarily disable snapping by holding down the Alt key.
- Double-click a manipulator or hold down Shift and drag the Move Faces tool to reposition or reorient it. This is useful if you want to change the center of rotation.
- To realign the Move Faces tool, select the center point of the Move Faces
tool and in the microdialog, click the
 icon to realign to global axes, or the
  icon to realign to the existing part.
 - Once you begin a move, you cannot add new faces to the selection.
Copy Features
Copy holes, pockets, and surface features.
-
On the Geometry ribbon, select the Move
Faces tool.

Note: The tool may be hidden in the dropdown menu. To access the dropdown menu, you can do one of the following:- Select
 at the lower right corner of the
currently displayed tool.
 - Click and hold the currently displayed tool.
- Select
- Select the features to copy.
-
Select the
 icon on the microdialog, then use the graphic
manipulator to position the copy.
Figure 1. Copying and Moving a Feature 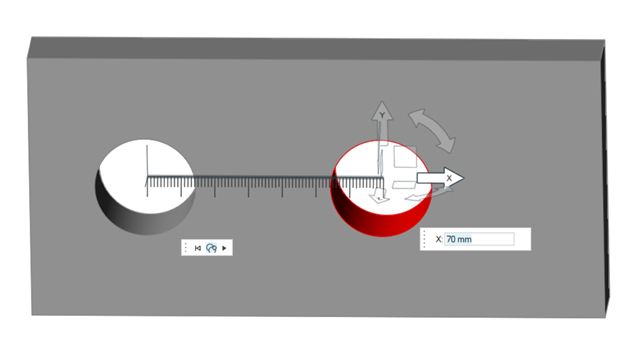
-
Click Apply
 on the microdialog.
- Right-click and mouse through the check mark to exit, or double-right-click.
Extend Features
Extend holes, pockets, and surface features that include multiple faces.
-
On the Geometry ribbon, select the Move
Faces tool.

Note: The tool may be hidden in the dropdown menu. To access the dropdown menu, you can do one of the following:- Select
 at the lower right corner of the
currently displayed tool.
 - Click and hold the currently displayed tool.
- Select
- Select the faces to extend.
-
Drag an arrow on the graphic manipulator to extend the feature.
Figure 2. Extending a Feature 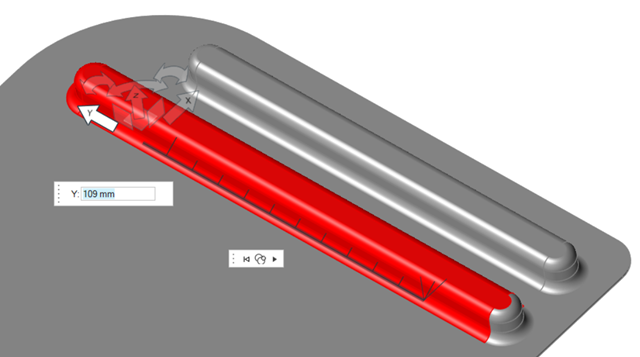
-
Click Apply
 on the microdialog.
- Right-click and mouse through the check mark to exit, or double-right-click.
Graphic Manipulators
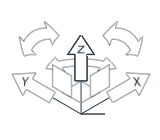
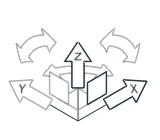
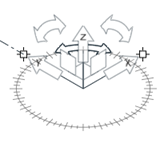
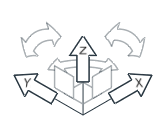
Keyboard Shortcuts & Mouse Controls
| To | Do this |
|---|---|
| Temporarily disable snapping | Alt |
| Add to or remove from the selection | Ctrl+click |
| Copy a selected feature | Ctrl+drag the graphic manipulator |
| Reposition the tool or change its orientation | Shift |
| Reposition the tool or change its orientation | Double-click the graphic manipulator |
| Chain select faces |
|
| Exit editing mode | Right-click |
| Exit the tool | Right-click and mouse through the check mark to exit, or double-right-click. |