Create a Continuum Item
A Continuum Item is used to create and define Continuum planes, generate data, and view the results.
-
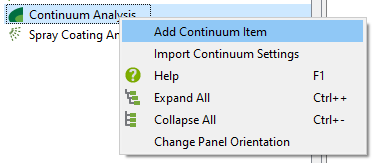
In the Analyst Tree, right-click Continuum Analysis and
select Add Continuum Item.
-
You can add as many planes or plane groups as necessary for each Continuum
Item.
Optionally, you can also add or copy multiple Continuum Items.
Adding a Plane or Plane Group
Adding a plane will create a single plane in the center of the simulation domain.
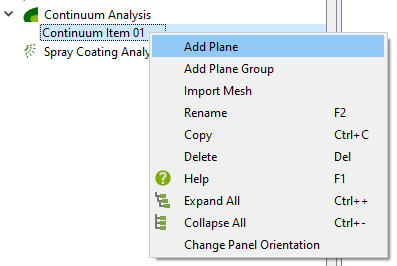
- Add Plane
- Add Plane Group
Modify a Plane or Plane Group
You can modify the size, position, rotation, and number of evaluation points for each plane or plane group.
-
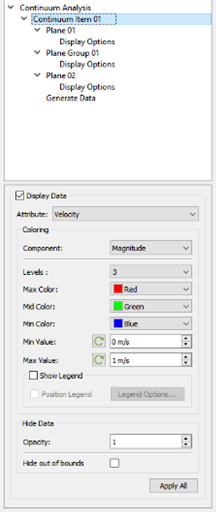
Select the Display Planes and Display
Points checkboxes to view the set-up of the analysis planes
before data is generated.

- Click Resize to Domain to reset the plane or plane group to its original position in the XY plane spanning the domain.
- Adjust the dimensions of sides A and B to manually modify the size of the planes.
- Select Number of Points to increase the number of evaluation points to improve the definition of the Continuum data although an increased number of points will increase the data generation time.
-
Select Separation to increase or decrease the number
of points.
When defining a plane group, you can also define the number of planes and spacing between each plane within the Plane Group Editor.
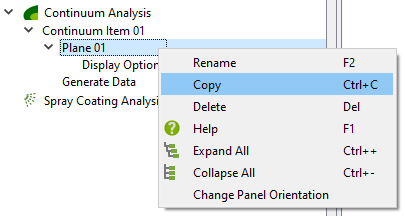
Copy a Plane or Plane Group
You can also copy a Continuum Plane or Plane group.
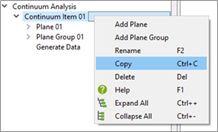
Copy a Continuum Item
You can also copy a Continuum Item.
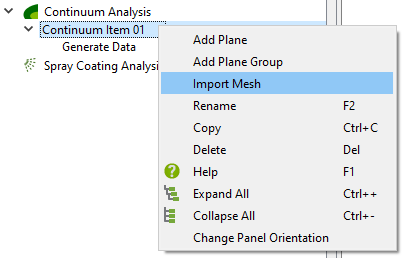
Import a Mesh
You can also import a mesh for Continuum Analysis.
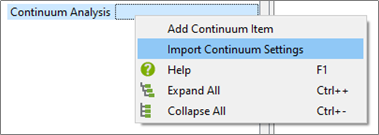
Import Continuum Settings
You can also import the settings configured for Continuum Analysis.
-
Right-click Continuum Analysis and select
Import Continuum Settings.
-
Select an
efdfile from any deck using File Explorer.-
If you have saved the Continuum Analysis in the imported
efdfile, all the Continuum settings will be imported. However, the Continuum data associated with the imported Continuum items will not be imported.
-
If you have saved the Continuum Analysis in the imported
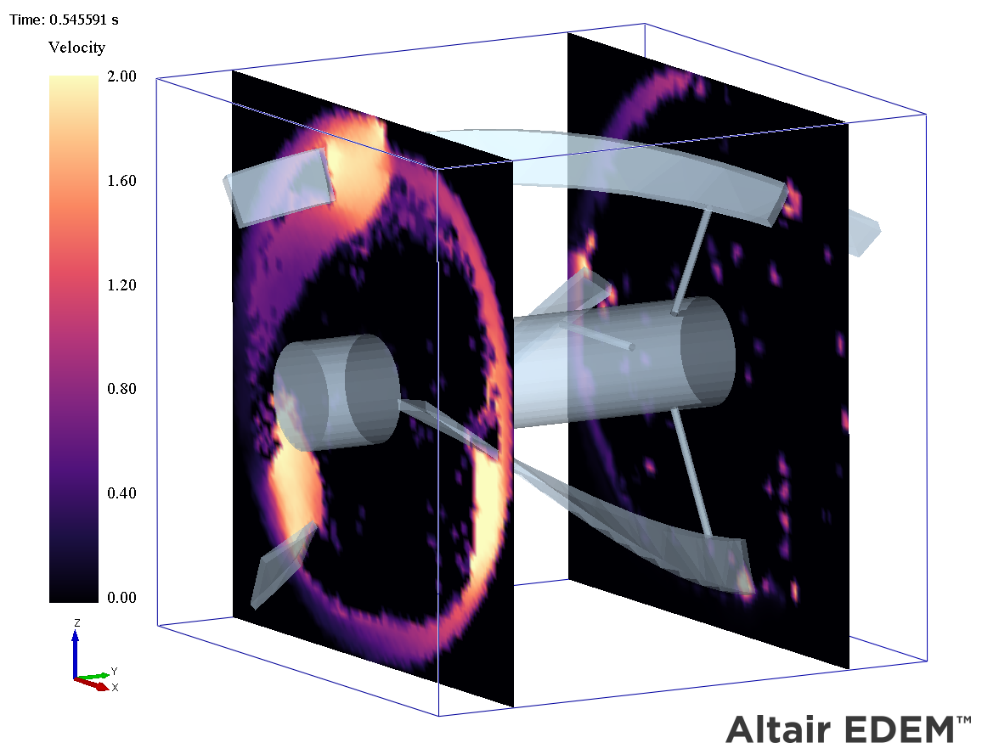
Generate Data
You can generate Continuum data after the planes and plane groups are set up,
-
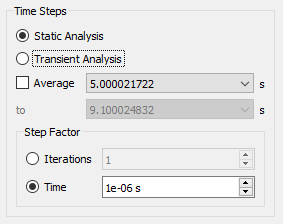
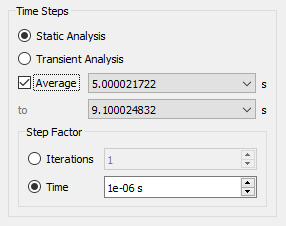
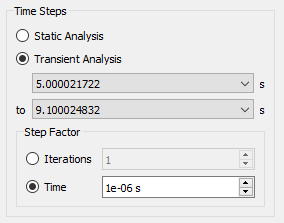
Conduct any of the following types of analysis:
- Static Analysis - Generate Continuum data for
a single Time Step.
- Static Average Analysis - Generate Continuum
data averaged over a specified range of Time Steps.
- Transient Analysis - Generate Continuum data
for each Time Step over a specified range of Time Steps.
- Static Analysis - Generate Continuum data for
a single Time Step.
-
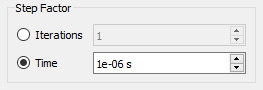
Select the Step factor to step over a fixed number
of Time Steps when calculating either an averaged or transient
analysis.
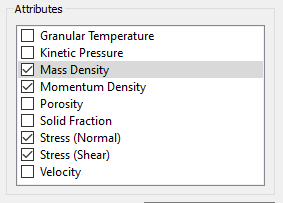
Attributes
Each attribute adds the calculation time of the Continuum data so only the required attributes must be selected.
-
Select an Attribute by selecting the checkboxes for
each attribute that you want to be generated.
Defines the width of the Gaussian weighting function and is equal to the radius of the sphere of influence of the Gaussian function for each evaluation point.
-
Select a Cut-off Distance to define the width of the
Gaussian Weighting function.
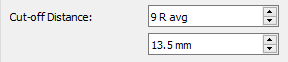
Note: The Gaussian weighting function is equal to the radius of the sphere of influence of the Gaussian function for each evaluation point. The cut-off distance is automatically nine times the average particle radius within the simulation. This is recommended for most simulations but testing of different cut-off distances may be required for large size distributions. -
Click Generate Data once the data generation
settings have been defined,
This will generate the Continuum data for all the planes and plane groups contained within the Continuum item.
-
Select the Display Options within any plane or plane
group to edit the settings of the individual planes or plane groups.
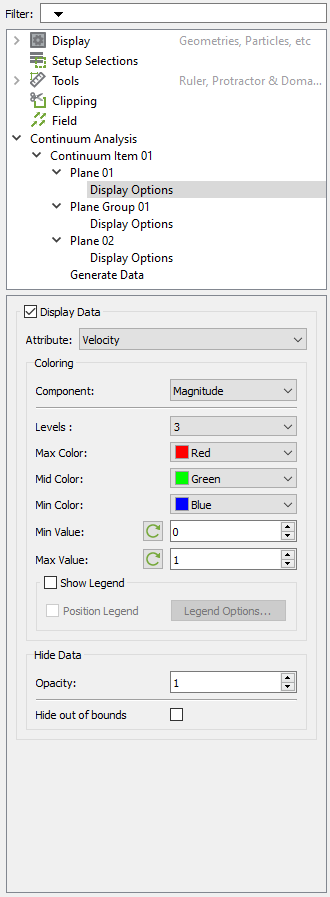
- Click Apply All to apply the display settings to all the planes.
-
To apply display settings to all planes and plane groups within a Continuum
Item, select the Continuum Item.