Create a Clip Group
A model may have any number of clip groups. A clip group is a collection of one or more planes, slices or domain boundaries (though it can only contain clips of one type).
-
In the Analyst Tree, select the Clipping checkbox.
Note: You can define the planes, slices, or boundaries in the lower half of the Clipping Elements section.The top half of this section contains the list used to determine which elements within your model are affected by the clipping group. For example, you may want to only clip the geometries and leave the particles intact. By default, all the elements are included in the group. The elements are categorized by type - particles, geometry, and contacts.
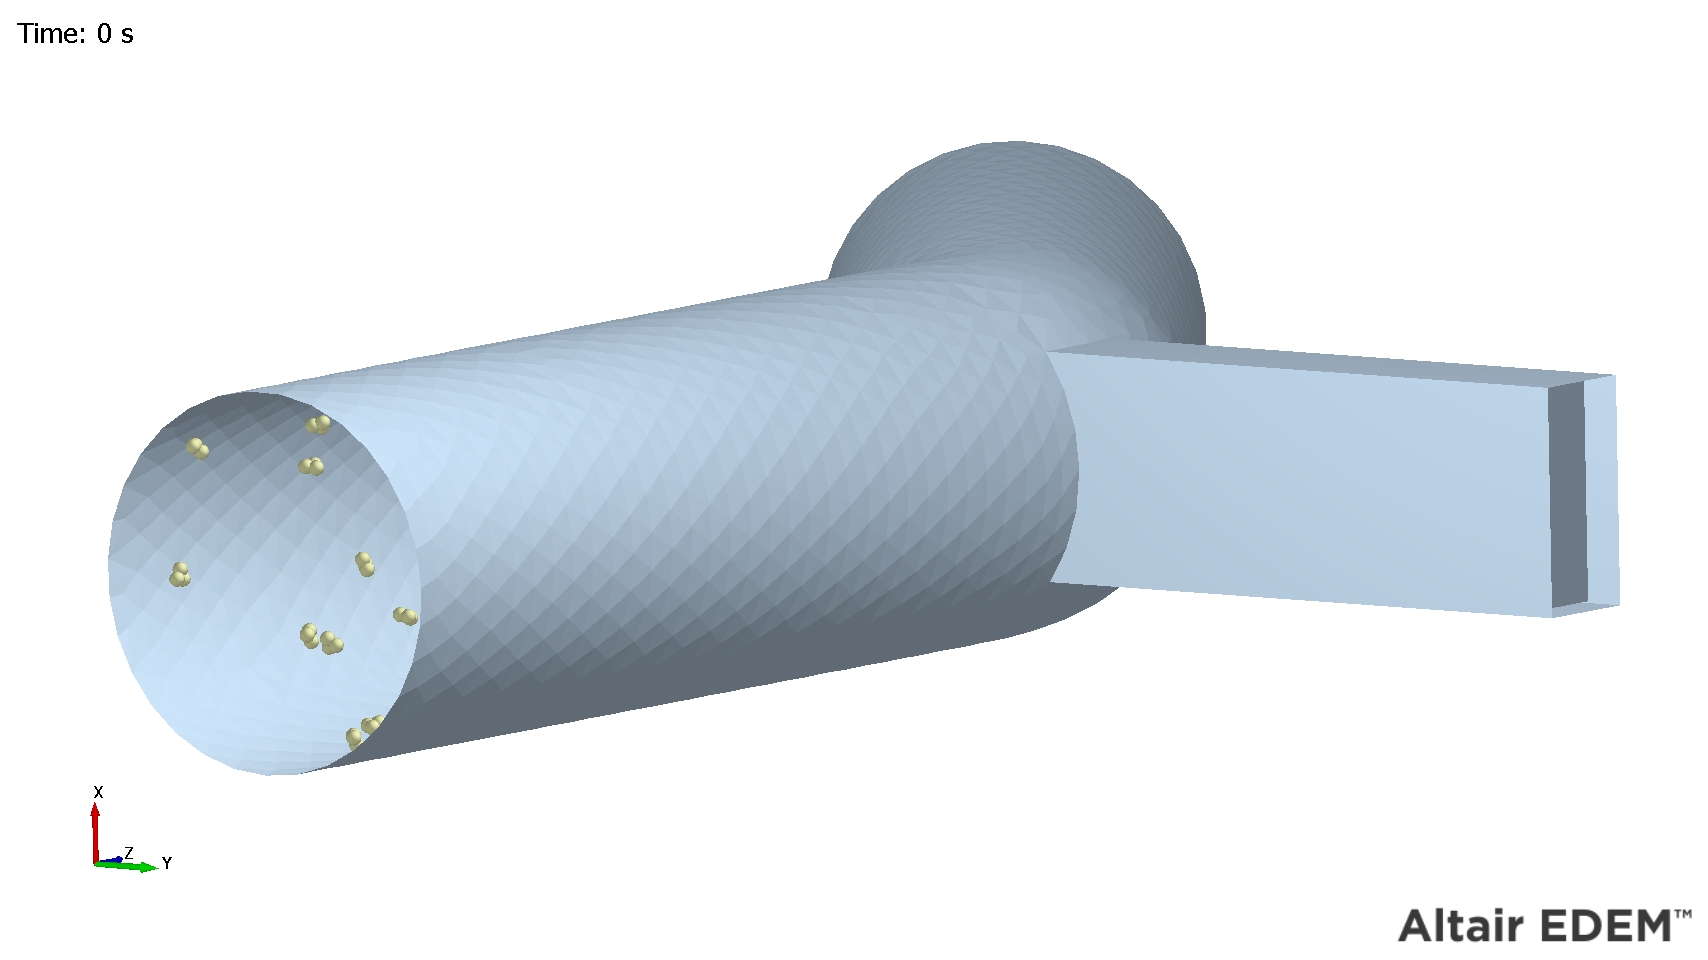
Optionally, select an Element checkbox to remove it from the group. The following figure shows a model of a pipe where a Geometry has been included in a slice and particles have been excluded from the slice: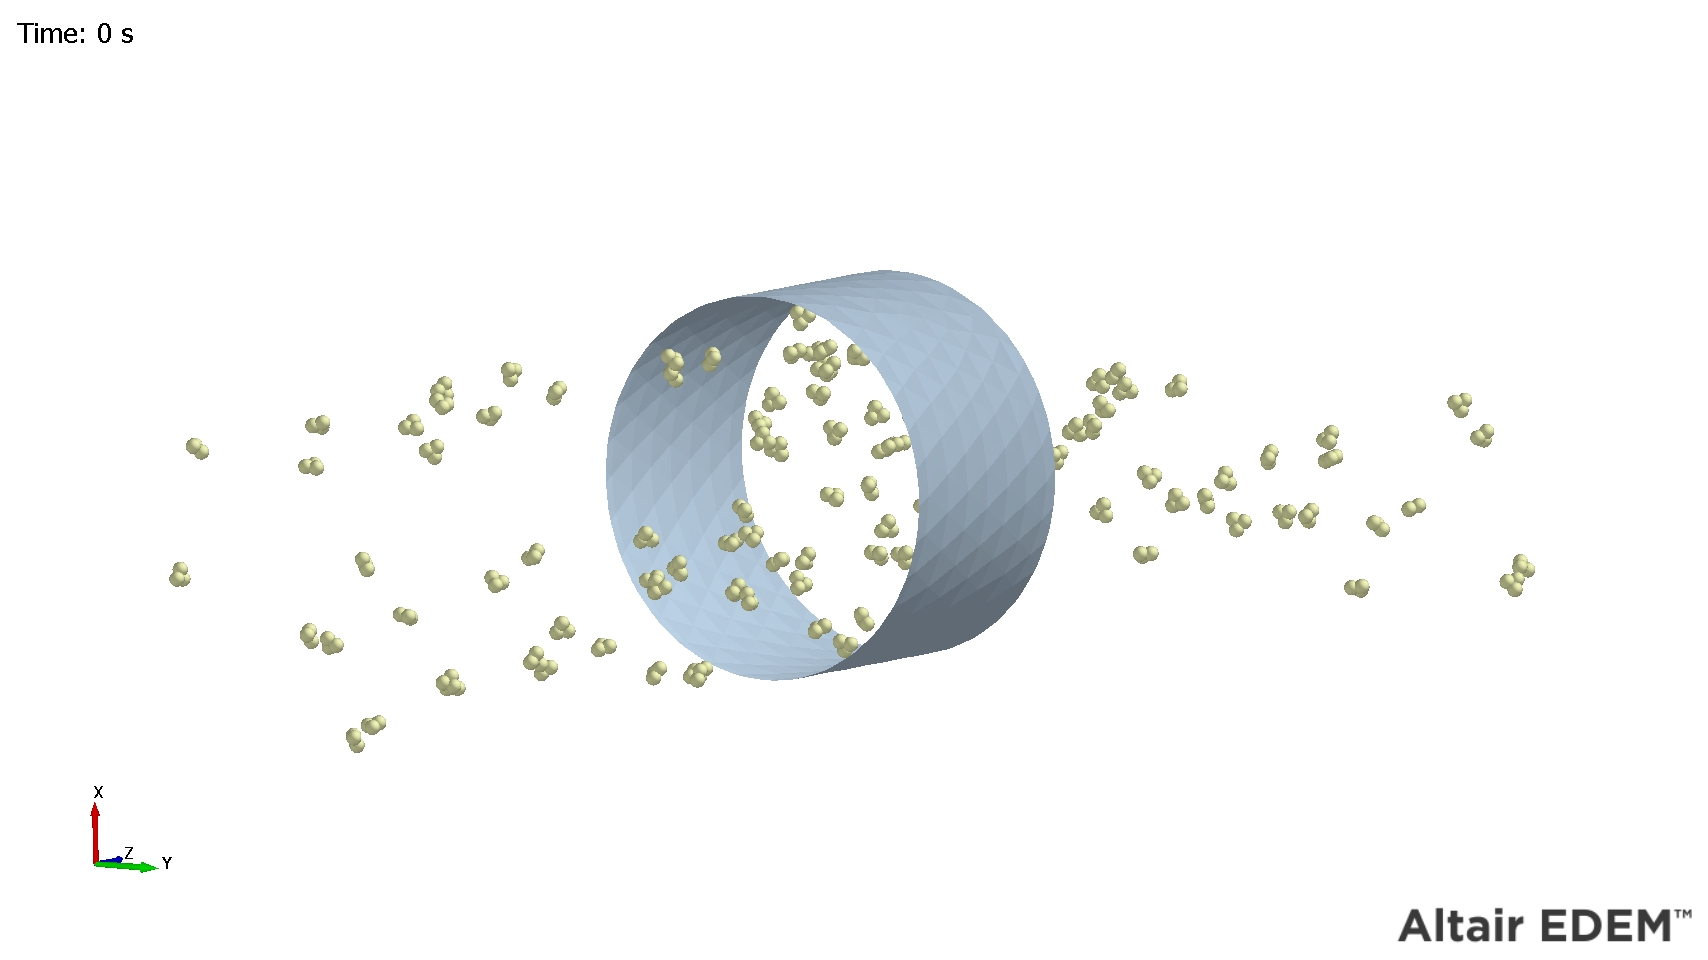
-
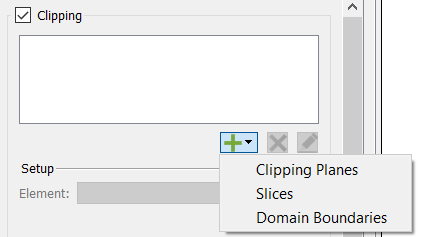
Click the
 icon and select one of the following:
- Clipping PlanesA planes clipping group can contain up to six individual planes.
- Select a plane from the Elements dropdown list in the Clipping Elements section. The plane is then defined by its orientation and its distance from the center of the model. The section of the model that falls on one side of the plane will be clipped from the model. Simply negate the orientation of the plane to switch which side of the model is removed.
- Select Visual Representation to display a
preview of the plane in the Viewer. Select Enable
Plane to activate the plane and clip a section
from the model.The following example shows a model before and after plane clipping:

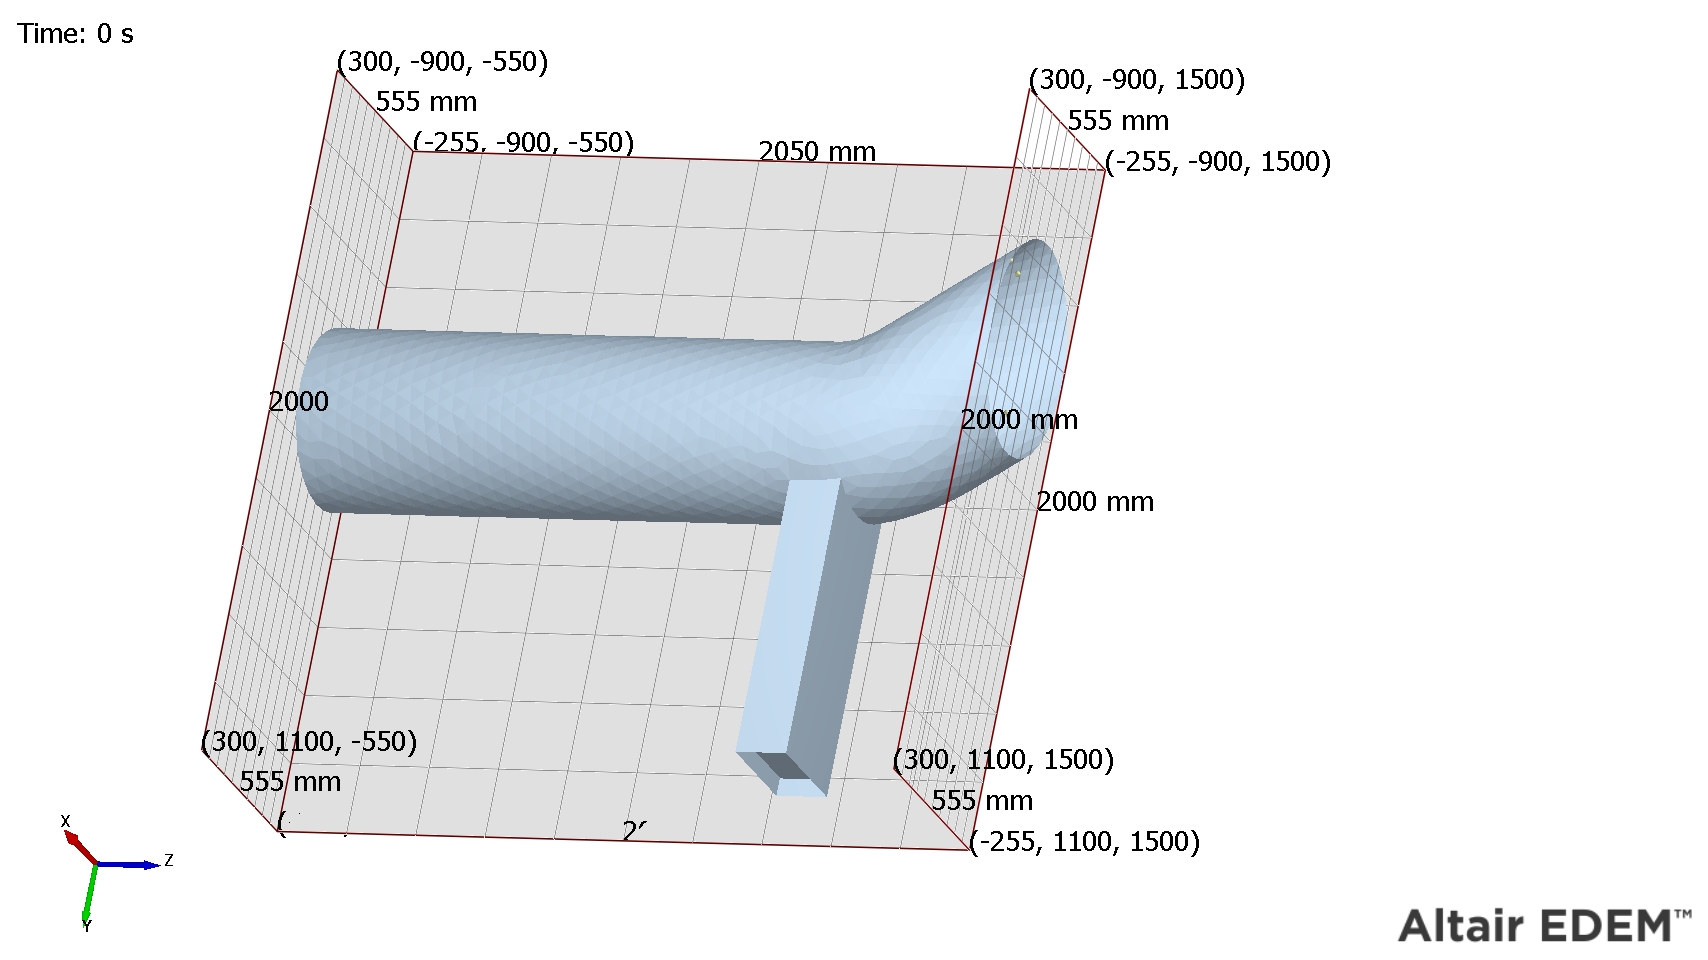
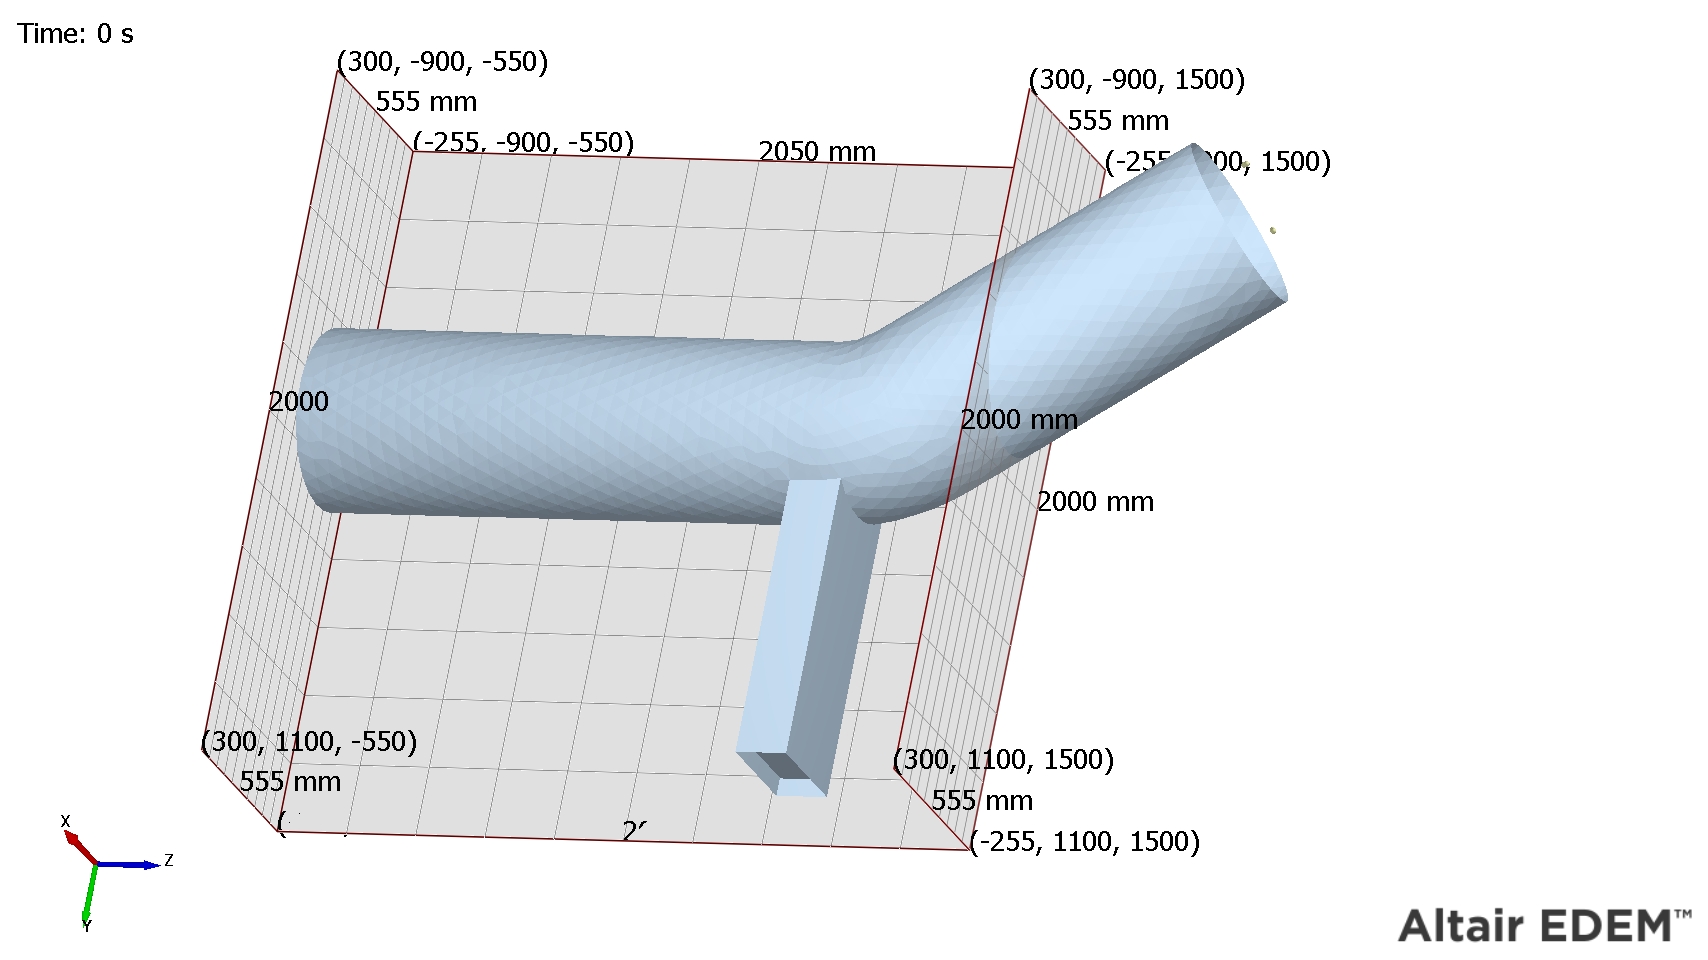
- SlicesA slices clipping group can contain up to three individual slices.
- Select a slice from the Elements dropdown
in the Clipping Elements section.
The slice is then defined by its orientation, distance from the center of the model and depth. The section of the model that falls outside the slice will be clipped from the model.
- Select Visual Representation to display a preview of the slice in the Viewer.
- Select Enable Slice to activate the slice
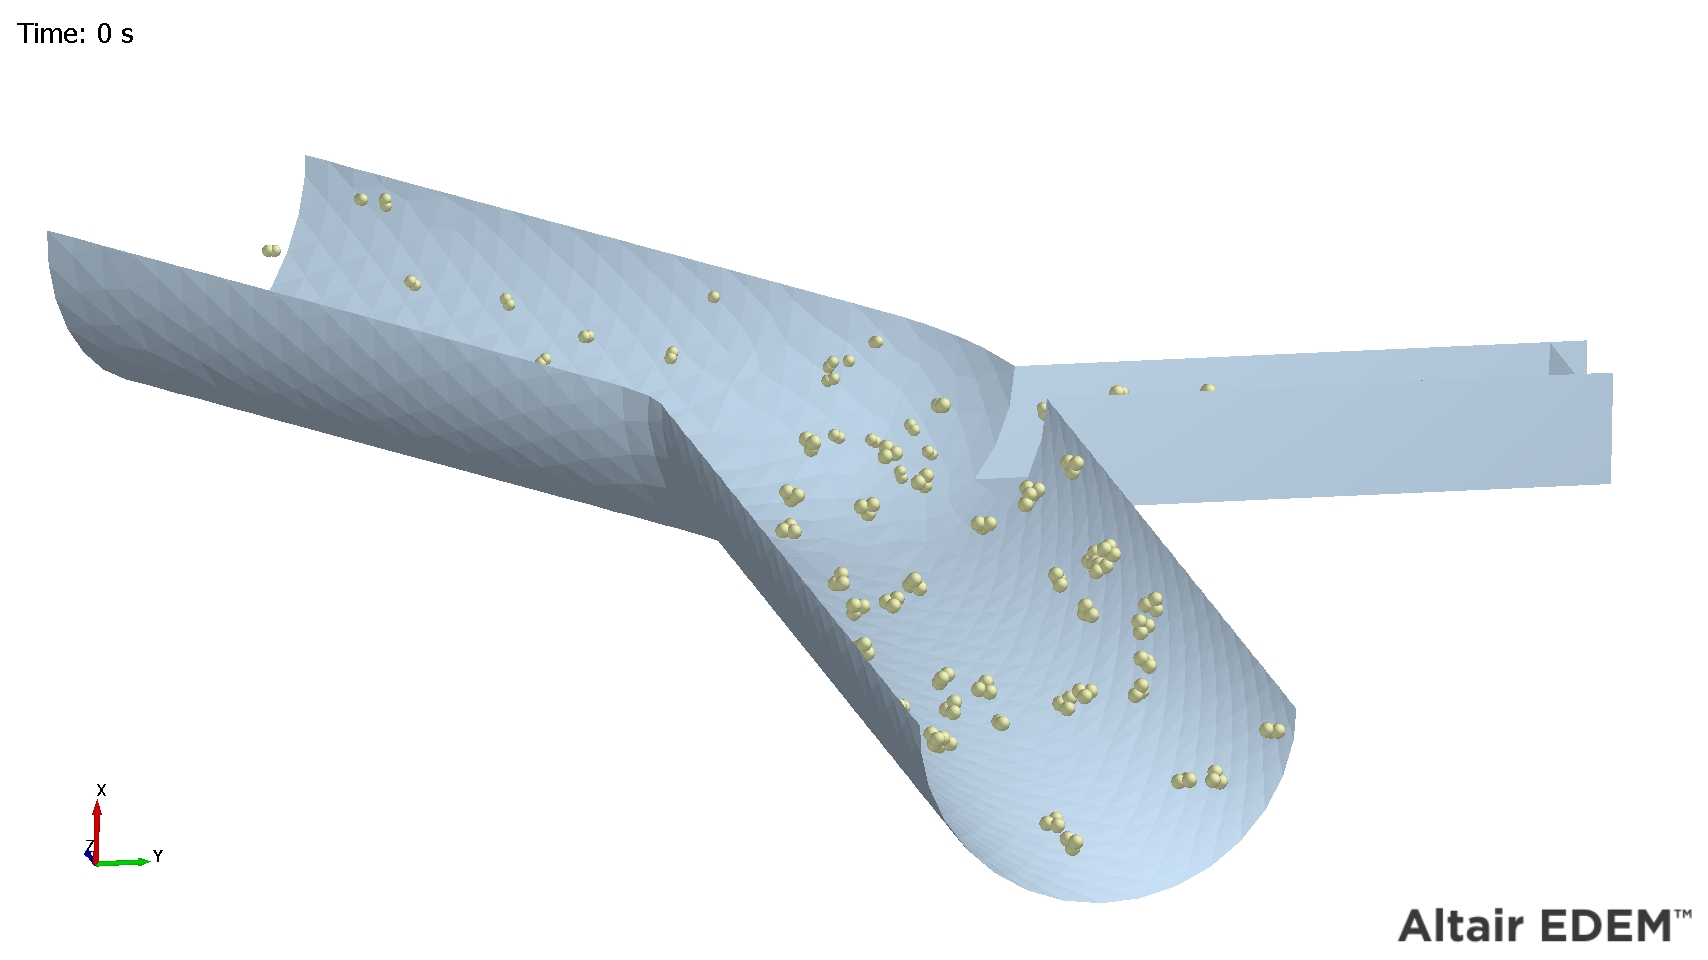
and clip an area of the model.The following example shows a model before and after slice clipping:
- Select a slice from the Elements dropdown
in the Clipping Elements section.
- Domain BoundariesEach side of your domain can be used to clip your model in a Domain Boundaries clipping group.
- Select a side from the Elements dropdown in the Clipping Elements section.
- Select Enable Slice to clip the area of
the model outside of the domain on that side.The following example shows a model before and after clipping.
- Clipping Planes