
Editor
The Editor window lets you write and manage code with helpful features such as syntax highlighting, indentation, bookmarks, split views, and more.
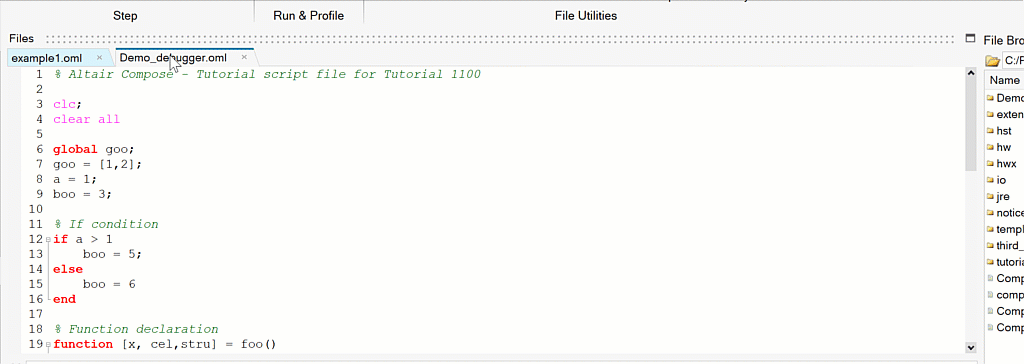
In the Editor window, you can have as many scripts open as necessary.
Lines of code are numbered on the left side of the window. You can disable line numbers in .
Auto-Completion
The Editor automatically lists and completes words that match what you type.
The Editor automatically completes your substring text with one key stroke, which saves you time from typing long words. You can use the Tab key to accept a suggestion and fill in the complete word. If more than one word is in the list of matching words, a drop-down list shows all the matches. You can scroll or use the mouse and Tab key to select from the list.
The Editor auto-completes for both functions and system paths.
Functions


Paths

Syntax Highlighting
Code syntax is automatically highlighted based on the language and on your settings in Preferences.

You can turn Highlighting on or off in .
You can control the color of specific syntax highlighting in the Editor page for each language in Preferences.
Smart Indentation
Certain commands, such as for and else, are automatically indented.
You can define the indentation size in the Tab size field of for all languages, or in the Editor page for individual languages.
Collapsible Sections
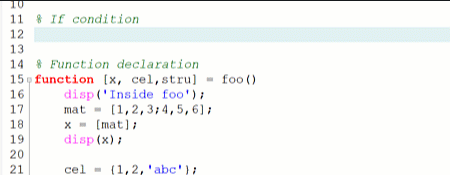
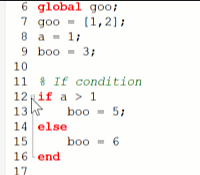
Certain groups of commands, such as if...end and function...end, automatically turn into sections that you can collapse and expand.
To expand or collapse a section of code, click the plus or minus sign, respectively, next to the line numbers.
Bookmarks
You can bookmark individual lines of code to easily move between them.

To add a bookmark to a line of code, right-click it, and then select from the context menu. This action is assigned to hotkey Ctrl + K by default.
To remove the bookmark, select Toggle Bookmark again. To remove all bookmarks, select Clear All Bookmarks.
You can also quickly move between bookmarks with the Next Bookmark and Previous Bookmark options in the context menu.
You can also disable and enable bookmarks from the context menu to determine whether they are skipped over when using the Next and Previous functions.
Split View
You can split the Editor into two windows so that you can view multiple scripts at the same time.
To create a split view, there are two methods, as detailed below.
Right-click a script file name, and then from the context menu, select one of the following:
- Move to Other Split View: The selected script moves to a second Editor window.
- Clone to Other Split View: The selected script is duplicated in a second Editor window.
- Hover over the area just above the Editor until the Layout icon appears in the upper-right corner.
- Click the Layout
 icon, and then select the Vertical
  or Horizontal
  icons.
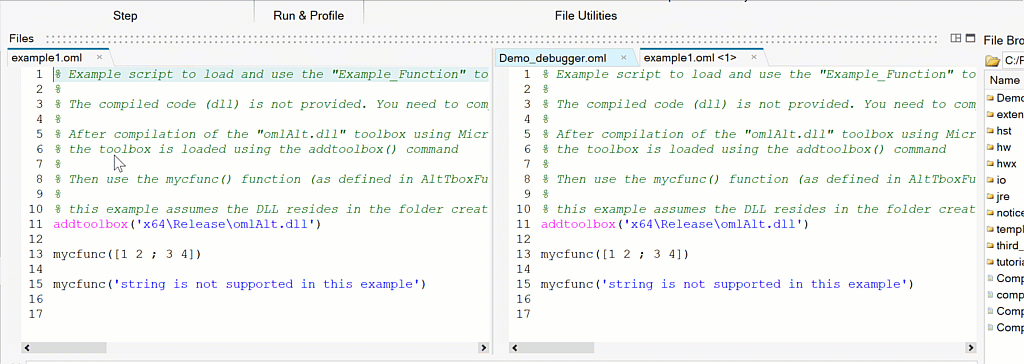
To collapse the split view into one window, click the square icon ![]() under Layout.
under Layout.