Share a Remote Desktops
Share a remote desktops with other users who are logged in to Access Web.
Users who join your remote desktops can remotely view the application, while you are working on it. You can also transfer control of the remote desktops to participants allowing them to work remotely on your application and data files. This is useful for collaborative remote desktops. For example, to examine details of a model using HyperMesh or to interpret the animated results of a job in HyperView.
Note: The share option is disabled for interactive application
definitions that are created using the App Composer.
-
Click the Desktops tab located in the upper left-hand of
the page.
Remote Desktops list is displayed.
Figure 1. Remote Desktops List 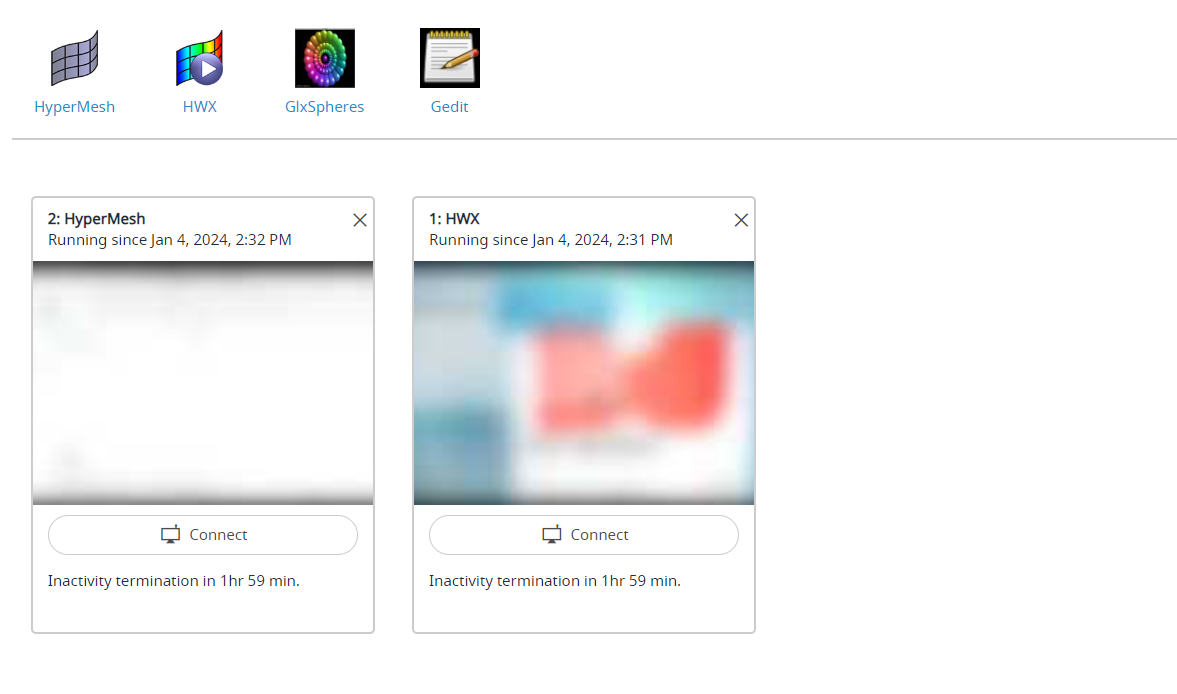
-
Click Connect.
Figure 2. Remote Desktops Connect 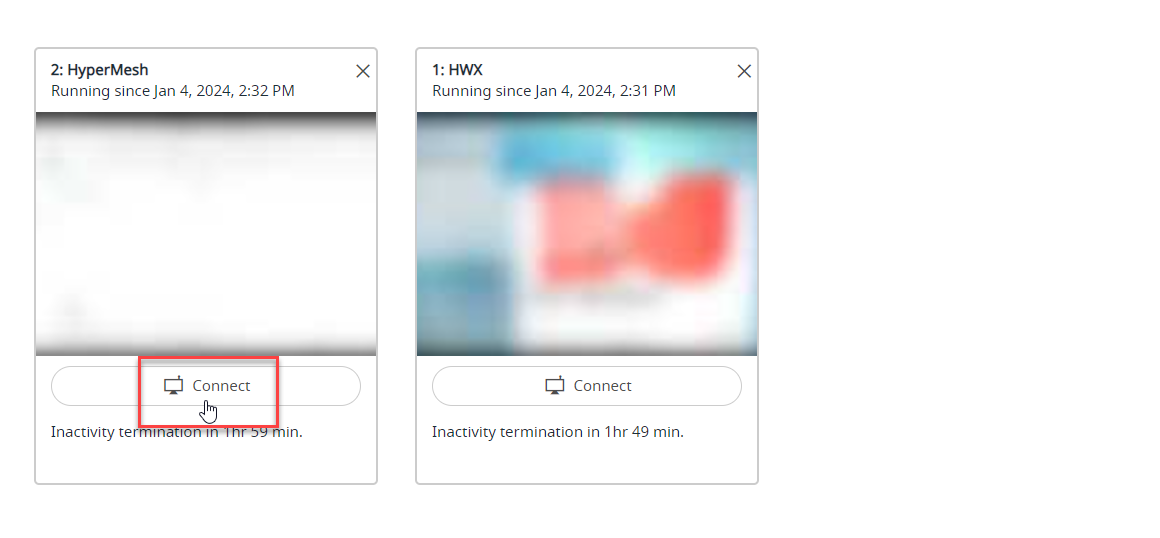
Note: By default, the timeout interval when a remote desktops is opened is set to unlimited. The default configured timeout value is set to 120 minutes (2 hours) for a remote desktops and it is displayed in the remote desktops tile. Time out will start when the remote desktops is closed, and the remaining time is displayed in the remote desktops tile.A remote desktops of the interactive application is opened in a new window.Figure 3. Opened Remote Desktops 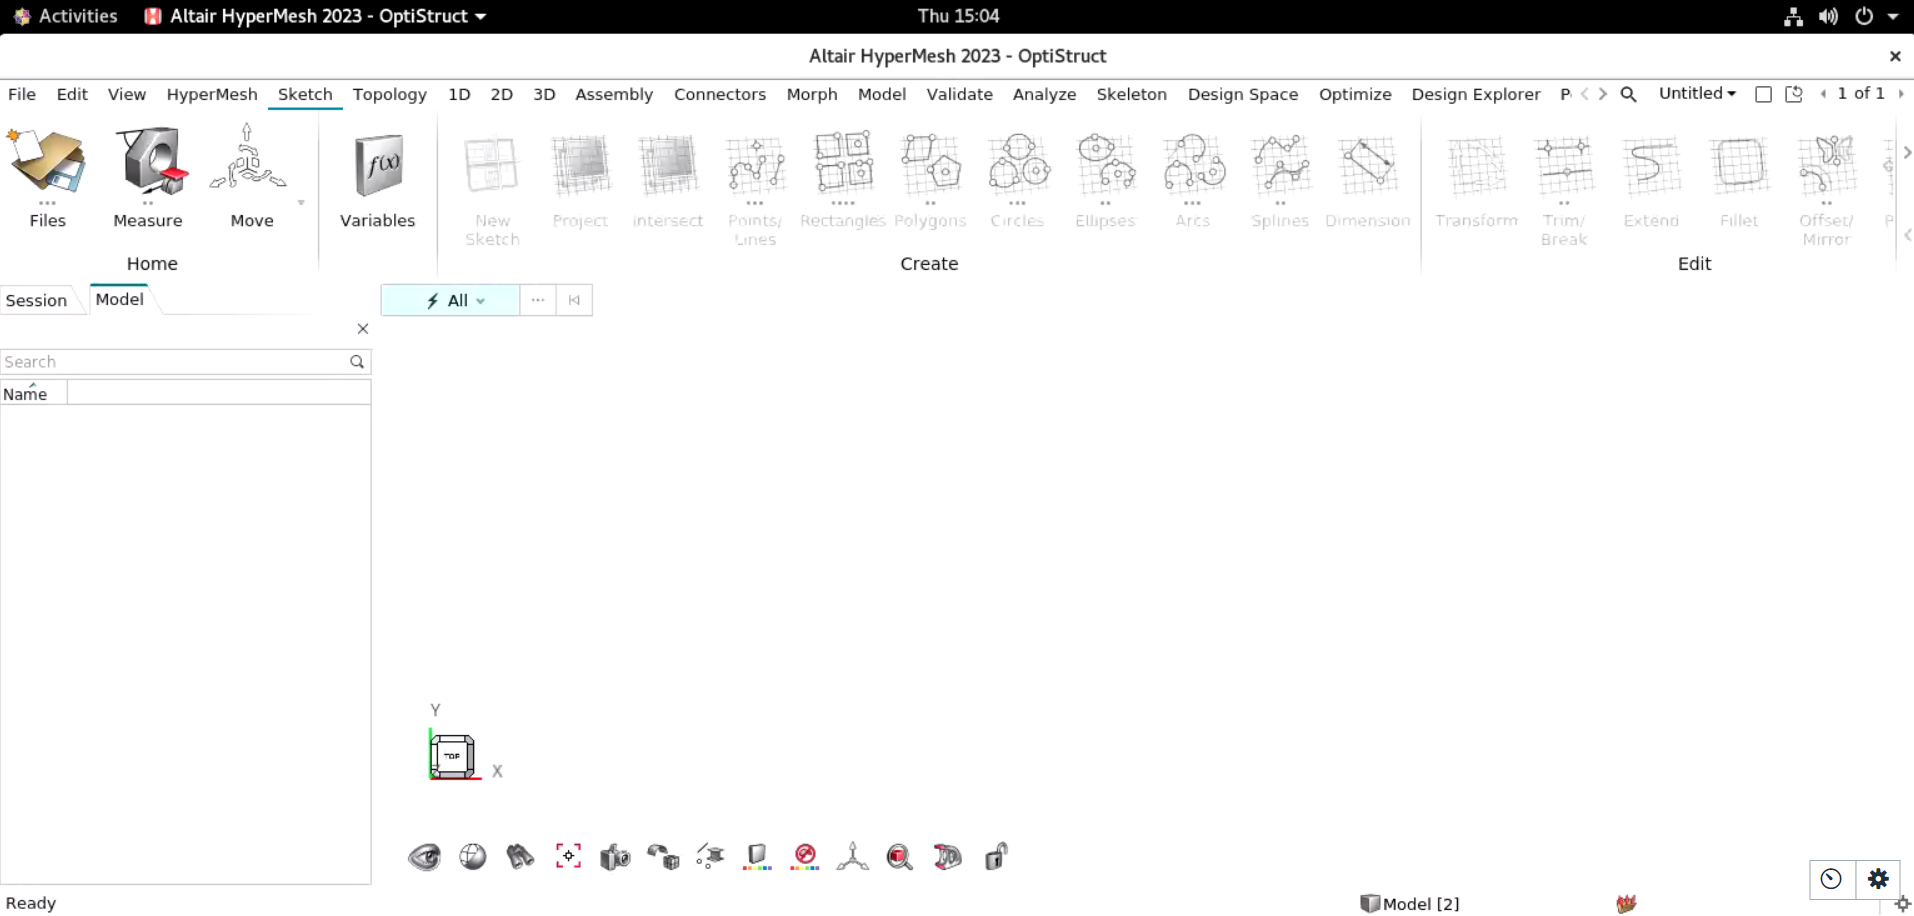
-
Click
 to view the remote desktops
options.
to view the remote desktops
options.
Figure 4. Remote Desktops Control Options 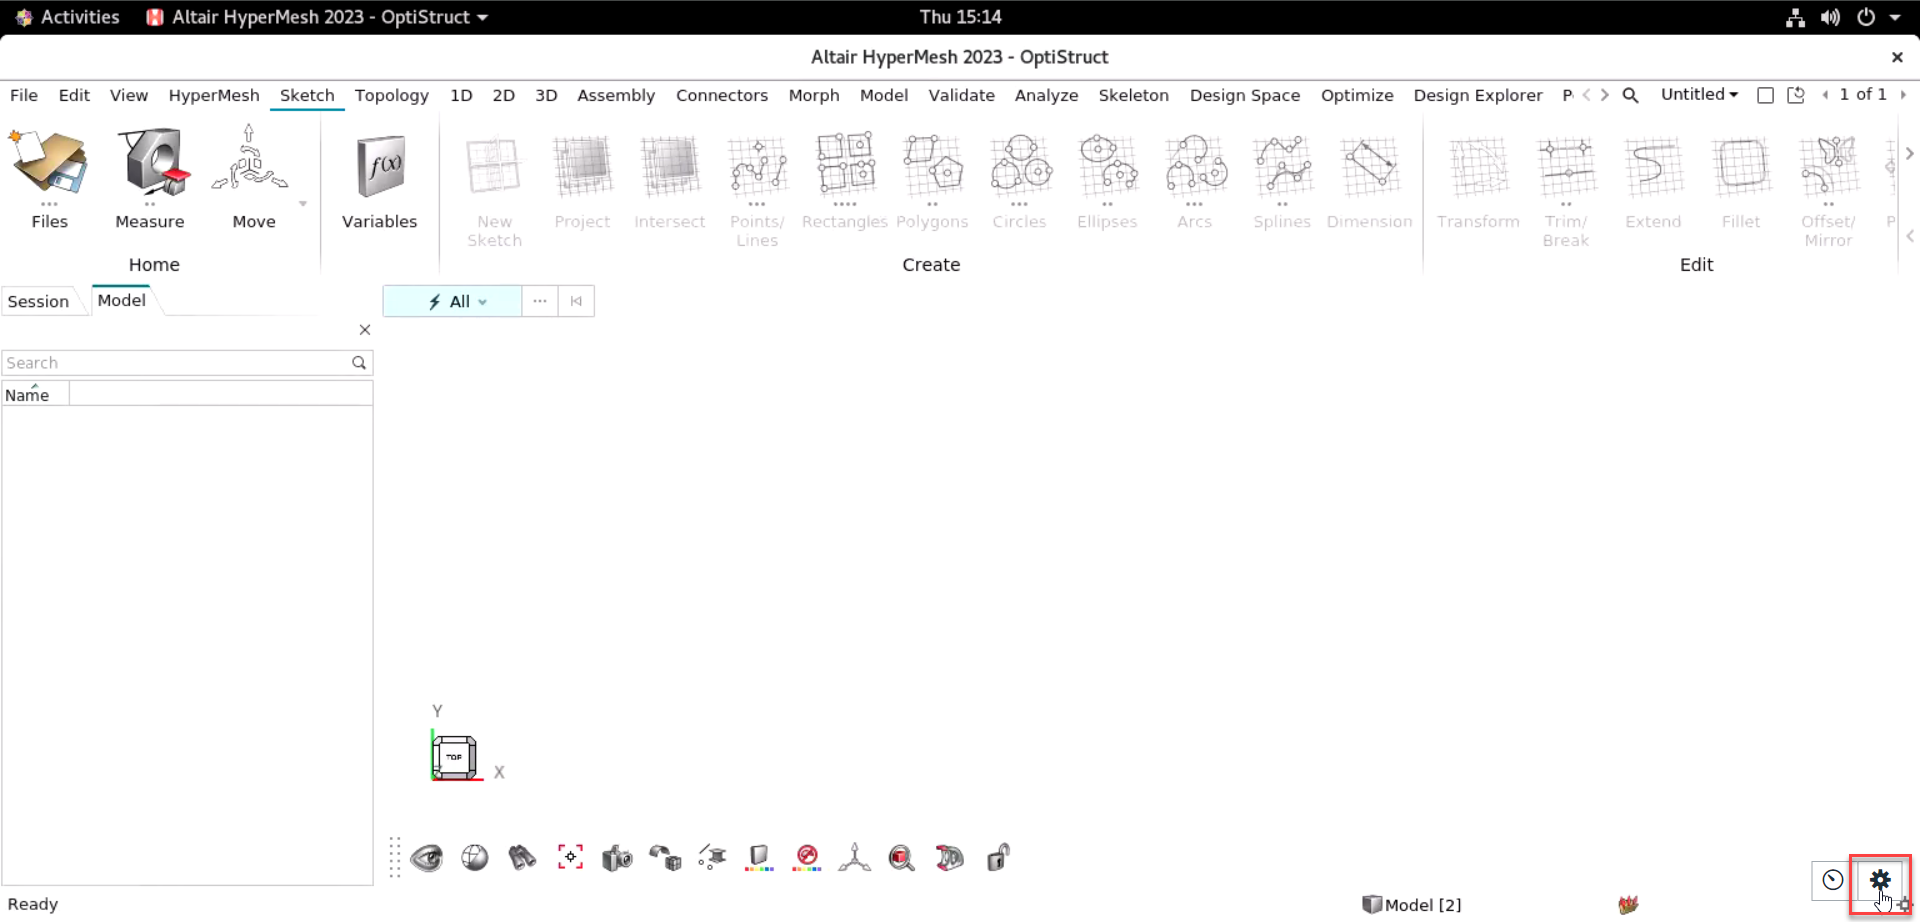
The remote desktops control options are displayed.Figure 5. Remote Desktops Control Options 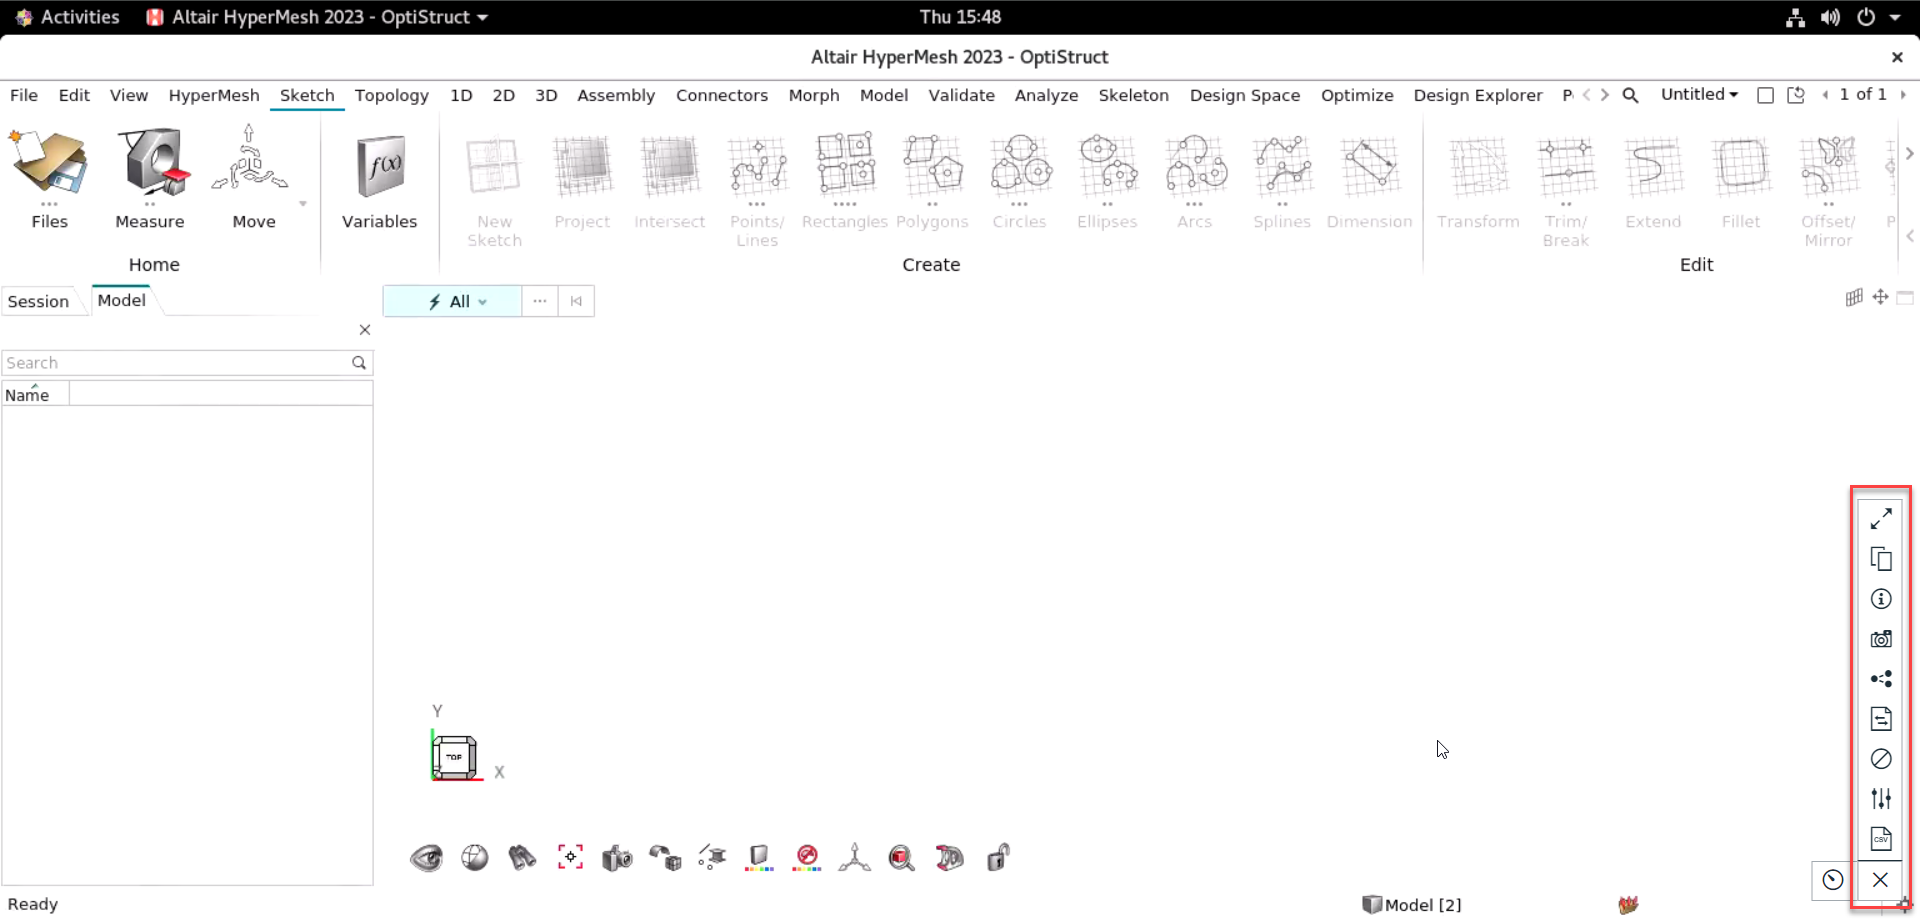
-
Click
 to share the session.
The Share this Remote Desktop Session dialog box is displayed.
to share the session.
The Share this Remote Desktop Session dialog box is displayed.Figure 6. Share Desktops 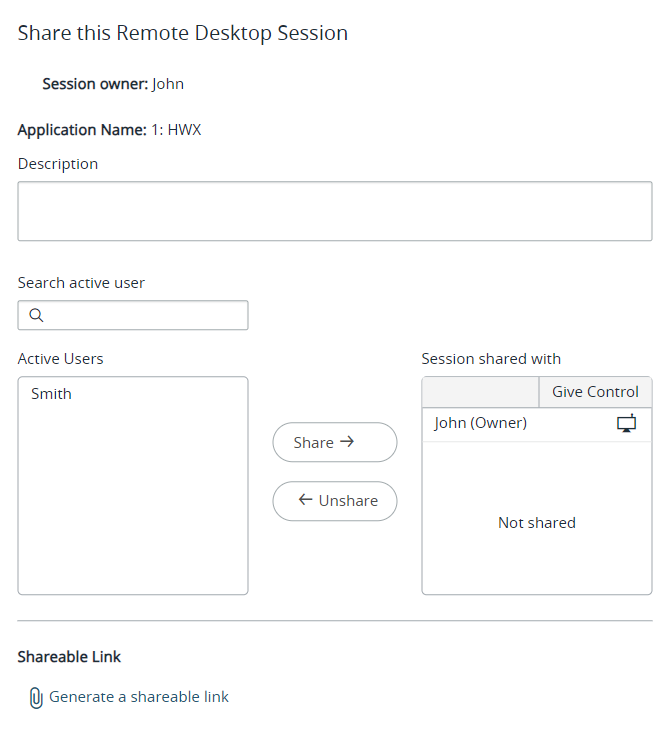
The Share this Remote Desktop session provides the Session Owner and Application Name.
-
Enter the Description for sharing the remote desktop session.
Note: You can search for the active user to share the remote desktop session.
- Select the Username from the Active Users list.
-
Click Share.
The remote desktops will be shared to the user and the user name gets displayed in the Session shared with list.
Figure 7. Shared Remote Desktops Screen 
Note: A notification will be sent to the user indicating that you have shared a remote desktops. -
Click Generate a shareable link to get a link for the
remote desktops.
Tip: You can copy the remote desktops link and send it to other users to view the remote desktops. The remote desktops can be opened by other users only when it is shared.