Screen Capture of a Remote Desktops
Screen capture of an active remote desktops.
-
Click the Desktops tab located in the upper left-hand of
the page.
Remote Desktops list is displayed.
Figure 1. Remote Desktops List 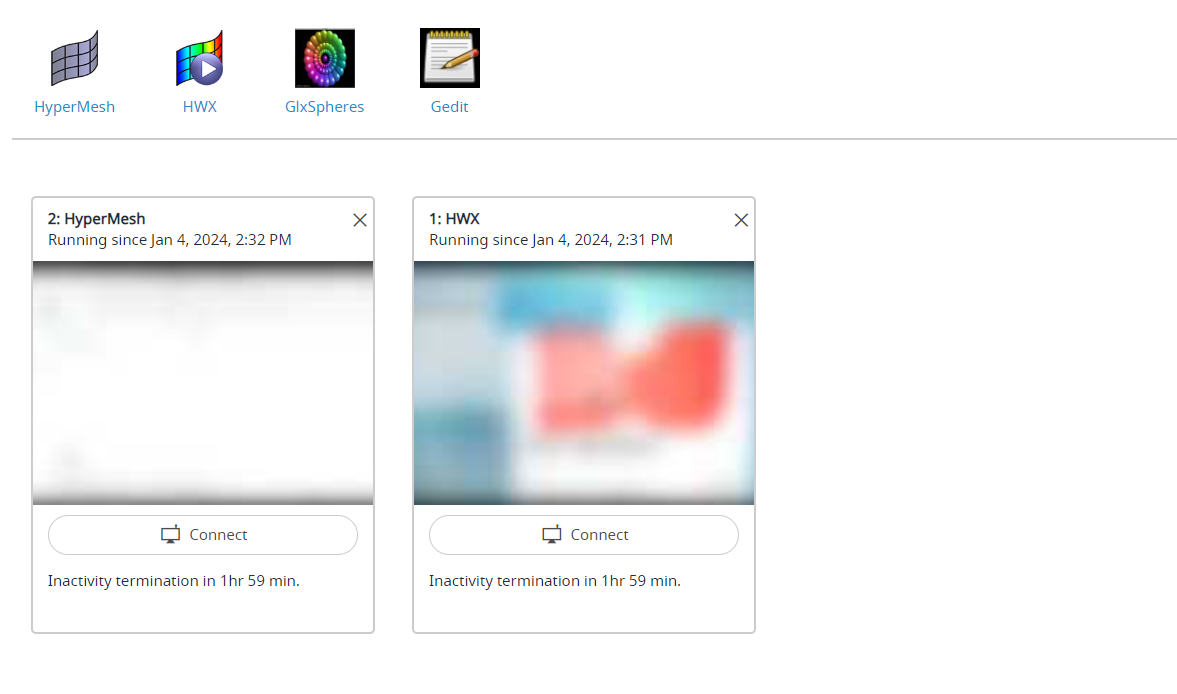
-
Click Connect.
Figure 2. Remote Desktops Connect 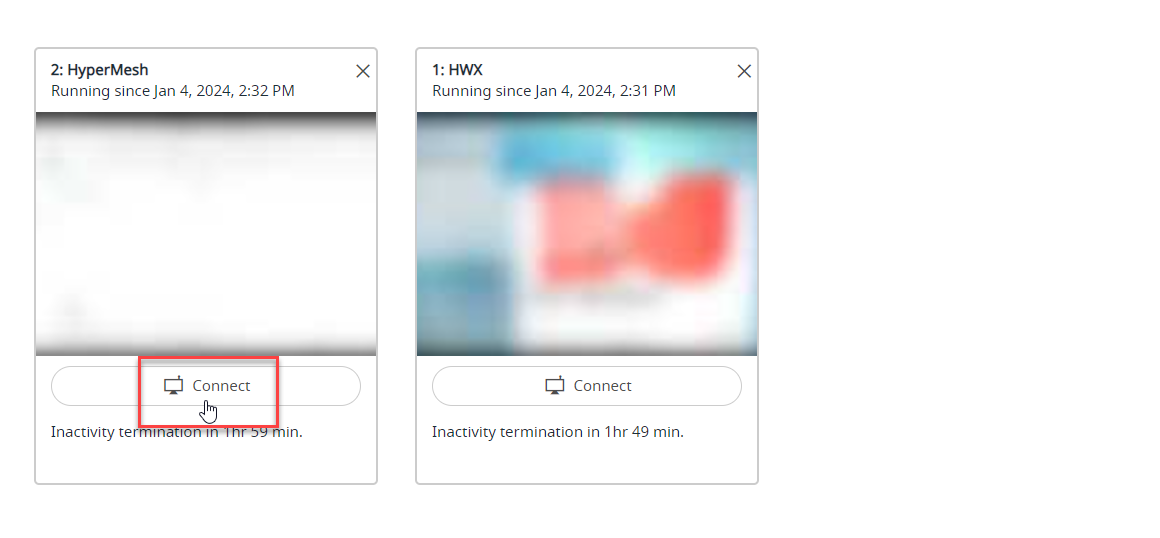
Note: By default, the timeout interval when a remote desktops is opened is set to unlimited. The default configured timeout value is set to 120 minutes (2 hours) for a remote desktops and it is displayed in the remote desktops tile. Time out will start when the remote desktops is closed, and the remaining time is displayed in the remote desktops tile.A remote desktops of the interactive application is opened in a new window.Figure 3. Opened Remote Desktops 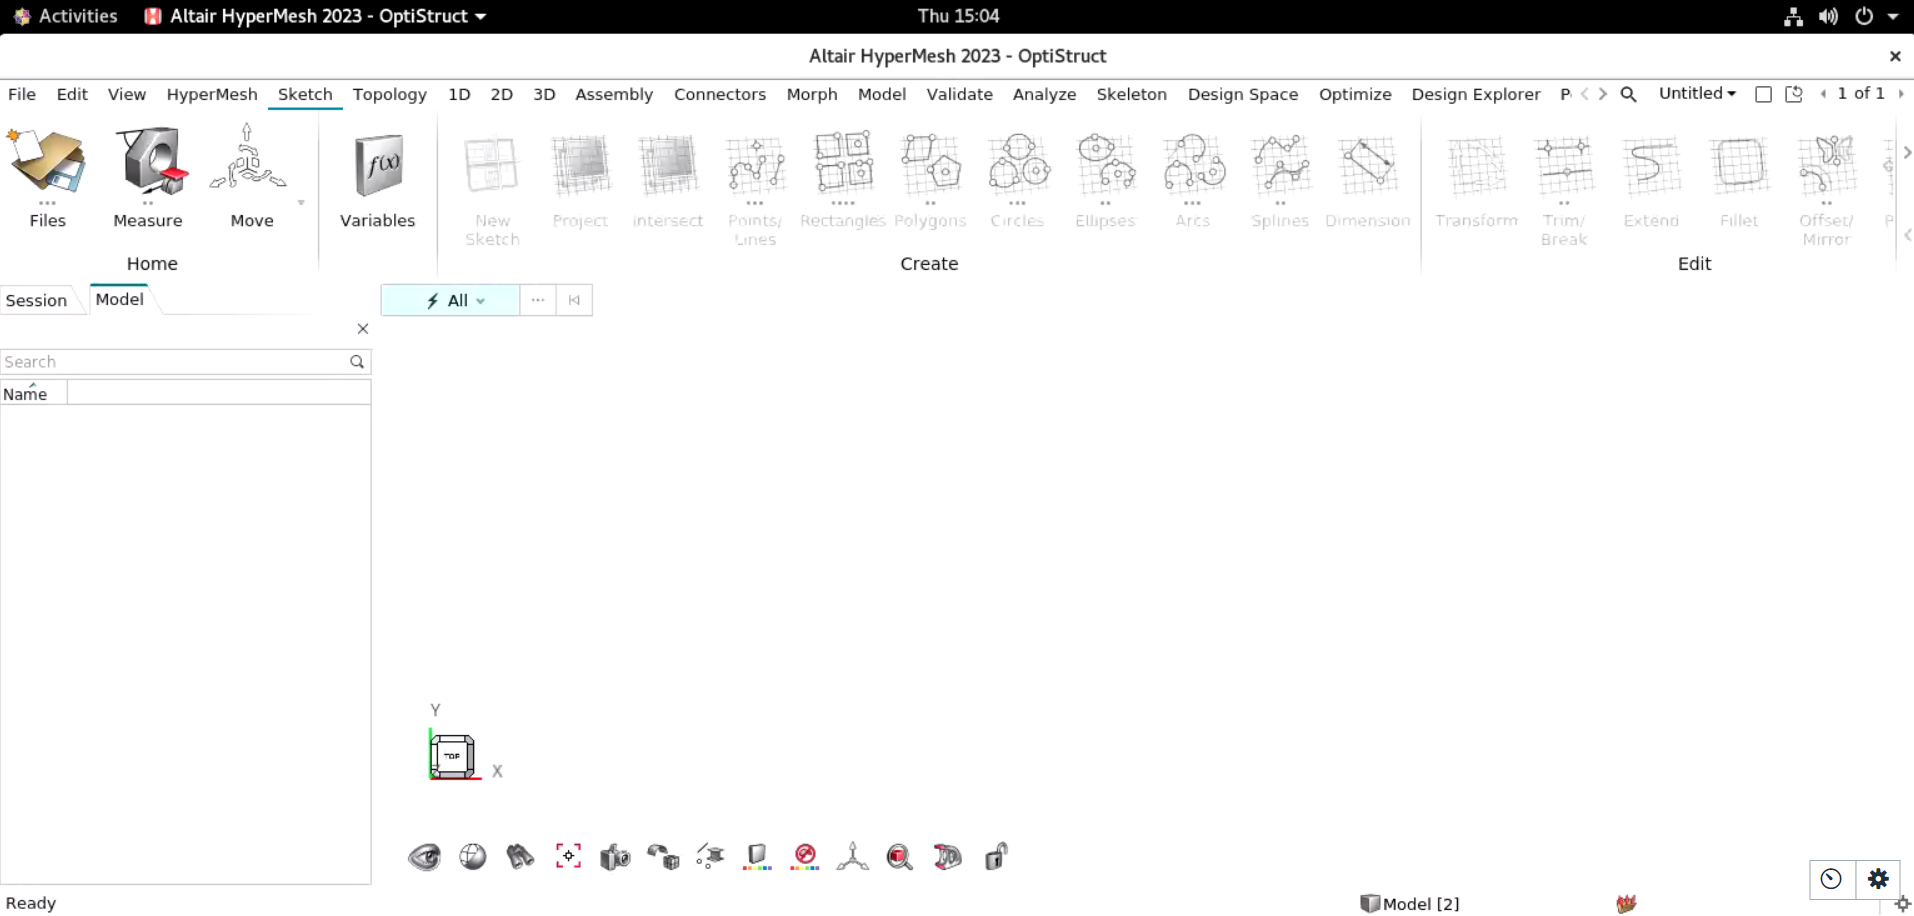
-
Click
 to view the remote desktops
options.
to view the remote desktops
options.
Figure 4. Remote Desktops Control Options 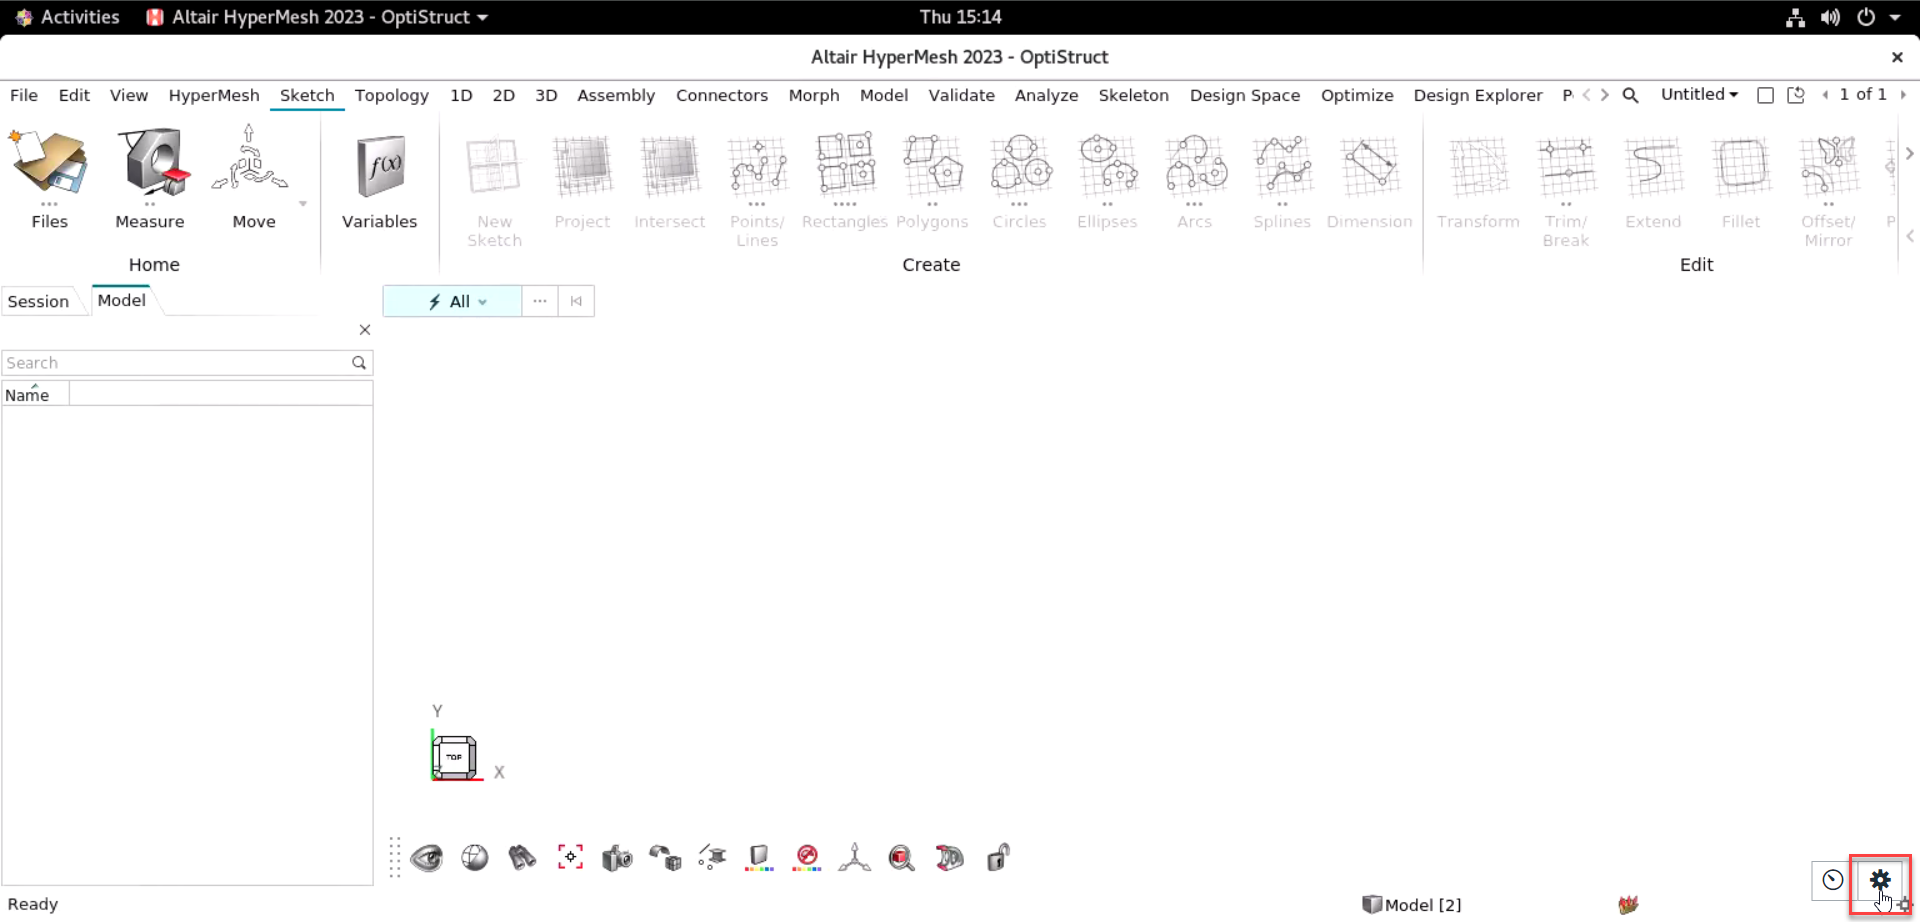
The remote desktops control options are displayed.Figure 5. Remote Desktops Control Options 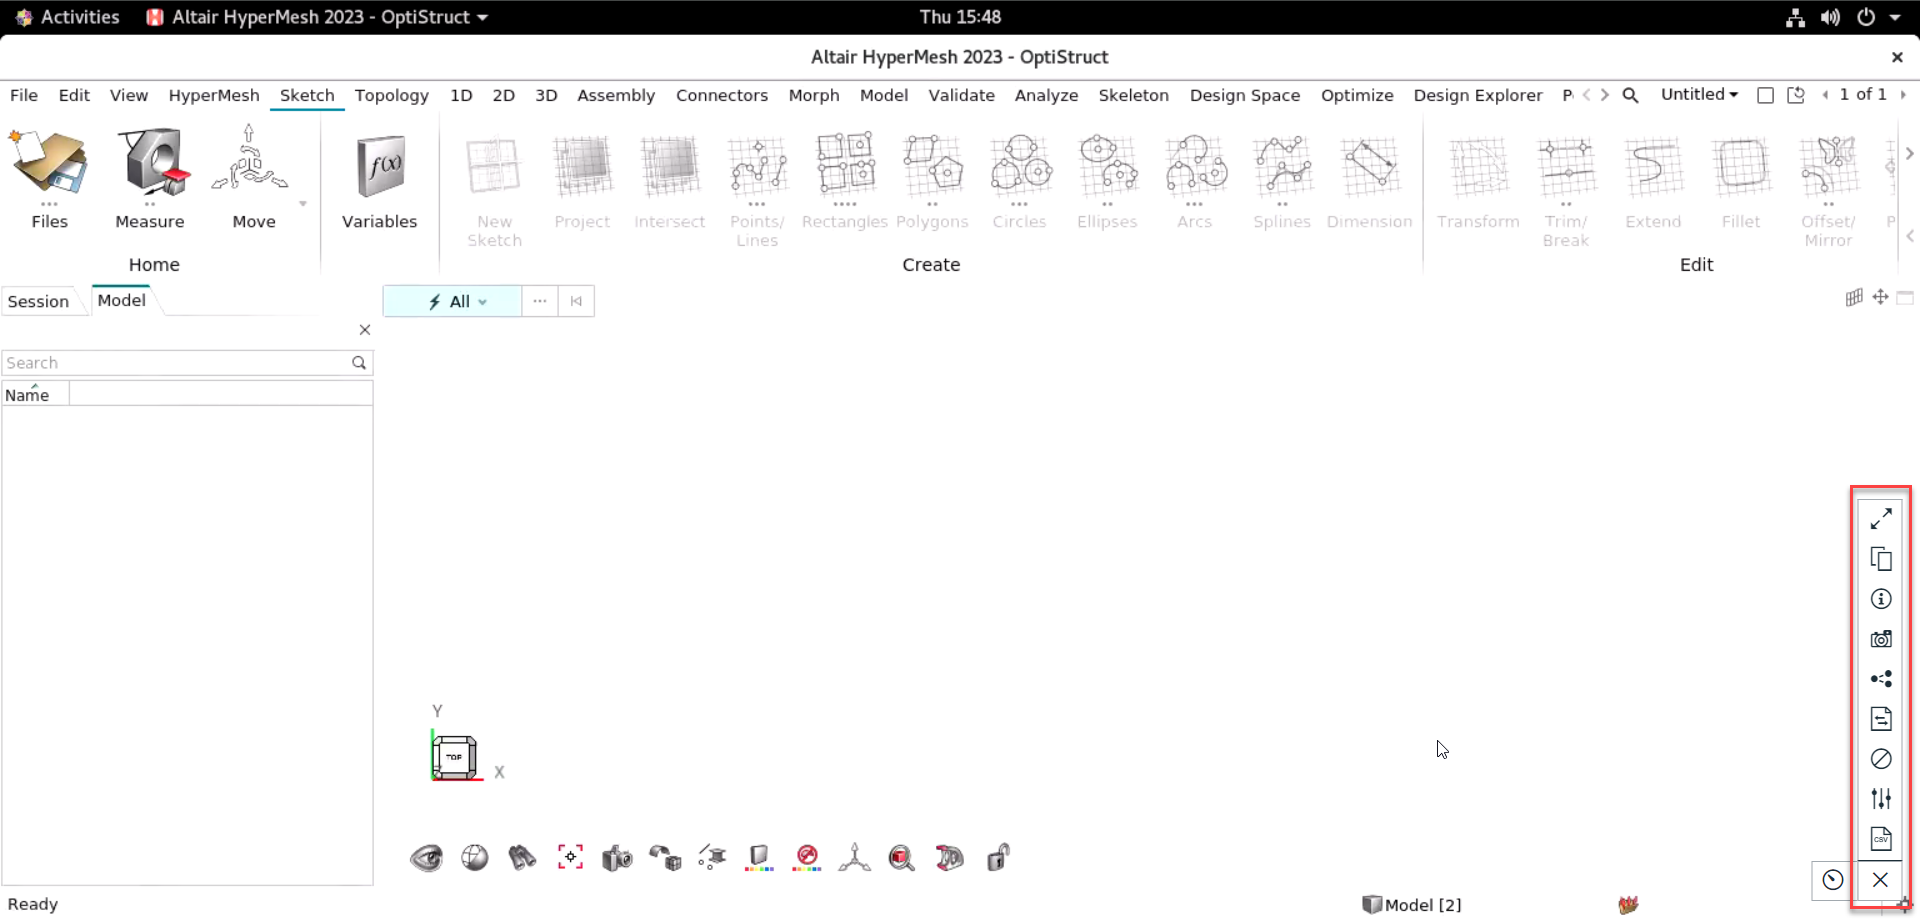
-
Click
 to capture the screen shot.
The screen shot of the remote desktops that is captured is displayed:
to capture the screen shot.
The screen shot of the remote desktops that is captured is displayed:Figure 6. Remote Desktops Capture Screen Shot 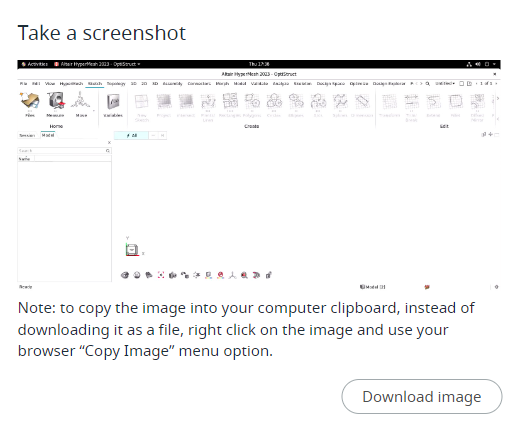
-
Choose one of the following options:
- Click Download to download the file locally. It can be accessed from the default download folder on the local machine.
- Right click on image and use browser context menu to copy the images to clipboard.