SS-T: 2075 Laser Welds
Create laser welds in SimSolid.
- Purpose
- SimSolid performs meshless structural
analysis that works on full featured parts and assemblies, is tolerant of
geometric imperfections, and runs in seconds to minutes. In this tutorial,
you will do the following:
- Learn how to create laser welds from solids and sketches.
- Model Description
- The following files are needed for this tutorial:
- Laser_corrugated.ssp
Import Geometry
- Open a new SimSolid session.
-
Click Import from file
 .
.
- In the Open geometry files dialog, choose Laser_corrugated.ssp.
-
Click Open.
The assembly will load in the modeling window.
Create Laser Welds from Solids
- On the Project Tree, click on the Connections workbench
-
On the Assembly workbench toolbar,
click
 (Create laser weld).
-
In the dialog, select the Welds from solids tab.
Note: SimSolid allows converting staple and cylindrical shaped parts to welds.
- Set Weld width to 2.
- Click the Select parts which are welds radio button.
-
Select one of the staple shaped parts as shown in Figure 1.
Figure 1. 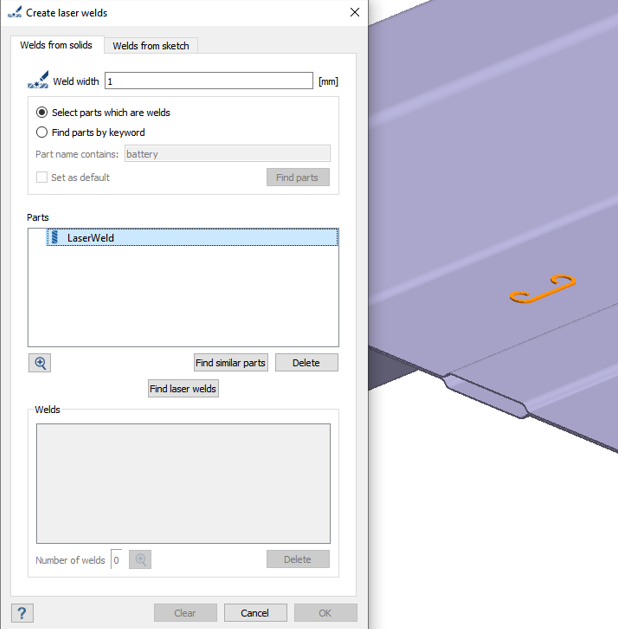
- To automatically add the other staple shaped parts, click Find similar parts.
-
Select more parts in one of the following ways:
- In the Project Tree, expand the
Assembly branch and select the highlighted parts
shown in Figure 2.
Figure 2. 
- In the Create laser welds dialog, select the Find parts by keyword radio button and type Weld. Then click Find parts.
- In the Project Tree, expand the
Assembly branch and select the highlighted parts
shown in Figure 2.
-
Click Find laser welds.
The dialog shows a preview of all laser welds found.
- Click OK.
Create Laser Welds from a Sketch
- On the Project Tree, click on the Connections workbench
-
On the Assembly workbench toolbar,
click (Create laser weld).
- In the dialog, select the Welds from sketch tab.
-
In the modeling window, select a few points on the
model and draw lines to connect them as shown in Figure 3.
Figure 3. 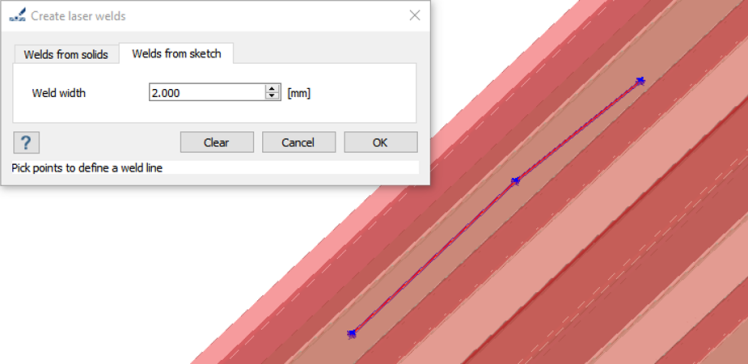
- In the dialog, set Weld width to 2.
- Click OK.