
Create Slice Planes
Use the Slice Planes tool to create derived geometry by slicing solids on a plane and defining display properties. The result of slicing is a 2D planar face.
-
From the Post ribbon, click the Slice Planes tool.
Figure 1. 
- Optional:
Select solids to slice.
By default, all solids all selected.
-
Select one of the three Cartesian planes in the modeling window.
Figure 2. 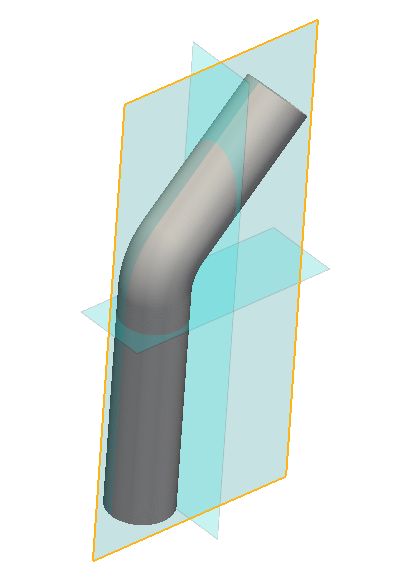
-
Use the microdialog options to change the axis, orient
the plane direction interactively, and/or define the type of slice.
- Crinkle slice
- If on, the slice plane will not slice volume elements and will just show volume elements intersecting with the slice plane. If off, the slice plane will trim volume elements.
- Finite slice
- If on, you can resize the slice plane by clicking on the edge of the plane widget and manipulating it or entering length/width values in the microdialog.
-
Click
 in the microdialog to create the slice plane.
A slice plane geometry is created in the Post Browser.
in the microdialog to create the slice plane.
A slice plane geometry is created in the Post Browser. - Use the tabs in the display properties microdialog to define plot contour data, vectors, contour lines, mesh lines (here it will be volume element slice lines), and feature lines.
-
On the guide bar, click
 to
confirm your selection and remain in the tool or click
to
confirm your selection and remain in the tool or click  to confirm your selection and exit the tool.
Tip: To edit the slice plane definition and display style, right-click on a
slice plane in the Post Browser and select
Edit. Click Plane on the guide bar to view the plane definition options.
Animate Slice Planes
- Once a slice plane representation is created, right-click on it in the Post Browser and select Animate.
-
Use the toolbar at the bottom of the modeling window to
control the animation.
The slice plane starts animating from the minimum bound of the plane.
Click
 to define the number of section cuts within the
bounds, which will decide the distance between the plane. You can also
control speed of the animation using the slider.
to define the number of section cuts within the
bounds, which will decide the distance between the plane. You can also
control speed of the animation using the slider.For transient simulations, the section animation happens at the current time step.