PhysicsAI-T: 3000 Custom Inputs with a Global Hook
Tutorial Level: Advanced In this tutorial, you will use custom global input variables (such as varying material properties, global boundary conditions, and so on) for training.
In HyperMesh version 2025 and later:
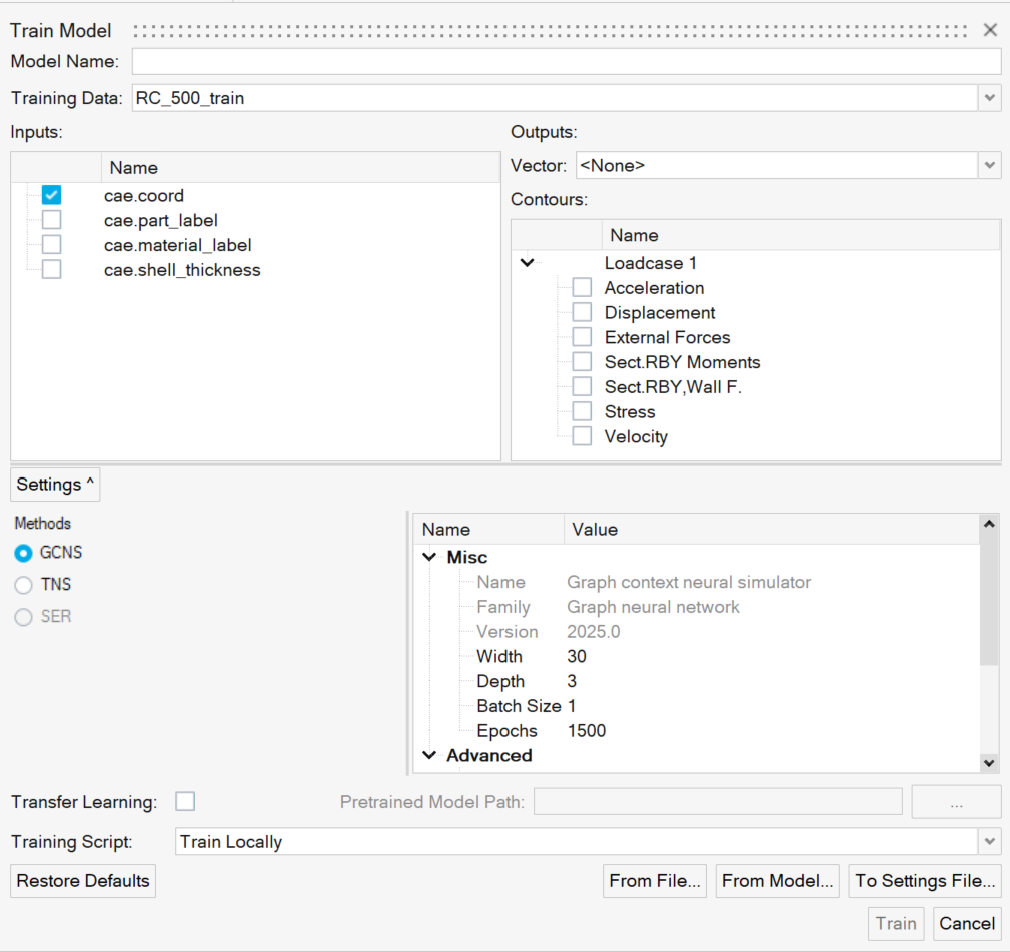
- The nodal coordinates and part IDs are ready automatically from the .h3d (or equivalent result) files provided. The coordinates are default inputs to the PhysicsAIs model. The part IDs can be enabled by selecting the box next to it.
- If select native decks are available, the thickness and material IDs are automatically parsed. For information about supported decks, see Frequently Asked Questions.
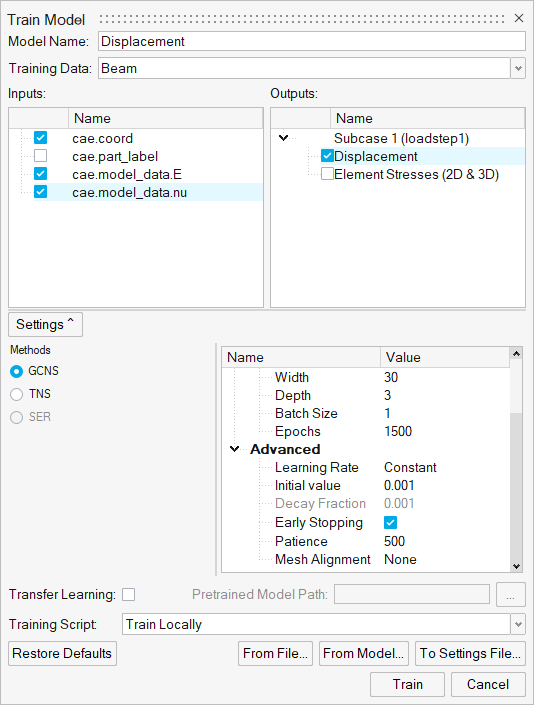
- A global property associated with all nodes in a model such as varying material properties (Young’s Modulus, Poisson’s ratio), global boundary conditions, and so on can be supplied through a .json file with the same name and in the same location as each of the .h3d files. A custom python script, global_hook.py, is needed to read the .json files.
The detailed instructions for each of these cases are provided in this tutorial.
Before you begin, copy the file(s) used in this tutorial to your
working directory.
Note: Unzip the project custom_inputs.zip and inspect the
contents. The global_hook folder contains the
global_hook.py, .h3d, and
.json files for Use Global Hook.
- Default Inputs Imported from h3d
- If only .h3d files are provided, the nodal coordinates
and part ID are imported by default. Only the nodal coordinates are enabled
by default.
Figure 1. Default 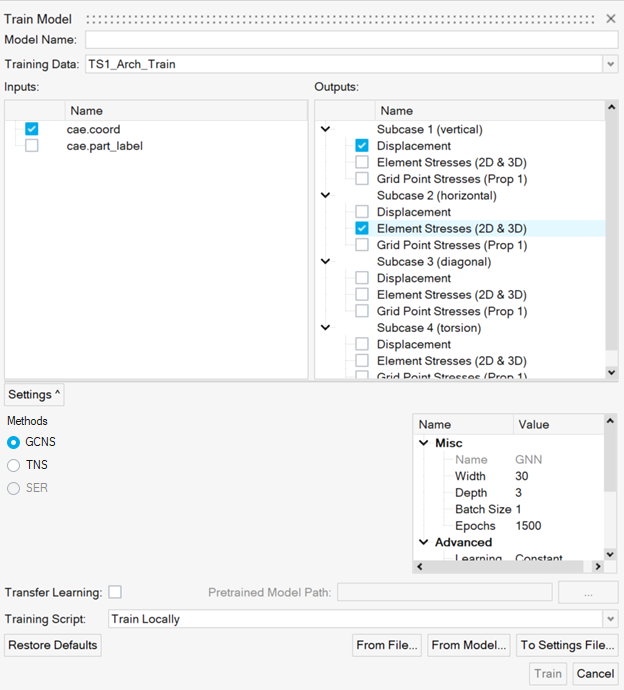
- Natively read in thickness and material IDs
- If select native decks are available in addition to the .h3d files, the thicknesses and material IDs are automatically parsed. The native decks should share the name with the corresponding .h3d files.
Use Global Hook
For properties which are applied at the same value to every node in a model, like global properties, the global hook should be used.
-
Open the global_inputs folder.
Inside the training_files folder, there are seven .h3d files named run__000X_m_1_fillet_cantilever.h3d and seven .json files named run__000X_m_1_fillet_cantilever.json. Each .json file contains exactly two material properties, Young’s modulus and Poisson ratio with different values. It is necessary to have consistent labels and number of properties across all the samples.
Figure 3. Global Property Inputs 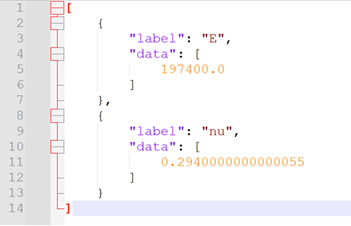
- Open HyperMesh.
- From the menu bar, click to open the PhysicsAI ribbon.
-
Create a new project called global_inputs.
- Copy the global_inputs_hook.py file into the _hooks folder inside the project folder.
-
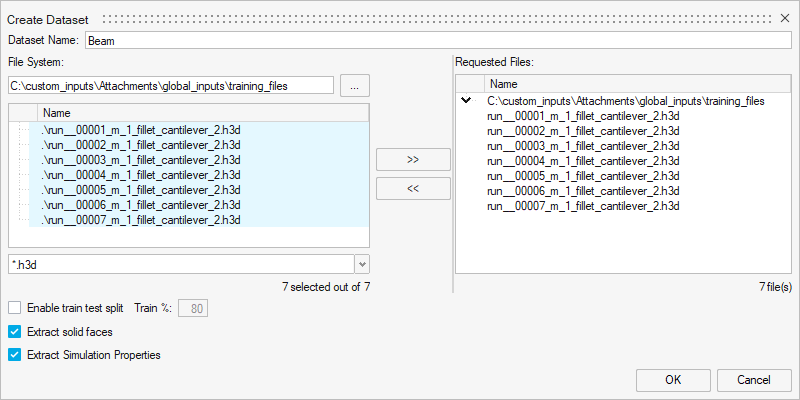
Create a new dataset using all seven samples and name it Beam.
-
Train the model.
-
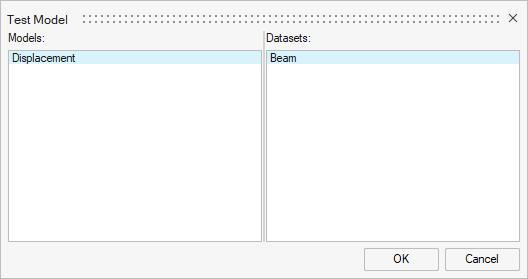
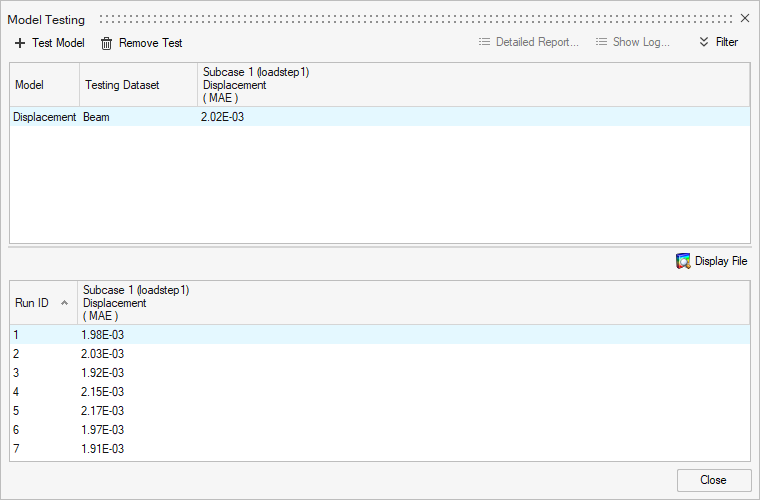
Test the model.
New samples can be generated by copying and renaming one or more training files. Ensure that the associated .json files are also present with different values of E and nu while creating the test dataset.
-
Once the testing is complete, set the model to active.
Important: Setting a model as active will checkout a stacking license until the model is deactivated.
