Create a linear or circular pattern of sketch entities.
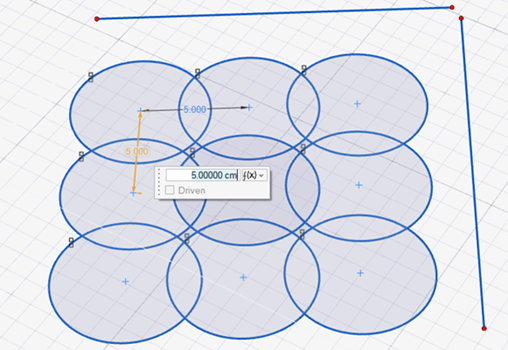
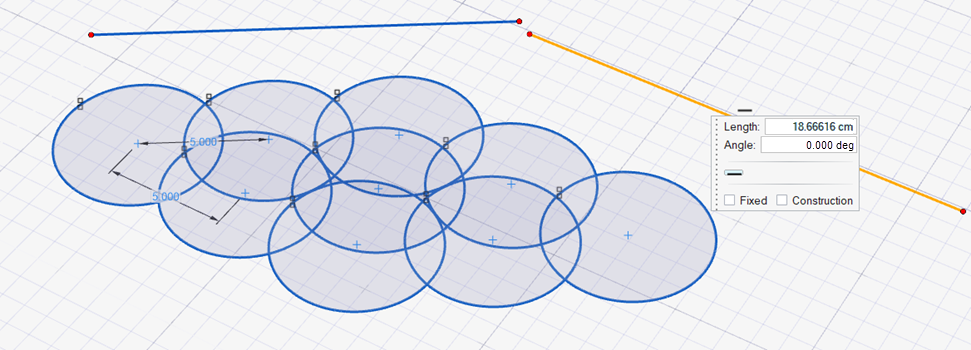
Create a Linear Pattern
Pattern sketch entities in a linear direction.
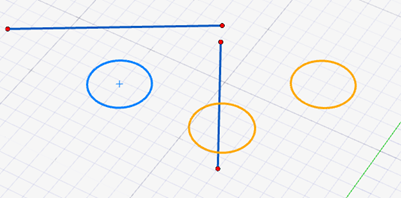
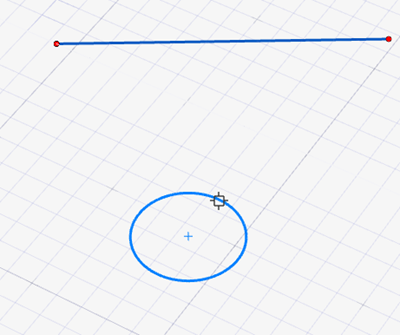
First, sketch one shape to pattern and one reference shape
for each pattern direction.
On the Sketching ribbon, in the
Pattern tool group, select the Linear
Pattern tool.
The Control Panel appears.
In the modeling window, select the entity you would like to pattern.
To select multiple entities, use box selection or hold down
Ctrl while clicking the entities.
Tip: You can select entities from multiple
sketch shapes.
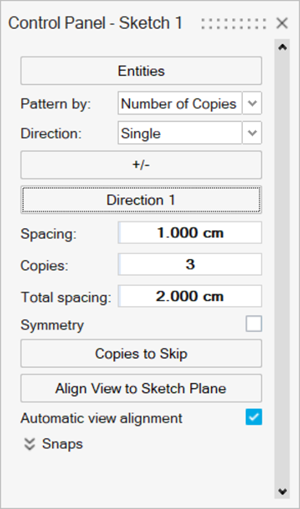
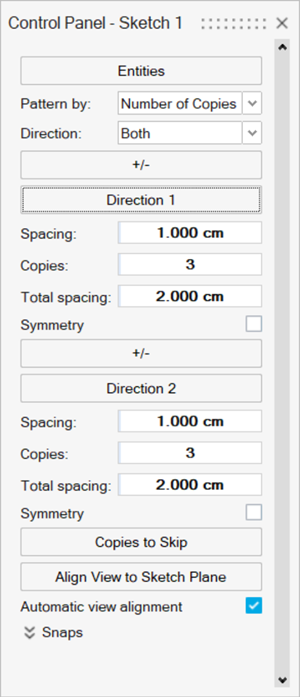
Select a method to Pattern by:
Number of Copies: Create a pattern based on the
number of Copies of the selected entity you would
like in a pattern direction. The original entity is included in the
Copies value.
Equal Spacing: Create a pattern based on the
Total Spacing you would like between the
first and last entity in the pattern. The Spacing
between each copy will be calculated automatically so that they are
equal.
Select a Direction:
Single (default): Create the pattern in one
direction.
Both: Create the pattern in both directions. If
you select Both, a second set of parameters
appears in the control panel under Direction 2.
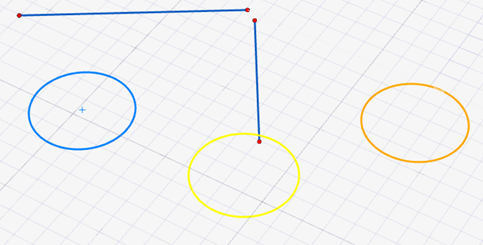
In the Control Panel, click Direction 1.
In the modeling window, select a sketch line to which the pattern will
be parallel.
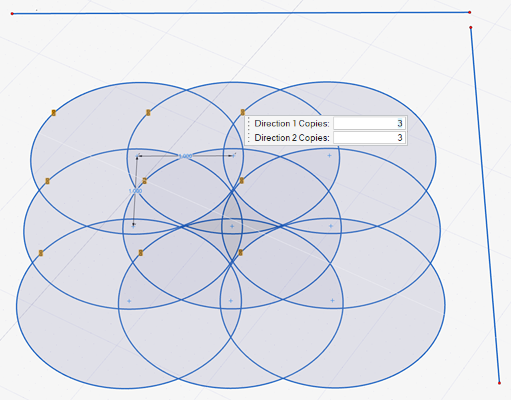
A preview of Direction 1 will appear in the
modeling window with the default Copies value
(three figures total).
Optional: To reverse the direction, click .
If you have enabled both directions, in the Control Panel, click
Direction 2.
Select a sketch line to which the Direction 2
pattern will be parallel.
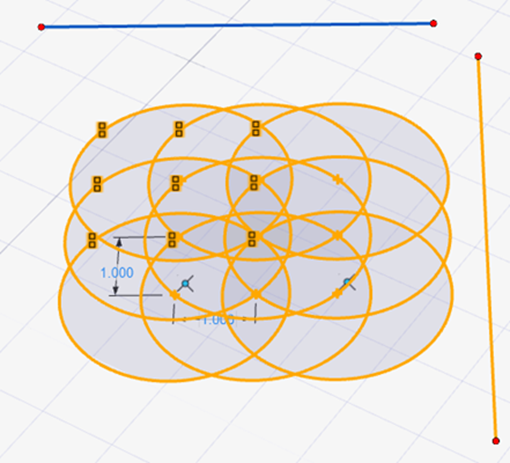
A preview of Direction 2 will appear in the
modeling window with the default Copies value
(three total copies) of Direction 1 in
Direction 2.
Optional: To reverse the direction, click .
In the Control Panel, adjust the pattern along Direction
1 or Direction 2:
To
Do this
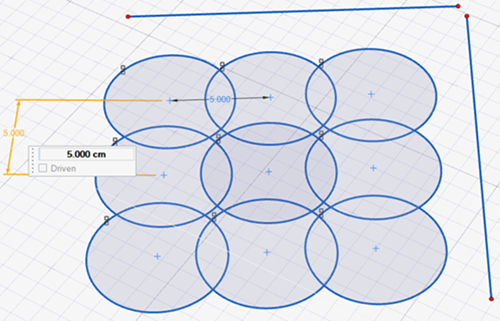
Change the distance between copies
Change the Spacing value (only
available if you chose to pattern by Number of
Copies).
Change the number of copies
Enter the number of
Copies.
Adjust the total spacing between the first and last shape
in the pattern
Change the value of Total Spacing
(only available if you chose to pattern by Equal
Spacing).
Pattern symmetrically along direction 1 or 2
For Direction 1 or 2, turn on
Symmetry.
Note:Symmetry
does not change the Copies value
when enabled.
Add more entities to pattern
In the guide bar or control panel, click
Entities.
Use box selection or hold
Ctrl while clicking
entities you would like to add.
Optional: Select the copies to skip.
In the Control Panel, click Copies to
Skip.
In the modeling window, choose copies to exclude from the
pattern.
Excluded shapes turn bright yellow.
In the Control Panel, right-click once in the modeling window or click
Copies to Skip to apply.
Excluded shapes disappear from the pattern.
Note: To re-add excluded shapes to the pattern,
click Copies to Skip in the Control Panel.
Excluded shapes will re-appear. Select each shape you would like to
add back to your pattern. Right-click once in the modeling window to
apply.
Optional: If you would like your pattern created without dimension specifications,
deselect the Create Dimension option at the top of the
screen.
Note: If you deselect Create
Dimension, you can't use dimensions to readjust the
Spacing after you set the pattern.
Right-click and mouse through the check mark to exit, or double-right-click.
Re-adjust the pattern:
To
Do this
Change the pattern spacing
Click the dimension arrow number, then enter the
Spacing.
Change the angle of the pattern
Select the reference geometry for Direction
1 or Direction 2,
then enter a new angle value.
Change the number of copies in a pattern
direction
Click any set of the two small squares in the pattern,
select Linear Pattern, then enter a
new value for Direction 1 Copies or
Direction 2 Copies .
View all parts of the pattern highlighted
Hover over any set of the two small squares in the
pattern.
Drag the dimension number to a more convenient
location
Click the dimension arrow, then drag it to a new
location.
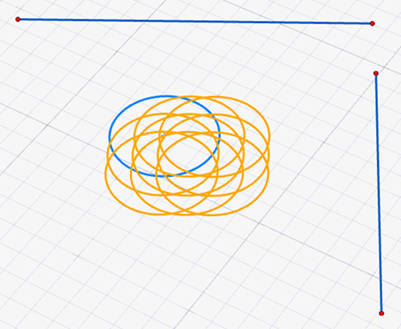
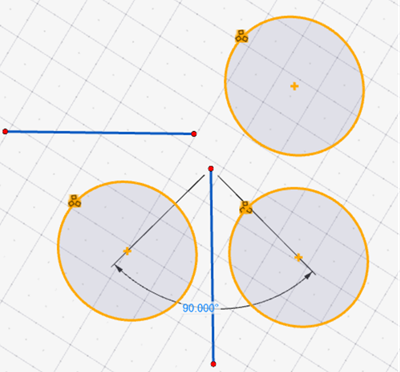
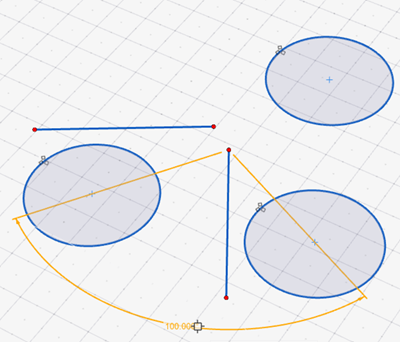
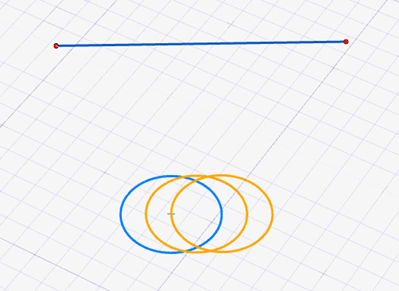
Create a Circular Pattern
Pattern sketch entities around a point.
First, sketch one shape to pattern and one reference point
for your pattern Center.
On the Sketching ribbon, in the
Pattern tool group, select the Circular
Pattern tool.
The Control Panel appears.
In the modeling window, select the entity you would like to pattern.
To select multiple entities, use box selection or hold down
Ctrl while clicking the entities.
Tip: You can select entities from
multiple sketch shapes.
Select a method to Pattern By:
Number of Copies: Create a pattern based on the
number of Copies of the selected entity you would
like in the initial pattern before configuring it further. The original
entity is included in the Copies value.
Equal Spacing: Create a pattern based on the
Total Angle you would like between the first
and last entity in the pattern. The Angle between
each copy will be calculated automatically so that they are equal.
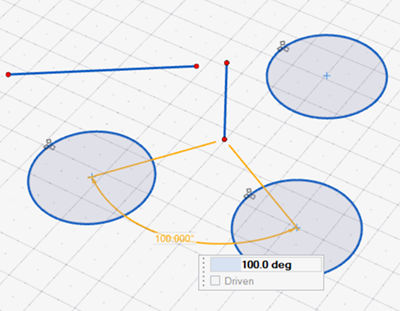
In the Control Panel, click Center.
In the modeling window, select a point or vertex as the center of the
circular pattern.
The circular pattern will appear with the default
Copies value (three figures total).
Optional: To reverse the direction, click .
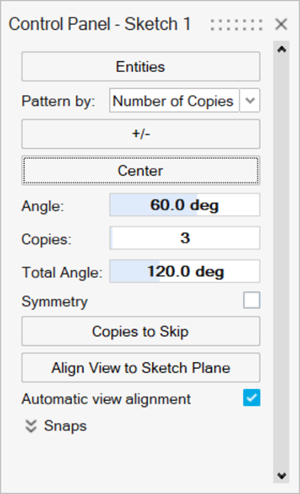
In the Control Panel, adjust the pattern elements:
To
Do this
Change the angle between each copy
In the Control Panel, change the
Angle value (only available if
you chose to pattern by Number of
Copies).
Change the number of copies
In the Control Panel, enter the number of
Copies.
Change the total angle degree between the first and last
shape
In the Control Panel, change the Total
Angle value (only available if you chose to
pattern by Number of Copies).
Pattern symmetrically about the selected
Center
Turn on Symmetry.
Note:Symmetry
does not change the Copies value
when enabled.
Add more entities to pattern
In the guide bar or Control Panel, click
Entities.
Use box selection or hold
Ctrl while clicking
entities you would like to add.
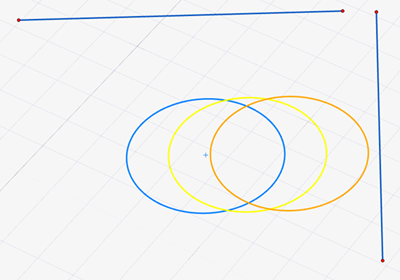
Optional: Select the copies to skip.
In the Control Panel, click Copies to
Skip.
In the modeling window, choose copies to exclude from the
pattern.
Excluded shapes turn bright yellow.
Right-click once in the modeling window or click Copies to
Skip in the guide panel to apply.
Excluded shapes disappear from the pattern.
Note: To re-add excluded shapes to the pattern, click
Copies to Skip in the Control Panel. Excluded
shapes will re-appear. Select each shape you would like to add back to your
pattern. Right-click once in the modeling window to apply.
Optional: If you would like your pattern created without dimension specifications.,
deselect the Create Dimension option at the top of the
screen.
Note: If you deselect Create
Dimension, you can't use dimensions to readjust the
Angle after you set the pattern.
Right-click and mouse through the check mark to exit, or double-right-click.
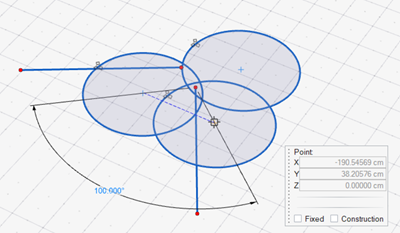
Adjust the pattern:
To
Do this
Change the distance between each copy
Click the dimension arrow, then enter the
Angle.
You can also select the center of any shape in your
pattern to adjust or rotate them around the pattern center.
Change number of copies in your pattern
Click any set of three small squares in the pattern,
select Circular Pattern, then enter a
new value for Copies.
View all parts of the pattern highlighted
Hover over any set of the three small squares in the
pattern.
Drag the dimension number to a more convenient
location.
Click the dimension arrow, then drag it to a new
location.

 To select multiple entities, use box selection or hold down Ctrl while clicking the entities.
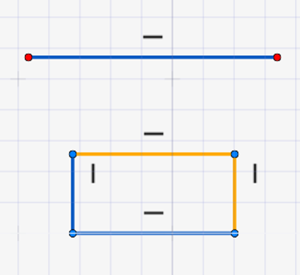 Tip: You can select entities from multiple sketch shapes.
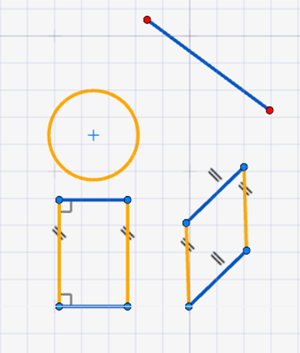
 .
.