SS-T: 1050 Rigid Body Parts
Tutorial Level: Beginner Set rigid body parts in a car door assembly in SimSolid.
- Why do you need rigid bodies?
-
- You can set rigid parts to account for their mass while carrying out the simulation.
- When a part is set to a rigid body it shows no deformation for that part.
- Purpose
- SimSolid performs meshless
structural analysis that works on full featured parts and assemblies, is
tolerant of geometric imperfections, and runs in seconds to minutes. In this
tutorial, you will do the following:
- Input mass properties using total mass of the part or using the density of the material to define a rigid body.
- Model Description
- The following model file is needed for this tutorial:
- Car_Door.ssp
Open Project
- Start a new SimSolid session.
-
On the main window toolbar, click Open Project
 .
.
- In the Open project file dialog, choose Car_Door.ssp
- Click OK.
Review the Model
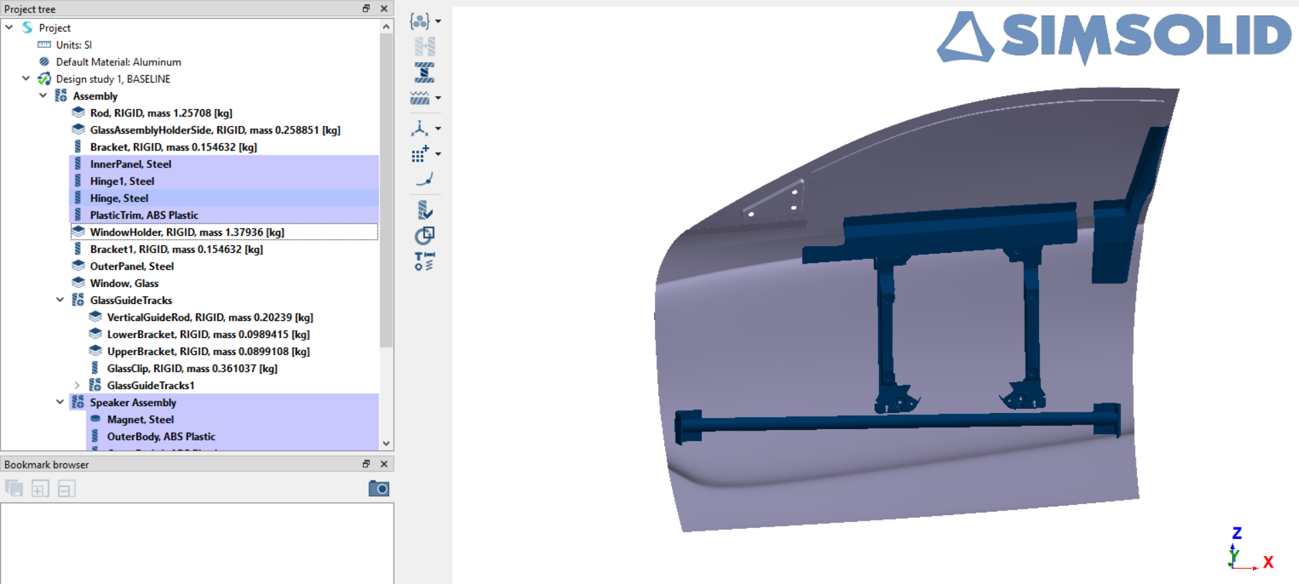
- In the Project Tree, expand Assembly and review the different components.
-
Hide the plastic trim, inner panel, and speaker assembly components.
Tip: To hide components, select them in the Project Tree and press H on your keyboard.
Define Rigid Parts
-
To set a part as a rigid body, click on the assembly in the Project Tree, and then click
 Set part rigid > Select
rigid parts.
The Set part rigid dialog opens.
Set part rigid > Select
rigid parts.
The Set part rigid dialog opens. -
In the modeling window, select the parts highlighted in
orange.
Figure 1. 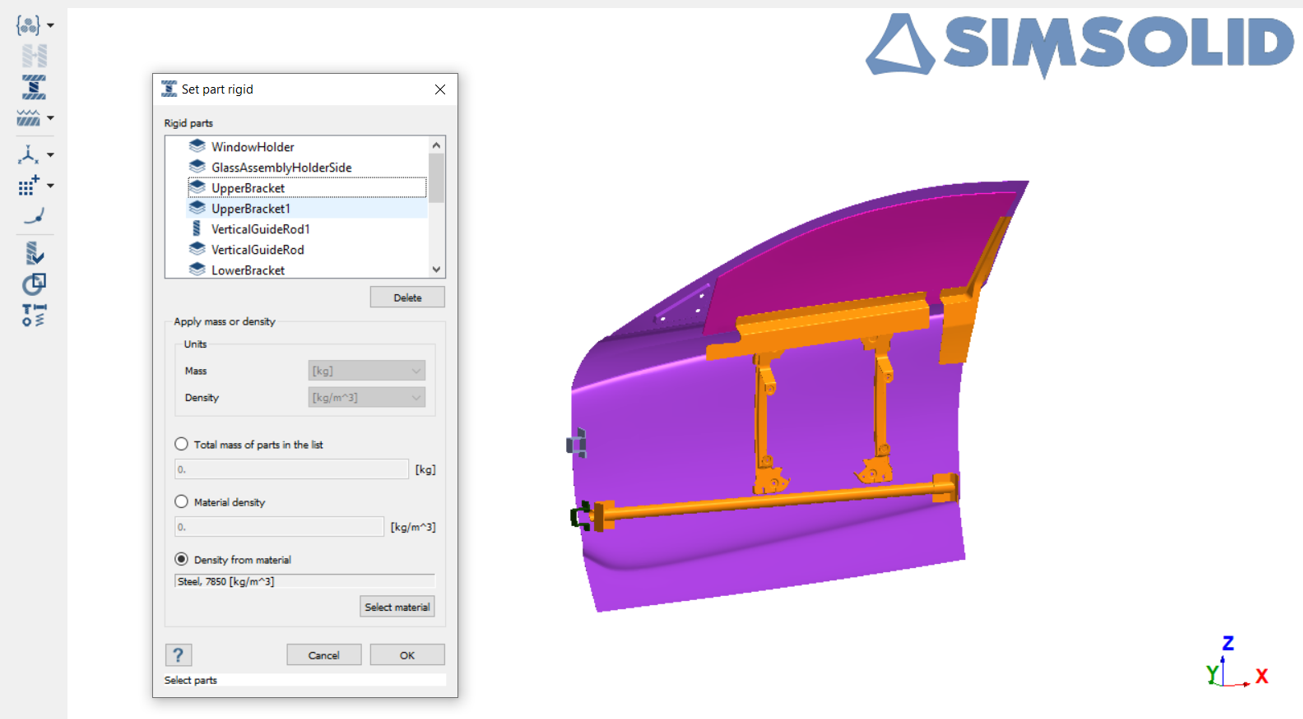
Tip: You can also select parts from the Project Tree. - Select the Density from material radio button.
-
Click Select material, and then select
Steel.
Note: The density of steel will be 7850 kg/m3.
- Click OK.
Note:
- SimSolid also allows options to define the mass of rigid bodies by specifying the total mass or density of the selected parts.
- SimSolid supports SI, Metric and IPS unit systems.
Set Parts back to Elastic from Rigid
-
In the modeling window, select the rod highlighted in
orange.
Figure 3. 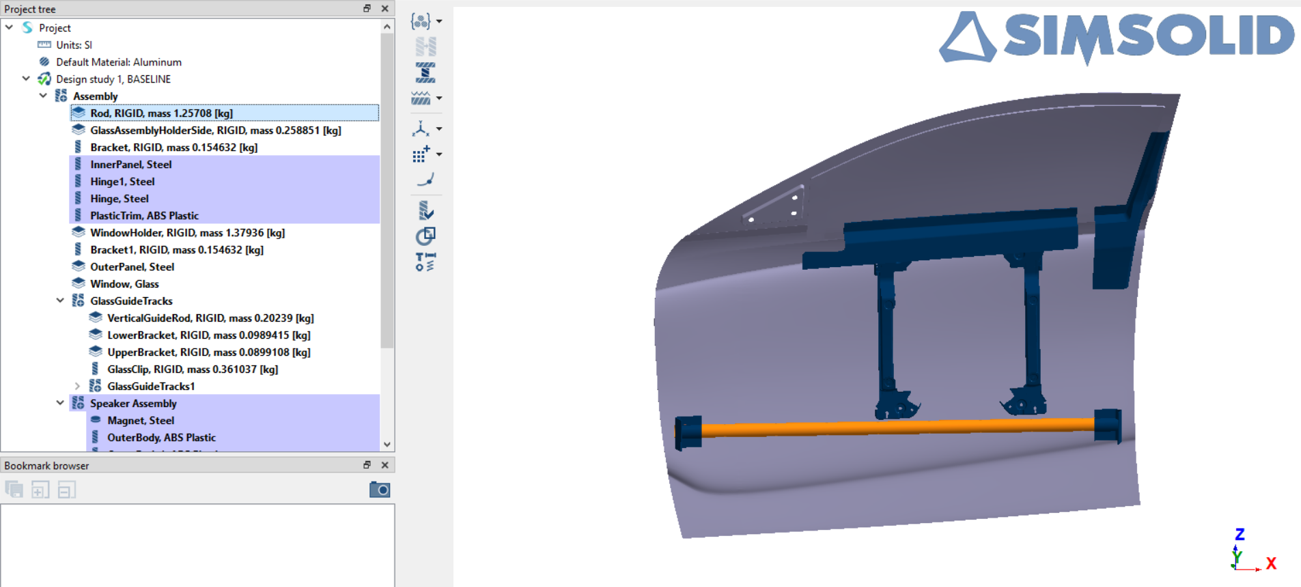
-
Click
 and assign the
appropriate material.
and assign the
appropriate material.
- Click Apply to Select parts to make the rod elastic.