HS-1010: Set Up a Simple Study
Learn how to set up a study on simple functions defined using a Templex template.
- Simple.tpl
- Base input template
The base input template defines two input variables, DV1 and DV2, labeled X and Y, respectively. The objective of this study is to investigate the two random variables X, Y forming the two functions X+Y and 1/X + 1/Y – 2.
Review the Base Input Template
In this step you will use HyperMesh Desktop to review the base input template.
- Start HyperMesh Desktop.
-
On the Client Selector toolbar, select TextView.
Figure 1. 
-
On the Standard toolbar, click
 .
.
-
In the Open Document dialog, navigate to your working
directory and open the Simple.tpl file.
The text editor displays the following Templex statements:
{parameter(DVAR1,"Area 1",.5,0.2,5)} {parameter(DVAR2,"Area 2",.5,0.2,5)} {RES = DVAR1 + DVAR2} {CON = 1/DVAR1 + 1/DVAR2 - 2} {RES} {CON} {DVAR1} {DVAR2} -
On the Text toolbar, click
 .
The text editor evaluates the Templex statements, replaces the parameters with their initial values, and displays the following results:
.
The text editor evaluates the Templex statements, replaces the parameters with their initial values, and displays the following results:1 2 0.5 0.5 - Start HyperStudy by clicking from the menu bar.
Perform the Study Setup
-
Start a new study in the following ways:
- From the menu bar, click .
- On the ribbon, click
 .
.
- In the Add Study dialog, enter a study name, select a location for the study, and click OK.
- Go to the Define Models step.
-
Add a Parameterized File model.
Figure 3. 
-
Click Import Variables.
Two input variables are imported from the Simple.tpl resource file.
- Go to the Define Input Variables step.
- Review the input variable's lower and upper bound ranges.
- Optional: Access additional editing and visualization features from the context menu by right-clicking anywhere in the work area.
Perform Nominal Run
- Go to the Test Models step.
-
Click Run Definition.
An approaches/setup_1-def/ directory is created inside the study Directory. The approaches/setup_1-def/run__00001/m_1 directory contains the input file, which is the result of the nominal run.
Create and Evaluate Output Responses
In this step, you will create two output responses.
- Go to the Define Output Responses step.
-
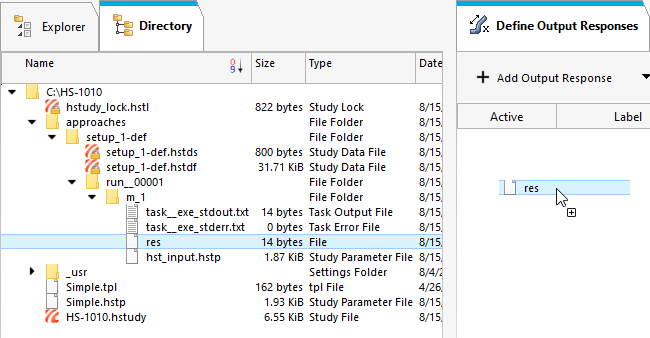
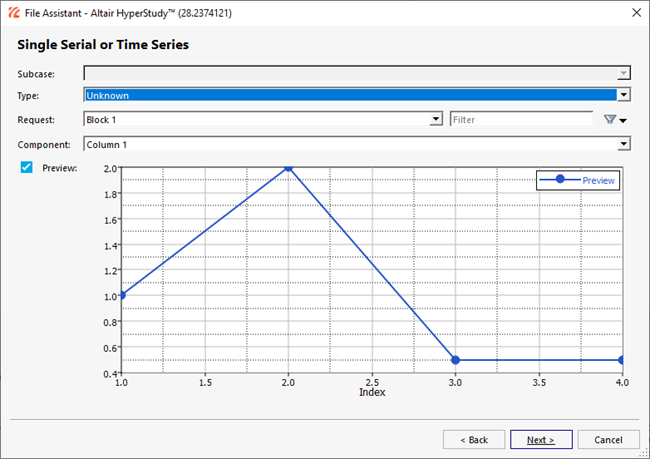
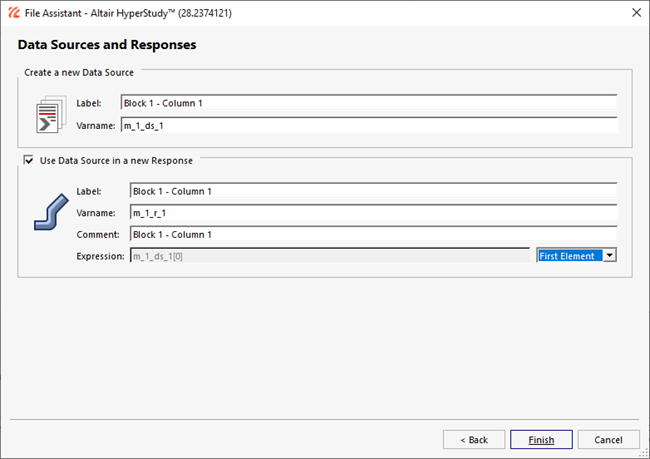
Create output response 1.
Output response 1 is added to the work area.
- Create output response 2 by repeating step 2.
-
In the Expression field for Response 2, select the second value by changing the
[0] to [1] after m_1_ds_2.
Figure 7. 
- Click Evaluate to extract the response values.


