Capture the visualization state of 3D with the supported content using Scene
Explorer.
You can save various scenes of a model file with the required content prior your
presentation. Each scene could be of a different angle of the entire model or part of
the model file. When you share a file to a user, all your scenes and comments are also
shared to the user.
Select a model file and expand the 3D viewer.
Click .
The Browser window displays the model parts of a 3d model. Figure 1. Browser
To prepare a specific scene, hide certain parts of the model.
Right-click the required part on the 3D model file and click Hide
Selected from the context menu to hide it.
Tip: You can also see the model part is
highlighted in the Models pane.
Figure 2. Hide a part of model
You can also uncheck the specific model part by its name using the
Models pane.
The selected model part is highlighted in the model window to confirm
and hide it. Figure 3. Select using the Model Part Name
Note: You can also search for the model part name
using the search field to hide it.
Click to create a
scene.
The Scenes panel is displayed.
Click to add a new scene.
An empty field is displayed. Figure 4. Add a New Scene
Enter a name for the scene you are creating and press enter.
A new scene is added to the list. Figure 5. Scenes
You can Update, Rename
and Delete the scene you created. Click beside the scene name to do the required
action.
 .
The Browser window displays the model parts of a 3d model.
.
The Browser window displays the model parts of a 3d model.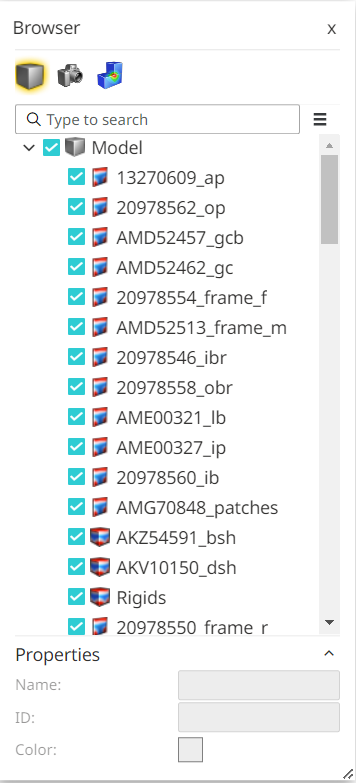
 pane.
pane.

 to create a
scene.
The Scenes panel is displayed.
to create a
scene.
The Scenes panel is displayed. to add a new scene.
An empty field is displayed.
to add a new scene.
An empty field is displayed.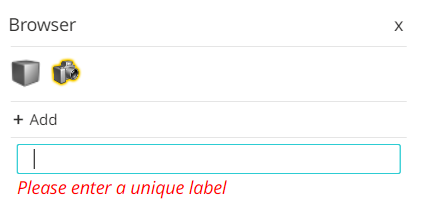

 beside the scene name to do the required
action.
beside the scene name to do the required
action.