romAI Block
After you install the romAI library in Twin Activate, a new palette appears in the Palette Browser.
The romAI Palette contains a romAI block.

This block is used for deploying the trained romAI model. The block oversees the deployment step of the workflow to initialize the states from exposed ports.
Basic Use
-
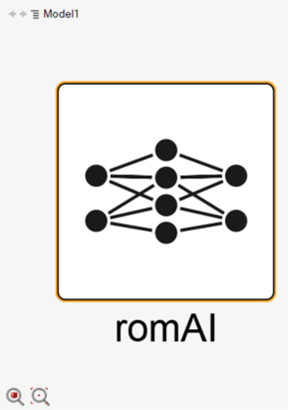
Drag the romAI block into the modeling
window.
-
Double-click the block.
The romAI dialog opens.

-
Navigate to a directory containing a valid romAI
model.
The block automatically updates according to the selected romAI model.
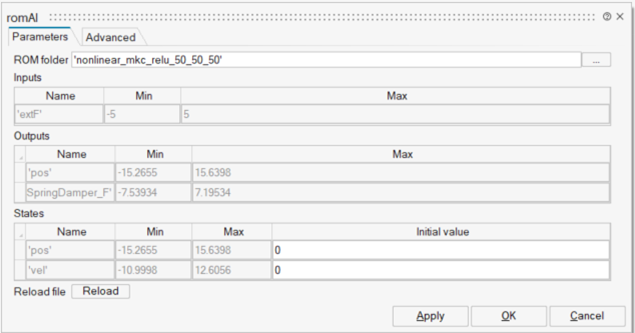
In the mask, the inputs, state variables, and outputs of the model are reported together with their min and max values that occurred in the training phase.
-
If state variables exist, specify their initial values through the related edit
boxes.

-
After the block mask is defined, click OK.
The mask closes, and input and output ports of the block are shown.
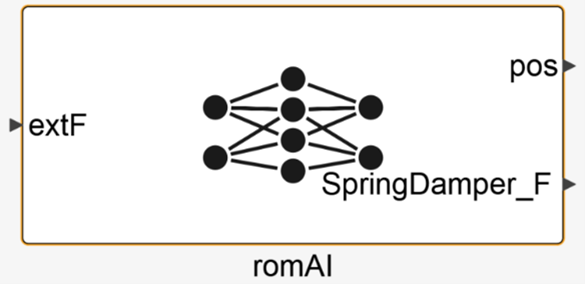
You can now use the input and output ports to connect the romAI block to other blocks.
-
Click the Reload button in the block mask.
The romAI model reloads, and the initial values of the state variables, if they exist, are set back to the default values.
Advanced Use
The romAI block offers advanced options meant for improving the accuracy of the romAI model itself during time simulation.
- Open the Advanced tab of the block mask.
-
Select a constraint option.
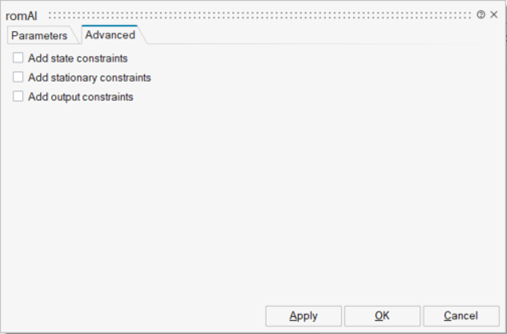
- Click OK.
Define State Constraints
-
Select the Add state constraints check box.
The following table opens.

-
Enter the number of constraints in the Number of state
conditions field.
When you change this value, it automatically adds or removes rows in the constraints table.
Constraint Subtypes: Reinitialize State Variables
The state variable gets reinitialized to the reset value if the defined condition on the inputs is met.
-
In the State name column, click the ... button.
A list of the available state variables is shown.
-
Double-click the desired state variable.
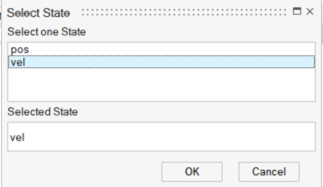
- Click OK.
-
Click the Expression Builder
 icon.
The Expression builder shows the variables and variable names for the expression.
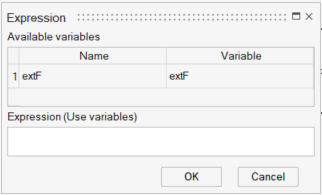
-
Enter the condition in the Expression box and include the name of the listed
variable.
Supported arithmetical operators can be included in the expression: (+ - * / ^), logical operators (| & ! ~), and relational operators ( > < >= <= == ~= <>). The expression must return a Boolean type.
- Specify the Reset Value.
Constraint Subtypes: Thresholding
The state variable values can be limited within a range.
-
Specify the range through the Lower limit and
Upper limit cells of the constraint table.

- Click OK.
Define Stationary Constraints
-
Select the Add stationary constraints check box.

-
Enter a value for the Number of stationary
constraints.
The rows in the stationary constraints table are added or removed automatically based on the specified value.
Set Stationary Constraint Conditions
You set stationary constraint conditions so that the variation of the state variables within a defined range is not considered.
-
In the State name column, click the ... button.
A list of available state variables is shown.
-
Double-click the desired state variable.

- Click OK.
- Enter a value to set the threshold, which defines the range.
-
Click OK.
The stationary conditions are defined. Stationary conditions can be helpful when dealing with stationary problems or slow-varying problems. In these cases, small numerical errors can lead to a divergence issue over time during a simulation.
Define Output Constraints
-
Select the Add output constraints check box.

-
Enter the number of constraints in the Number of output
conditions field.
Changing this value automatically adds or removes rows to the constraints table.
Set Output Constraint Conditions
Each output can be constrained if a certain condition is met on the inputs, state variables or the output itself.
-
In the Output name column, click the ... button.
A list of available outputs is shown.
-
Double-click the desired state variable.
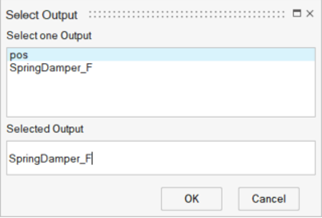
- Click OK.
-
Click the Expression Builder
 icon.
The Expression builder shows the variables and variable names for the expression.
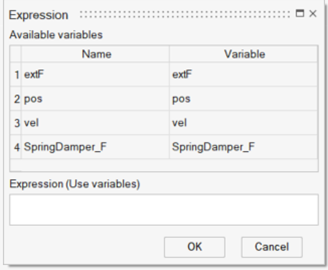
-
Enter the condition in the Expression box and include the name of the listed
variable.
For example, the following condition forces the “SpringDamper_F” output to be greater than or equal to 0.

Note: Arithmetical operators can be included in the expression: (+ - * / ^), logical operators (| & ! ~), and relational operators ( > < >= <= == ~= <>). - After you have defined the output constraints, click OK.
Use .MAT File
When you enable this option, the weight and biases of the model are coded in a .MAT file during model export.
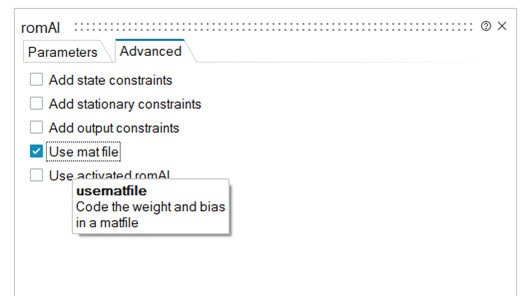
This allows the variables to be stored as binary data to keep the precession. This option is useful when you want to export very sensitive models.
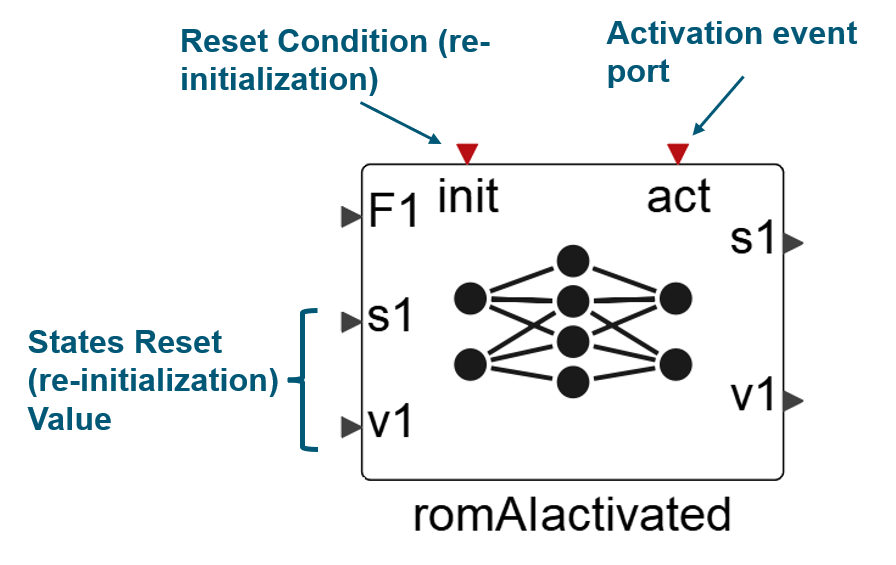
Use Activated romAI
The Use activated romAI option is available only for dynamic models.
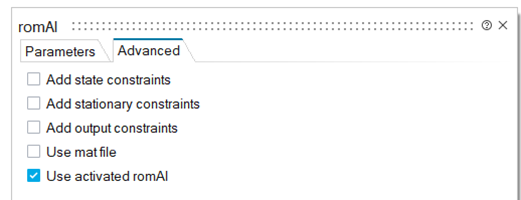
This option externally activates the romAI block. The option exposes the states reset condition and the corresponding reset (initialization) values as block ports.
This block is useful in finite-state machine applications where there is a need to expose the state variable reinitialization values.
- Activation event port (act). For the block to be active, this port must be activated with events.
- State variables reset condition event port (init). An event on this port resets all the states of the romAI model. The reset value of each state is given by the signal from the state variable reset value input port.
- State variables reset value port. For each state, an individual input port is created for defining the reset (reinitialization) value from a signal.
