Install Accelerator on the VM
Install the Accelerator on the virtual machine and configure the VM per your site's environment.
A startup script is provided during the creation of the cloud environment. This script (cloud-init script) is executed after a cloud node is deployed and is used to set up the system environment so that nodes deployed in the cloud can communicate with the workload manager. A service specifically designed for cloud instance initialization is cloud-init and is utilized by NavOps when booting cloud nodes, therefore it must be installed on the VM. For more information about installing cloud-init, refer to the Cloudinit Documentation.
-
SSH into the virtual machine using the default user "opc", the private SSH key
of the user account provided during the creation of the VM and the External IP
assigned to the VM.
ssh -i PRIVATE_KEY_PATH opc@PUBLIC_IP_ADDR
Where PRIVATE_KEY_PATH is the path to the file that contains the private SSH key of the user account provided during the creation of the VM and PUBLIC_IP_ADDR is the public IP address of the VM.Figure 1. Bursting Virtual Machine 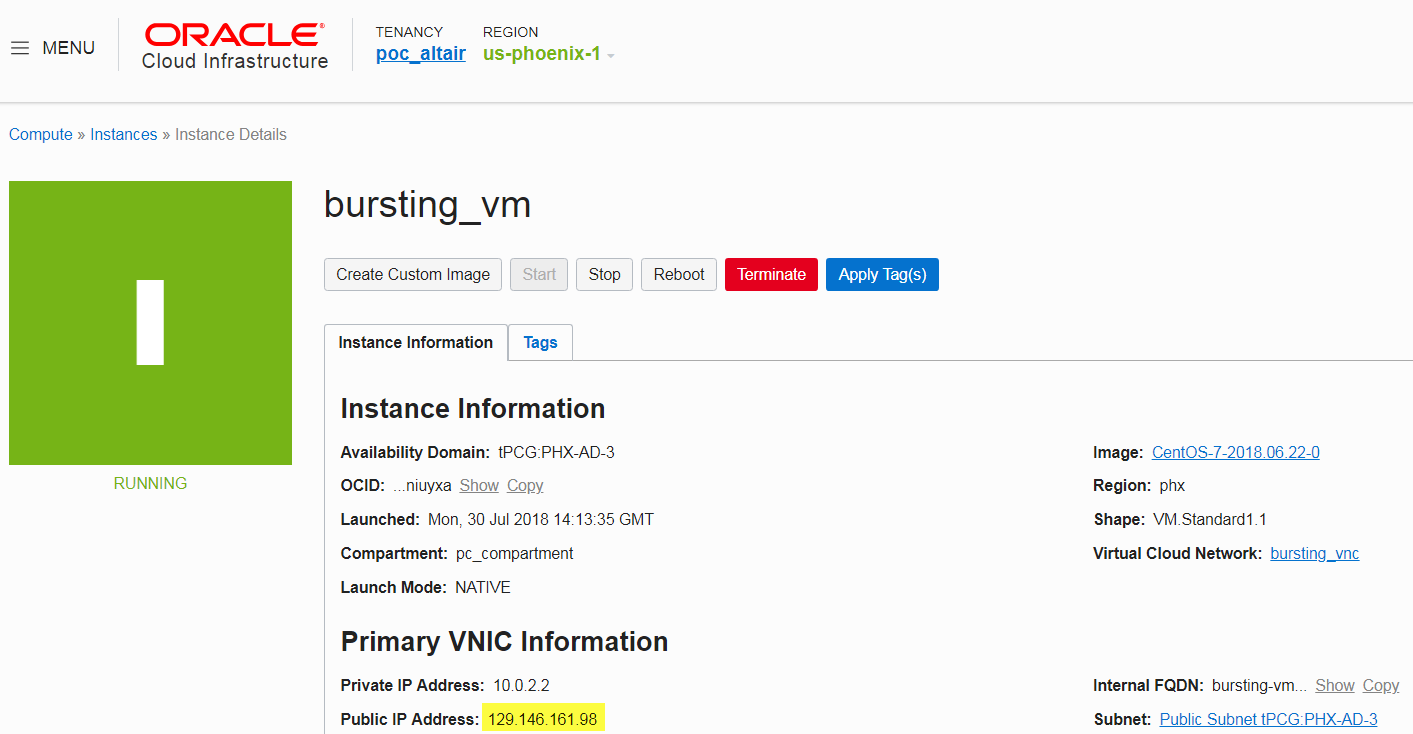
-
Enter the command:
sudo -i
- Copy the Accelerator installation package to the VM.
- Using the Accelerator Software Installation Guide, install and configure the system. Make the path same as the one on the Head Node. The scaling process uses a lot of data from the server, this make it easier to run the cloud-init and create the environment.
- Configure the VM for your site's environment such as mounting file systems, connecting it to the authentication service, installing any applications, etc.
-
Check if cloud-init is installed. For example:
yum list installed | grep cloud
-
If cloud-init is not present, install it. For example:
yum install cloud-init
- Submit a job and test to ensure it is working as expected.
-
Get the NATS packages from:
https://github.com/nats-io/natscli/releases
nats-0.0.35-amd64.deb
nats-0.0.35-amd64.rpm
-
Install NATS CLI. For example:
sudo rpm -i nats-0.0.35-amd64.rpm
- To validate NATS installation, type nats and you should see the help text for NATS. This validates that NATS is installed and will meet our requirements.