Add a GCP Cloud Account

Add an existing GCP (Google Cloud Provider) service account to Altair NavOps to create a cloud bursting scenario or an appliance.

Before you begin: A service account is a special Google account that belongs to an application or a virtual machine, instead of to an individual end user. Create a service account and give this account administrative permissions for all Compute Engine resources. Once this task is complete, you should have downloaded a JSON file containing the following:
  • Project ID
  • Client ID
  • Client email
  • Private key ID
  • Private key
GCP documentation can be found at Creating and Managing Projects.

GCP documentation can be found at Understanding Service Accounts and Compute Engine IAM Roles.

You must have created a GCP service account, given it Compute Admin permissions and downloaded a JSON file containing information about the service account. The information in the JSON file is necessary to create a cloud account in NavOps.

  1. Login to Altair NavOps.
  2. Click Cloud in the left navigation pane.
  3. Click .
  4. Enter the following to add a cloud account:
    Figure 1. Add GCP Cloud Account
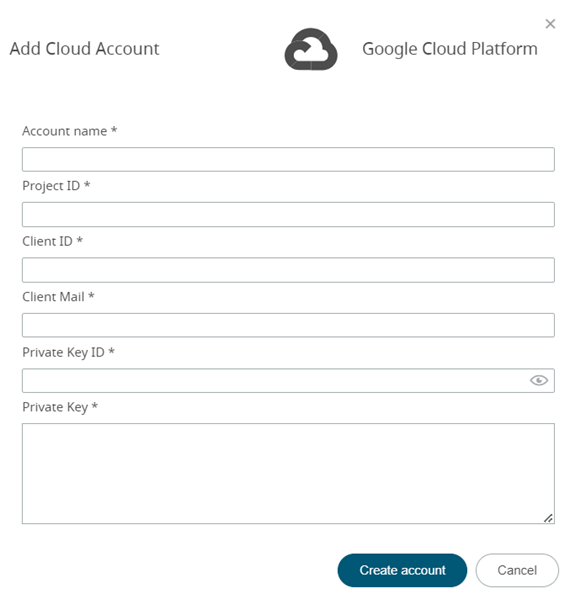
    Add GCP could accounr
    1. For Account name, enter any name for the cloud account.
      The name can be anything meaningful to your organization, e.g., gcp_cloudaccount.
    2. For Project ID, copy and paste the project_id value from the JSON file.
    3. For Client ID, copy and paste the client_id value from the JSON file.
    4. For Client Mail, copy and paste the client_email value from the JSON file.
    5. For Private Key ID, copy and paste the private_key_id value from the JSON file.
    6. For Private Key, copy and paste the private_key value from the JSON file.
    Important: Do not copy the \n characters at the end of the private_key value.
  5. Click Create Account.