Tags
Assign or query tags (metadata), which can be associated with one or more entities in a model.
A tag is metadata that can be assigned to one or more entities (faces, edges, or vertices). It has a name and a value. For example, the name could be color and the value could be blue.
An entity can have multiple tags, but each tag can only have one value to avoid conflicts (for example, a Tag name of color with a Tag value of blue and a Tag name of color with a Tag value of red are not allowed). The same tag can be applied to multiple entities. A model can have no tags at all.
Tags are saved with the model; they are preserved when importing a Parasolid file to Inspire Studio and exporting a Inspire Studio file to Parasolid.
Assign Tags
Add tags to the database and assign them to one or more entities.
-
Click the Tags icon.

-
In the guide bar, select Entities. Select one or more
entities.
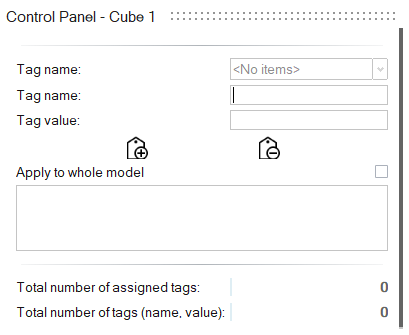
Note: If the model already contains tags, they are listed in the Control Panel under Tag name. You can tell if the model doesn't already contain tags if:
- In the Control Panel, next to Tag
name, it says
<No items>.
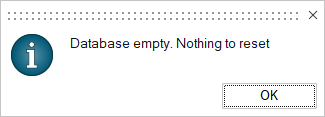
- In the guide bar, click Reset Database. The
following message is displayed.
- In the Control Panel, next to Tag
name, it says
<No items>.
-
In the Control Panel, enter the Tag name and
Tag value and then click Add tag (name,
value) to selected entities
 .
The tag is added to the database and assigned to the selected entities.
.
The tag is added to the database and assigned to the selected entities. -
In the Control Panel, you have additional options:
Option Description Unassign tag (name, value) from selected entities 
Unassign the selected tag from the selected entities. The tag remains in the database. Note: To remove all tags from the model, in the guide bar, click Reset the DatabaseApply to whole model Apply Add tag (name, value) to selected entities and Unassign tag
(name, value) from selected entities
operations to the whole
model.Total number of assigned tags Displays the total number of assigned tags. Total number of tags (name, value) Displays the total number of tags, assigned and unassigned.
Query Tags
Display entities with the selected tag name and tag value in cyan blue.
-
Click the Tags icon.
-
In the modeling window, select the entities to be queried.
Out of the queried entities, only those with the selected tag name and tag value are displayed in cyan.For example, you have a cube. The top face has the tag (material, wood) while one side face has the tag (material, plastic) and another side face has the tag (color, yellow).
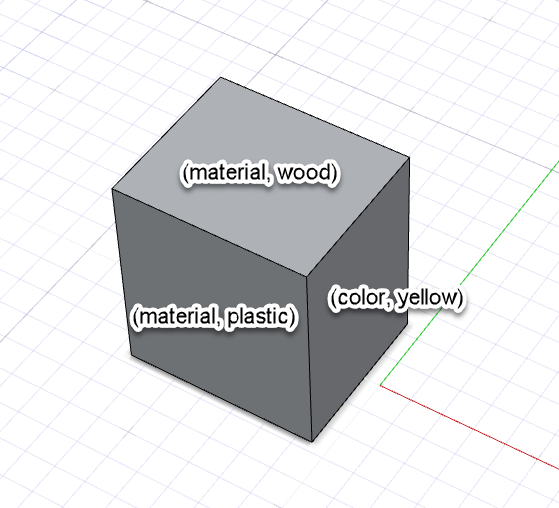
You select all the faces of a cube to query.
If you select the Tag name material and the Tag value wood, then the top face is displayed in cyan.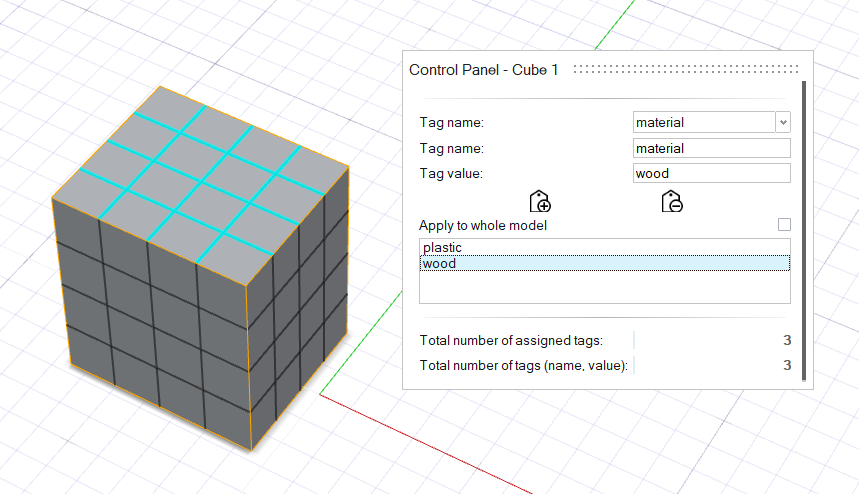
If you select the Tag name material and the Tag value plastic, then the corresponding side face is displayed in cyan.
If you select the Tag name color and the Tag value yellow, then the corresponding side face is displayed in cyan.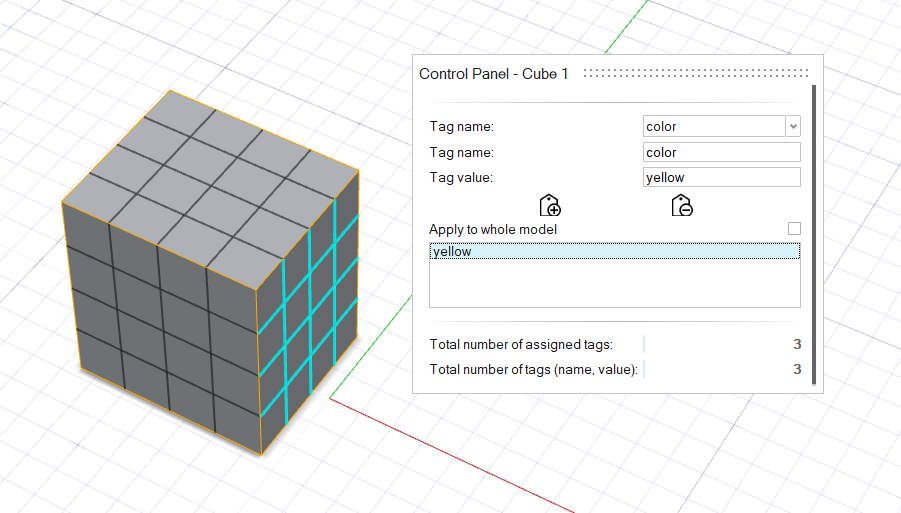
Assign Tags to PolyNURBS
While you can assign tags to PolyNURBS using the Tags tool on the Analysis tab, it is easier to use the right-click context menu option Assign/Query Tags while in Edit PolyNURBS mode.
-
Do one of the following:
To Do this Assign tags to vertices - Press A.
- In the guide bar, click
Vertices
 .
.
Assign tags to edges - Press S.
- In the guide bar, click Edges
 .
.
Assign tags to faces - Press D.
- In the guide bar, click Faces
 .
.
-
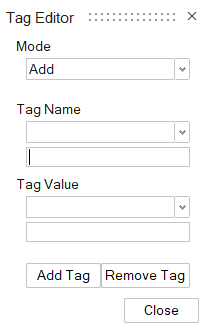
In the Tags Editor, for Mode, select
Add.
Query Tags with PolyNURBS
While you can query tags with PolyNURBS using the Tags tool on the Analysis tab, it is easier to use the right-click context menu option Assign/Query Tags while in Edit PolyNURBS mode.
-
Do one of the following:
To Do this Assign tags to vertices - Press A.
- In the guide bar, click
Vertices
.
Assign tags to edges - Press S.
- In the guide bar, click Edges
.
Assign tags to faces - Press D.
- In the guide bar, click Faces
.
-
In the Tags Editor, for Mode, select
Query.