Apply, Edit, and Position Labels
A label is a special type of texture that allows you to layer an image over an existing material. It is useful for applying logos or bar codes to objects in your scene.
- Select one or more objects.
-
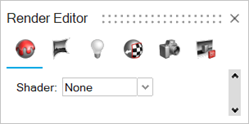
On the Rendering tab, select the
Editors tool.
Tip: To find and open a tool, press Ctrl+F. For more information, see Find and Search for Tools.The Render Editor appears.

-
Select the Labels tab.

-
Click
 .
.
-
Navigate to the image you would like to add as a label, then click
Open.
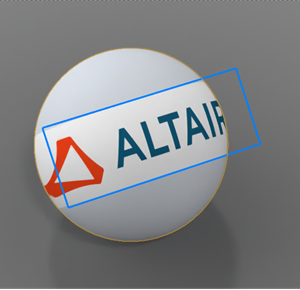
A blue box appears to help visualize where you can place the label.
-
Click to place the label.

-
Use the Control Panel to edit and reposition the label:
To Do this Change the label size In the Control Panel, increase or decrease the value for Global Size. Lock the aspect ratio In the Control Panel, enable Lock. Increase or decrease the size of the label in the X or Y direction In the Control Panel, increase or decrease the value for Size X or Size Y. Rotate the label In the Control Panel, enter a value for Rotation. Limit and edit the depth of a label - In the Control Panel, turn on Limit Depth.
- Increase or decrease the value for Depth %.
Auto-align the label - In the Control Panel, choose from the following
auto-align options:
- Side- The image is aligned sideways.
- Top- The image is aligned upright.
- None- There are no aligment constraints.
Reset the label Control Panel settings In the Control Panel, click Reset. -
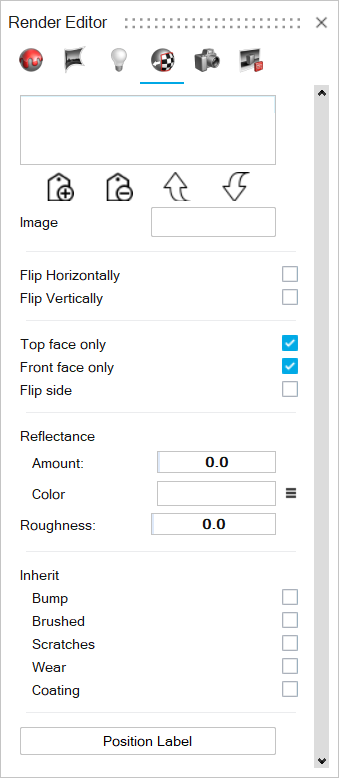
Use the Render Editor to further refine the label settings and position:
To Do this Delete a label - Select the label you would like to remove.
- Click the Remove icon
 .
.
Move a label up or down a layer - Move up- To move the label up or down a layer, click the label name, and then click Move Up
- Move Down- To move the label up or down a layer, click the label name, and then click Move Down.
Flip the label position - Flip Horizontally
- Flip Vertically
Limit or invert the label projection - Top face only-Limit image projection from back faces.
- Front face only-Limit image projection from back faces.
- Flip side-Invert image projection to the opposite side.
Adjust the label Reflectance - Amount- Increase or decrease how much light the label reflects.
- Color- Choose a color for the labels reflection.
Adjust the label roughness - Enter a value for Roughness.
Roughness adds texture to the material at a microscopic level. When you modify the roughness, the surface texture still looks the same; however, tiny changes invisible to the naked eye have occurred, affecting reflectivity.
0 can produce a perfect mirror reflection.
Lower values produce crisper and brighter reflections.
Higher values produce blurrier, dimmer reflections. Increasing the roughness spreads and distributes reflections over the surface and creates a more matte surface.
At values approaching 100, light becomes so scattered that reflections are barely visible, if at all.
Configure label settings to inherit material settings for blending - Enable the following switches:
- Bump
- Scratches
- Wear
- Coating
Open the Control Panel Click Position Label. - Right-click and mouse through the check mark to exit, or double-right-click.