
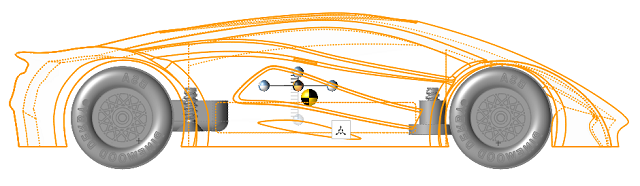
Center of Gravity (COG)
Use the Center of Gravity Constraint (COG) tool to apply, reposition, and set upper and lower bounds for a center of gravity constraint. COG constraints are used to limit the position of the center of gravity while running a topology optimization.
Click the ![]() satellite icon that appears when you hover over the COG tool
to view a list of all center of gravity constraints in your model.
satellite icon that appears when you hover over the COG tool
to view a list of all center of gravity constraints in your model.
Apply a Center of Gravity Constraint
Select parts and click the Create button to create center of gravity constraints.
-
Open the COG tool:
-
On the Structures ribbon, next to
Setup, select
 . A dropdown menu appears.
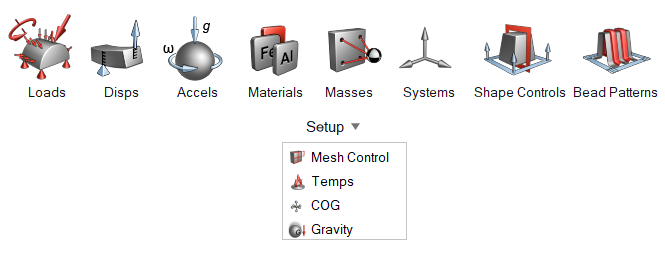
-
On the Structures ribbon, next to
Setup, select
- Select one or more parts and click the Create button to create a center of gravity constraint.
-
Click the Move
 icon to reposition the COG constraint if
needed.
icon to reposition the COG constraint if
needed.
- Click an axis on the manipulator and select the check boxes to enable upper and lower bounds for the constraint.
- Right-click and mouse through the check mark to exit, or double-right-click.
Tip: To show where the true center of gravity is located, select the
Measure Weight tool and then enable Show
center of gravity. Hold the Ctrl key or box select multiple parts to
find the center of gravity for all of the selected parts.