Open Remote Desktops in Access Desktop Client
Open Remote Desktops session in Access Desktop client to work on the interactive application..
-
Double-click the Access Desktop client
 shortcut that appears on the desktop or start
Access Desktop client from the Start menu.
shortcut that appears on the desktop or start
Access Desktop client from the Start menu.
Figure 1. Access Desktop Client 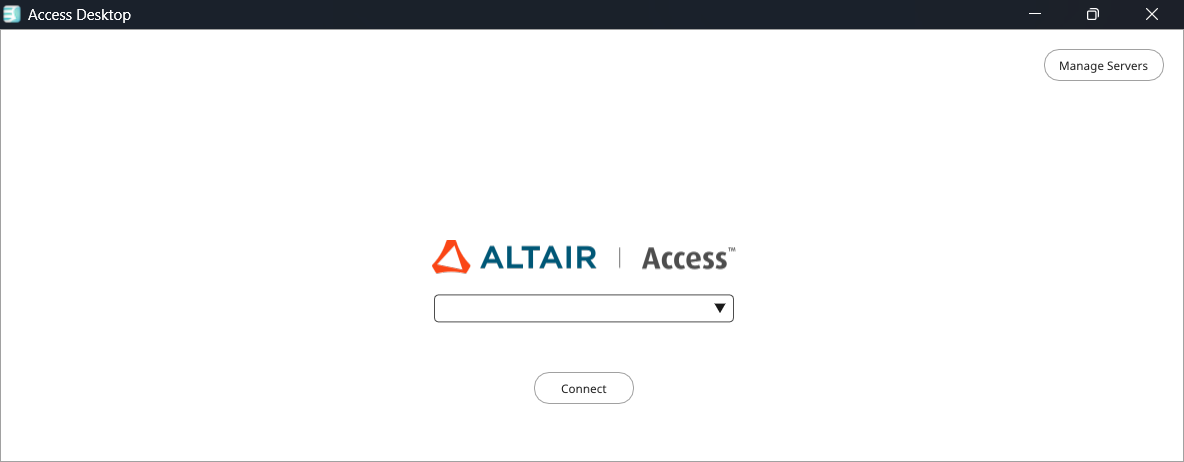
-
Select the server from the drop-down list.
Figure 2. Select Server 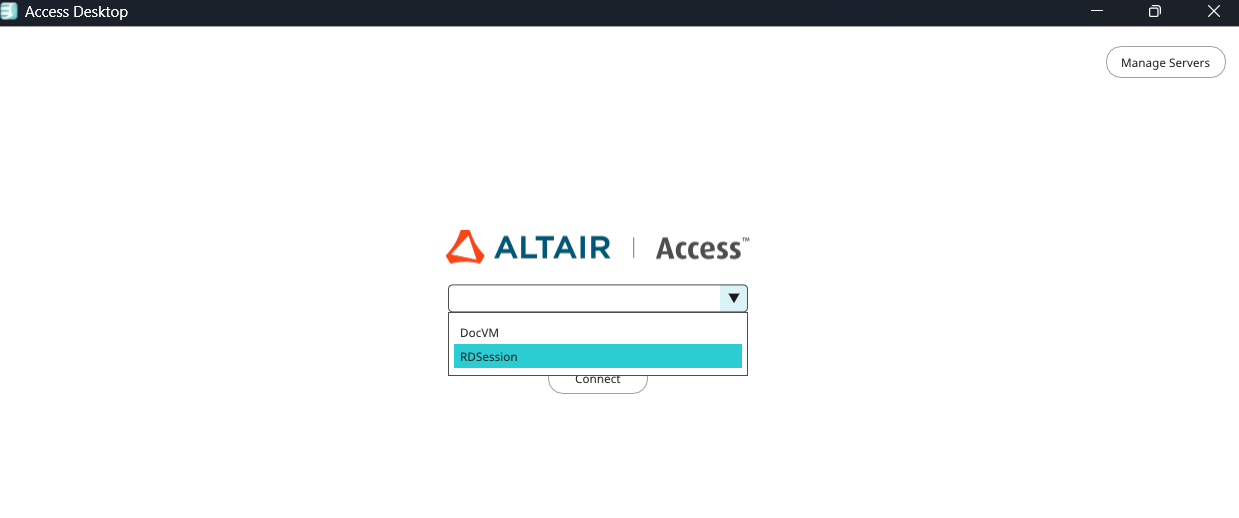
-
Click Connect.
Figure 3. Connect Server 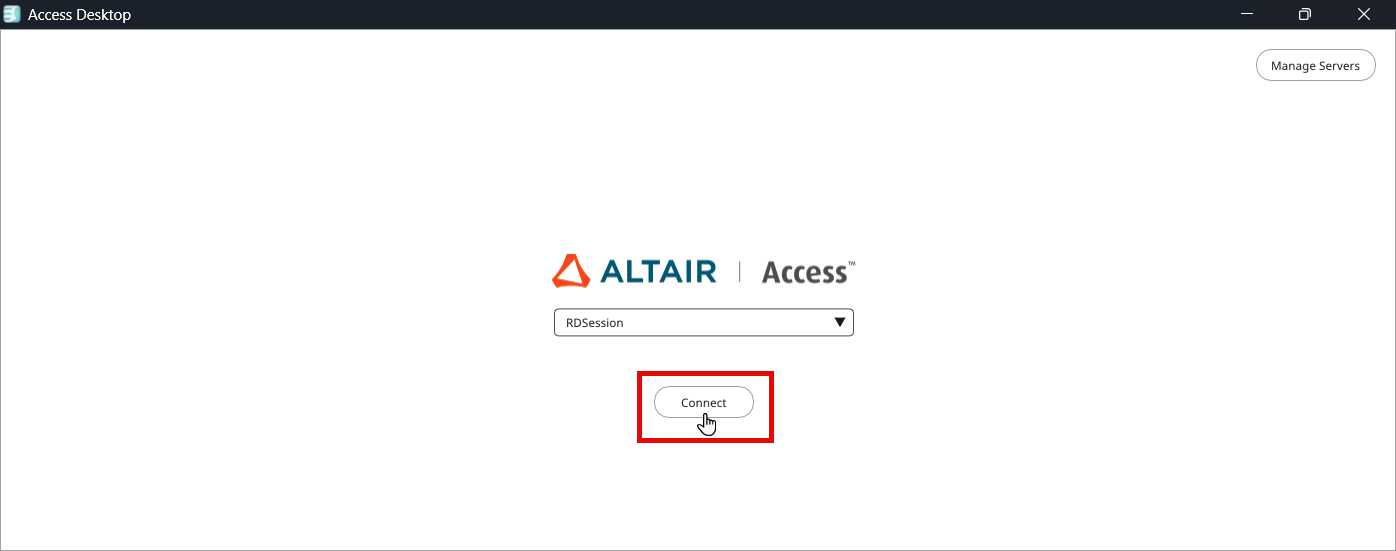
Note: If you have enabled Direct Connection option while adding the server details, then it will connect directly to the Server.For example, the following message will be displayed before connecting to the server.Waiting for Authentication
-
Enter your server credentials to connect.
Figure 4. Server Credentials 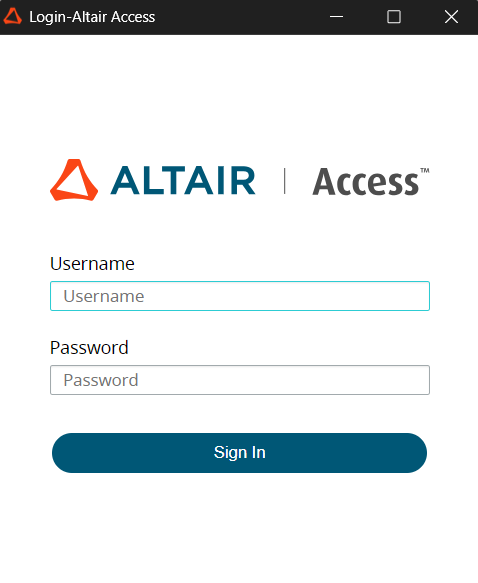
-
Click Sign In.
Access Desktop client will be displayed with the list of applications,Note: The list of applications displayed is from the Access Web server.
Figure 5. Access Desktop Client - Application 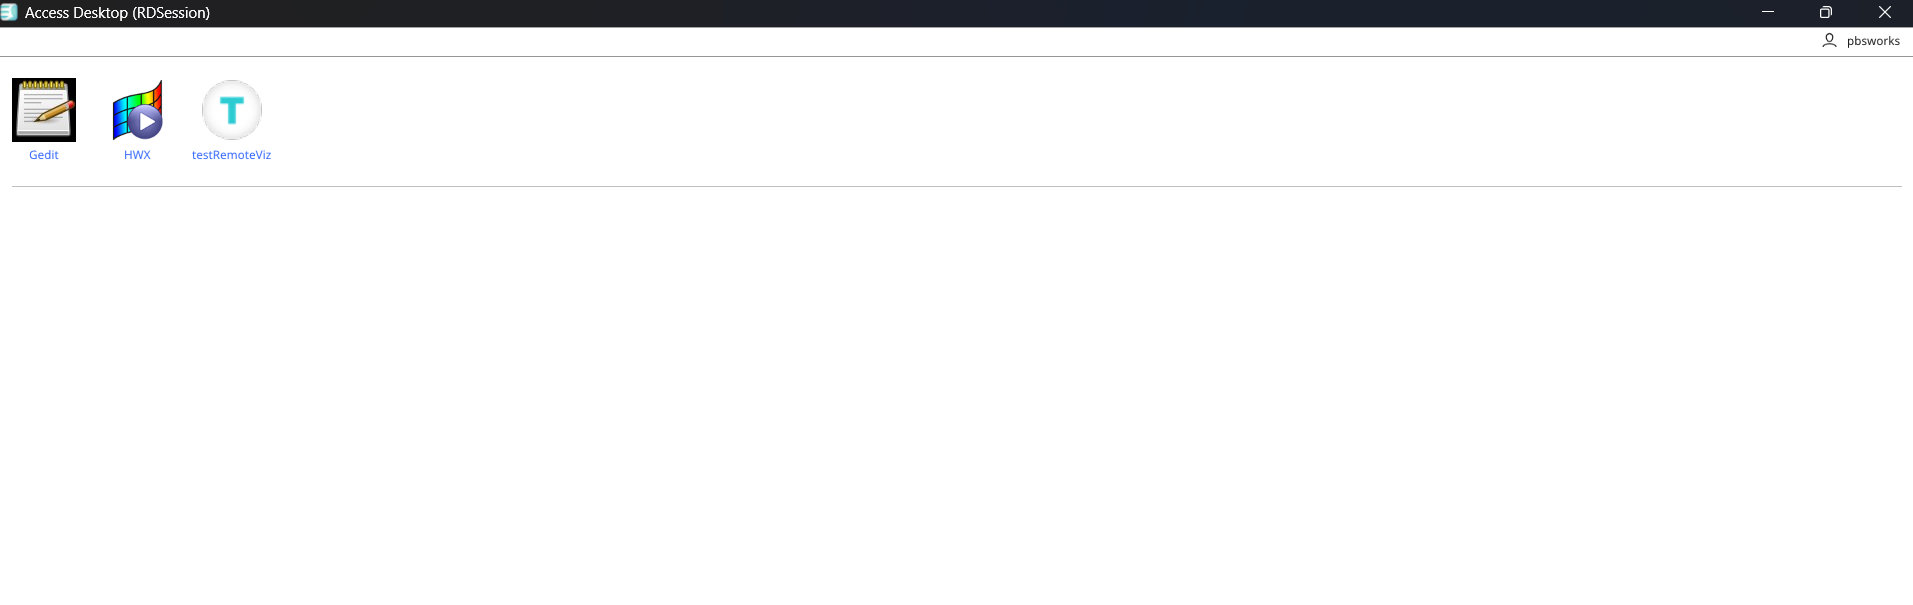
-
Click an application to launch a remote desktops.
A remote desktops of the interactive application is opened in a new window.
Figure 6. Access Desktop Client - Remote Desktop Session 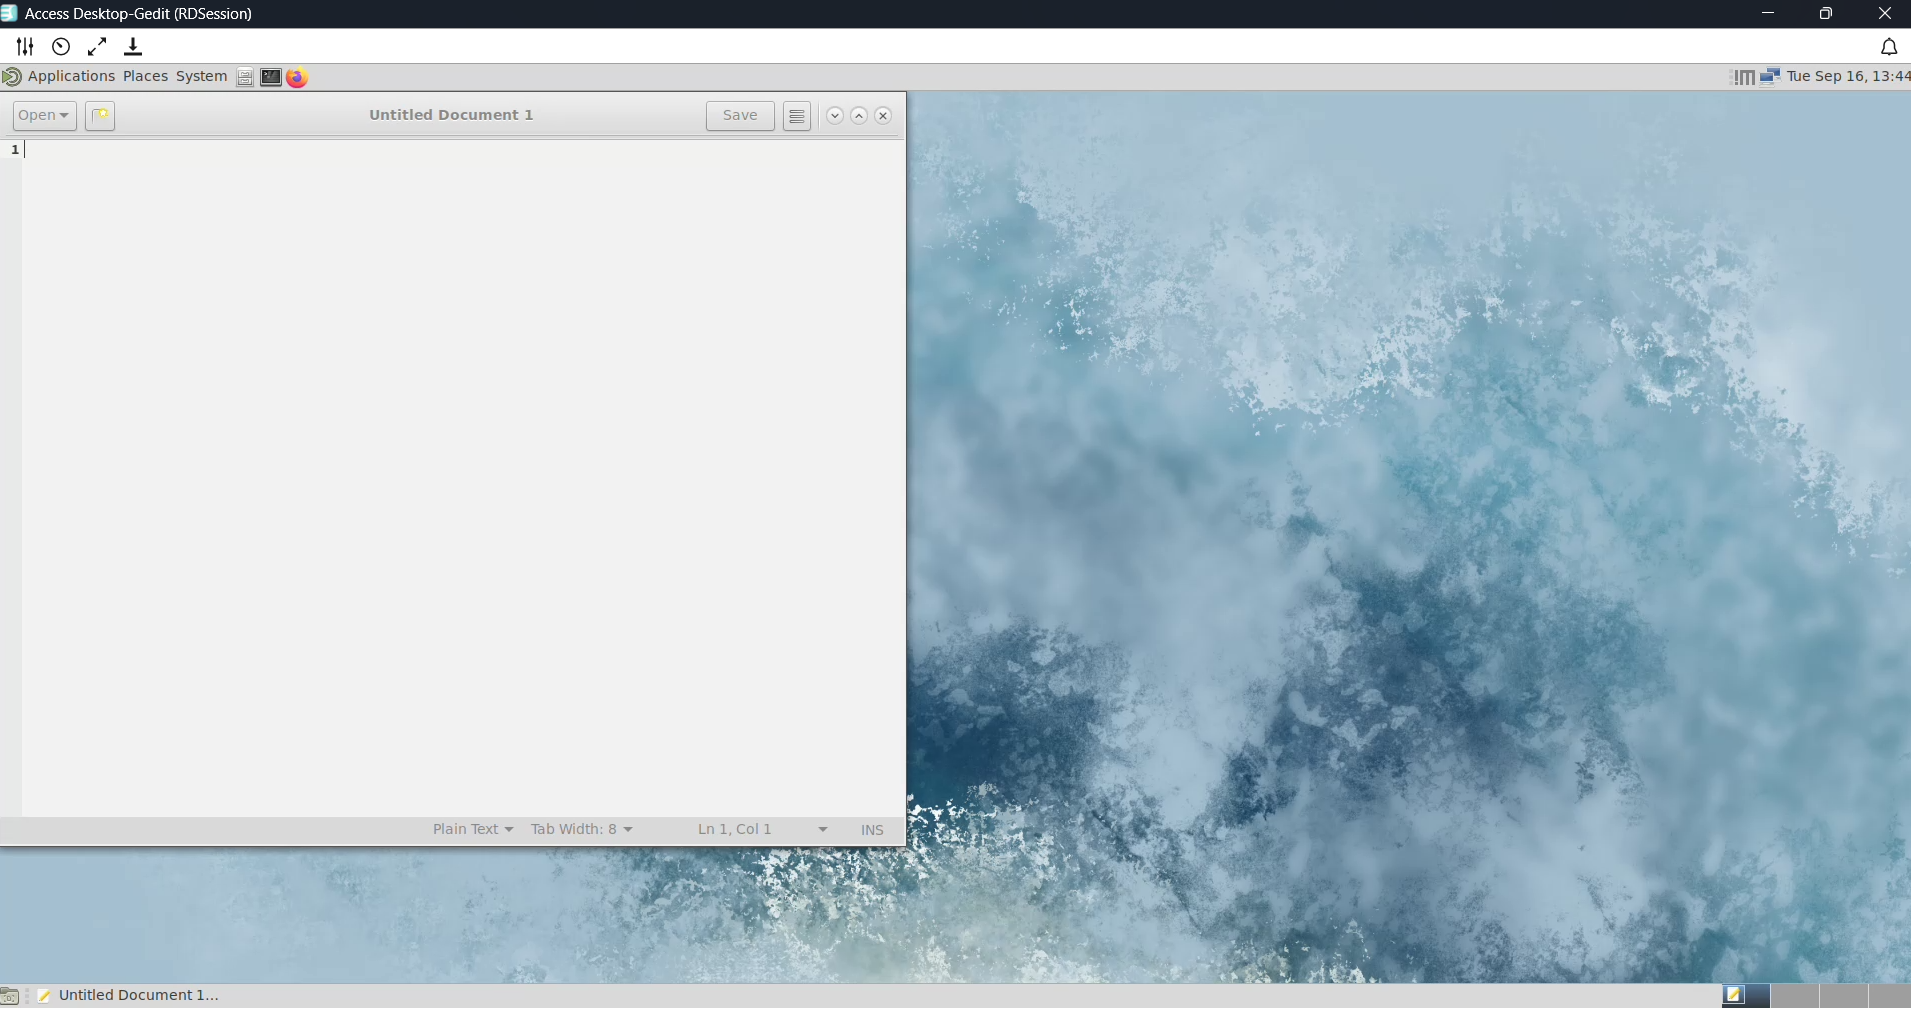 The following options will be displayed:
- Clipboard support - is enabled by default, allowing you to copy and paste text between your local and remote machines. No additional configuration is required.
- Quality Settings (
 ) - change the desktops quality settings
(FPS, bitrate, and screen size).
) - change the desktops quality settings
(FPS, bitrate, and screen size).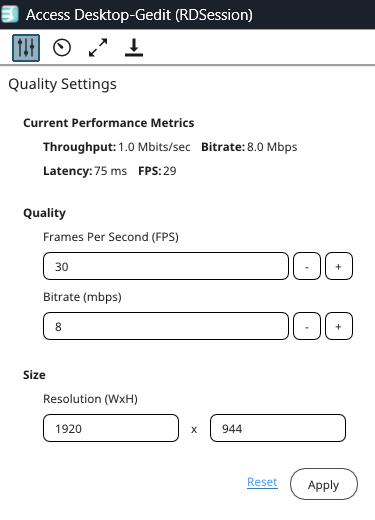
- Performance Metrics (
 ) - view the remote desktops statistics
information (Throughput, FPS, bitrate, and latency).
) - view the remote desktops statistics
information (Throughput, FPS, bitrate, and latency).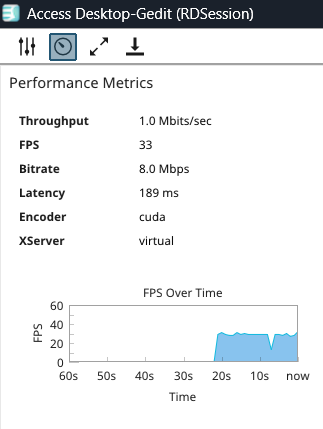
 - expand the remote desktops
in full screen
- expand the remote desktops
in full screen  - collapse the remote
desktops from full screen. This option is displayed only when the
remote desktops is expanded in full screen.
- collapse the remote
desktops from full screen. This option is displayed only when the
remote desktops is expanded in full screen.- Download session artifacts (
 ) - download the Remote Desktops session information to troubleshoot
any issues.
) - download the Remote Desktops session information to troubleshoot
any issues.
A notification will be displayed and the artifacts is saved in the download folder.
-
Click the Access Desktop client to view the list of remote desktop
sessions.
Figure 7. Access Desktop Client - List of Session  Note: By default, the timeout interval is set to 120 minutes when a remote desktops is opened. The default timeout is displayed in the remote desktops tile. Time out will start when the remote desktops is closed and the remaining time is displayed in the remote desktops tile.A notification will be displayed before the timeout.
Figure 8. Access Desktop Client - Timeout Notification 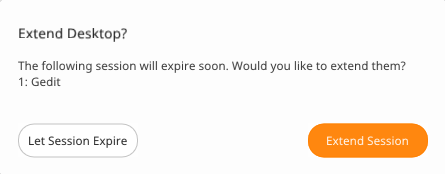
-
Choose one of the following options:
- Click Extend Session to extend the session.
- Click Let Session Expire to terminate the session.
-
Click to change the number of cores and amount of memory.
Figure 9. Preferences 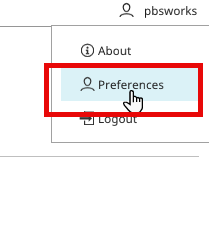
The Preferences window is displayed.Figure 10. Preferences - Change 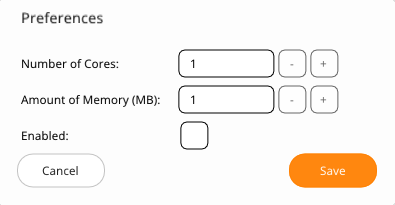
- Click Enabled option.
- Change the Number of Cores and Amount of Memory (MB).
- Click Save.