Upload a Schema
-
To upload a schema for a new Thing, in
the top right corner of the editor, click + New Thing.

The New Thing dialog opens. - Click Skip to Schema.
-
Click the Upload icon
 .
.
-
Select the file to upload.
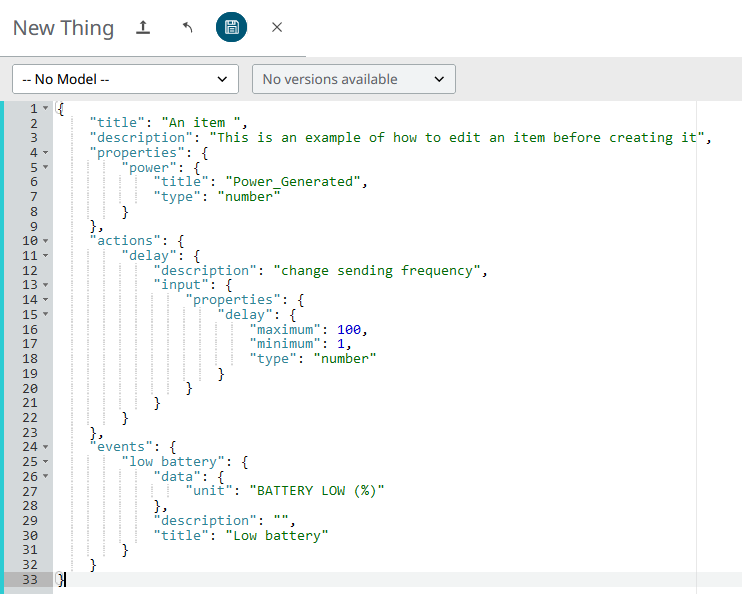
Note: The schema must be in JSON format, and if the schema was written manually, a template is provided.Below is an example of schema that has been uploaded, but not yet saved:

Figure 1.Here is the code if you wish to copy/paste it yourself.
{ "title": "An item ", "description": "This is an example of how to edit an item before creating it", "properties": { "power": { "title": "Power_Generated", "type": "number" } }, "actions": { "delay": { "description": "change sending frequency", "input": { "properties": { "delay": { "maximum": 100, "minimum": 1, "type": "number" } } } } }, "events": { "low battery": { "data": { "unit": "BATTERY LOW (%)" }, "description": "", "title": "Low battery" } } } -
Click Save.
The Thing is created.The following information is automatically added to the schema:
- Space
- Refers to the space that created the Thing.
- Collection
- Refers to the Collection where the Thing was created.
- href
- The extension in the platform to reach the Thing.
- Id
- The URL of the Thing.
- Model
- Specify the Model which contain the Thing, it contains the name of the Model and the version of the Thing.
- uid
- Probably the most important field; it contains the ID of the Thing. This ID is the identification of the Thing and is used to share information.
Once a Thing has been created, the schema is available for editing.
-
To edit the schema, click on the Thing
and then click Edit Schema.

Figure 2.