Defeature
Select edges to close openings in a surface, or to sharpen or smooth where adjacent edges connect.
Prerequisite: Define a part with the
Assign tool.
-
Select the Part tool.

-
Click the Defeature icon.
 The guide bar appears.
-
In the guide bar, choose an edge selection method:
- Tangent Selection: When you click an edge, all tangent edges are automatically selected.
- Chain Selection: When you click an edge, all connected edges are automatically selected.
- Single Selection: When you click an edge, only one edge is selected at a time.
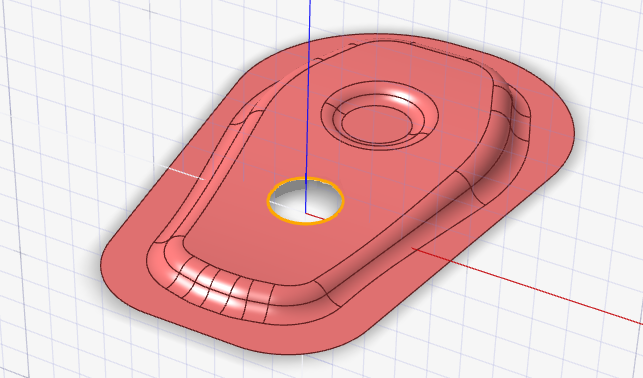
To Do this Close an opening in a surface - Select one or more edges where there is an opening
in the design.Note: If the opening in the design is made of multiple edges, make sure to select all of them.
- Right-click and mouse through the check mark to
exit, or double-right-click.
The surface will close.
Sharpen an edge - Select an edge you would like to make sharp in the
model.
- Right-click and mouse through the check mark to
exit, or double-right-click.
The edge will sharpen.
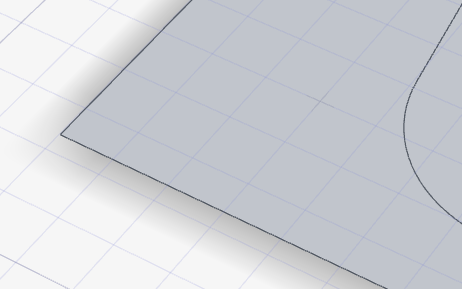
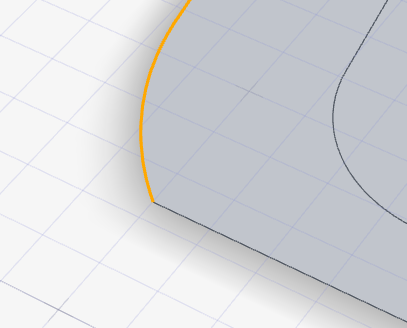
Make a straight edge curved - Select a straight edge, or an edge that forms a
pointed corner with another edge.

- Right-click and mouse through the check mark to
exit, or double-right-click.
The edge will curve where it connects to the adjacent edge.

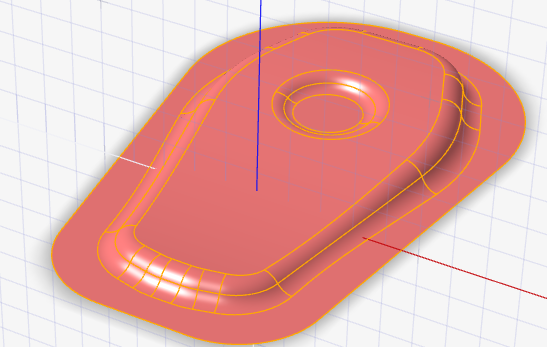
Remove flanges from a surface - In the guide bar, select Flanges.
- Select the flanges you would like to remove from the part.
- Right-click and mouse through the check mark to
exit, or double-right-click.Note: You need to define flanges using the Flanges tool before using Defeature for flanges.