SS-T: 5020 Linear Superposition
Tutorial Level: Beginner Setup linear superposition in SimSolid.
- Purpose
- SimSolid performs meshless
structural analysis that works on full featured parts and assemblies, is
tolerant of geometric imperfections, and runs in seconds to minutes. In this
tutorial, you will do the following:
- Learn how to setup linear superposition of subcases.
- Model Description
- The following model file is needed for this tutorial:
- LinearSuperposition.ssp
Open Project
- Start a new SimSolid session.
-
In the main window toolbar, click Open Project
 .
.
- In the Open project file dialog, choose LinearSuperposition.ssp
- Click OK.
Review Loads and Boundary Conditions
-
In the Project Tree, expand the Structural 1 analysis branch and
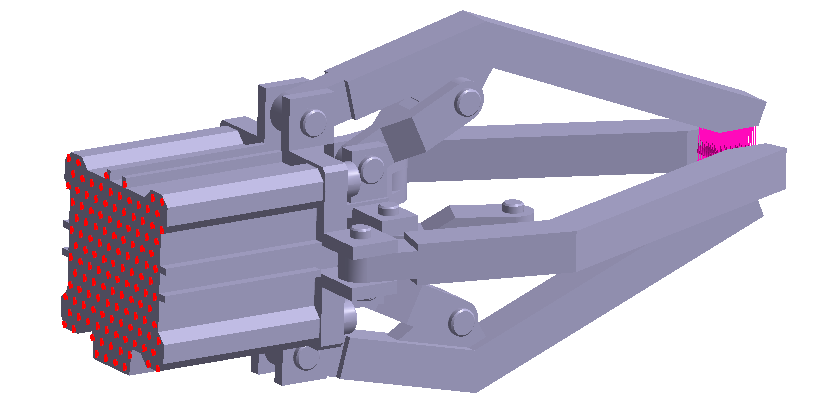
verify the loads and boundary conditions are as shown in the figure below.
Figure 2. 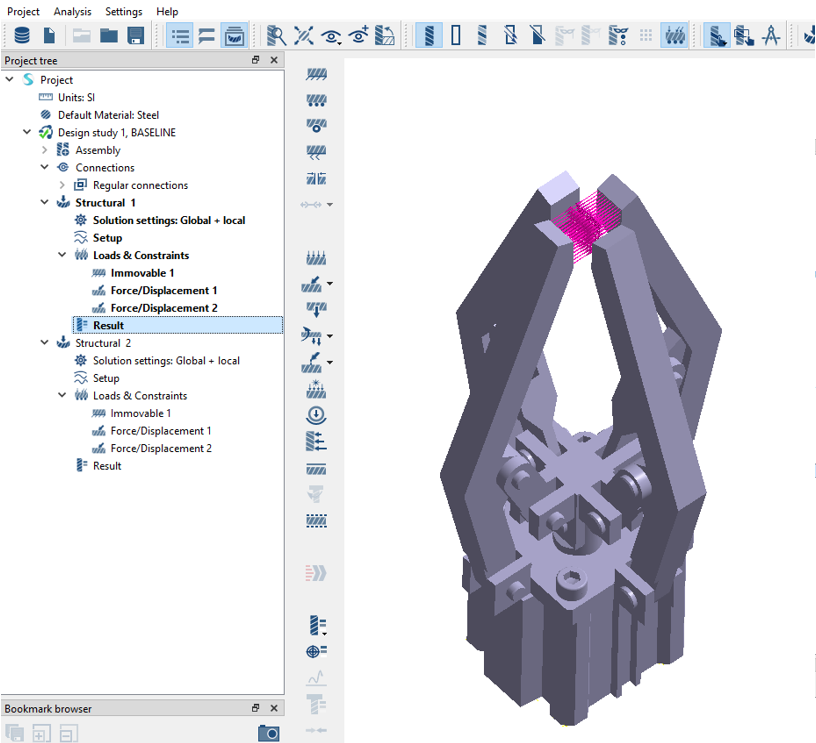
-
Repeat step 1 for
Structural 2.
The loads and boundary conditions appear as shown in the below figure.
Figure 3. 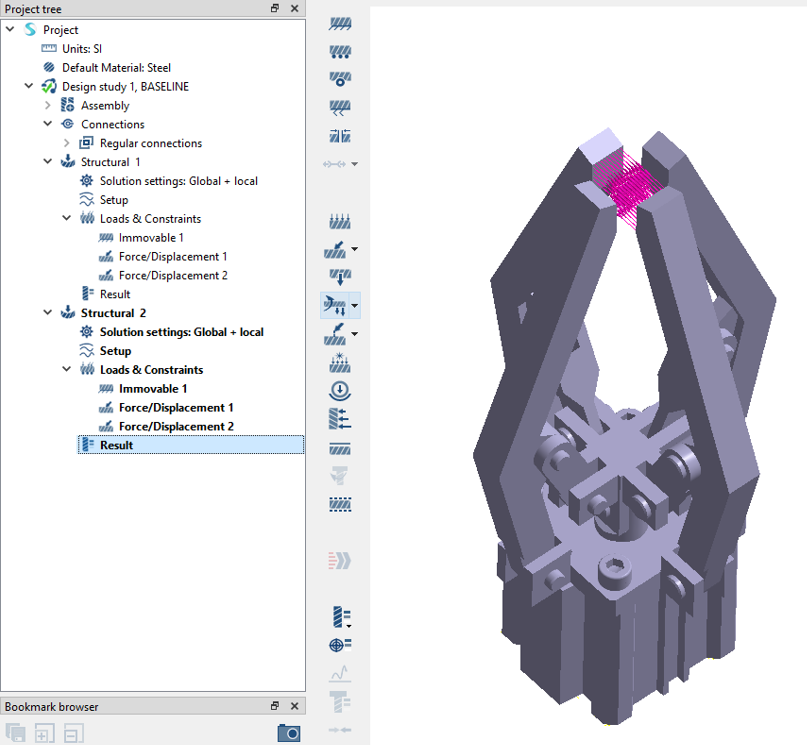
Create Linear Superposition
- On the main window toolbar, click .
- In the setup dialog, under Analyses available, click on Structural 1.
- In the dialog, hold down Control + Shift and select both Structural 1 and Structural 2 results.
-
Click the
 button to combine analyses.
Figure 4. 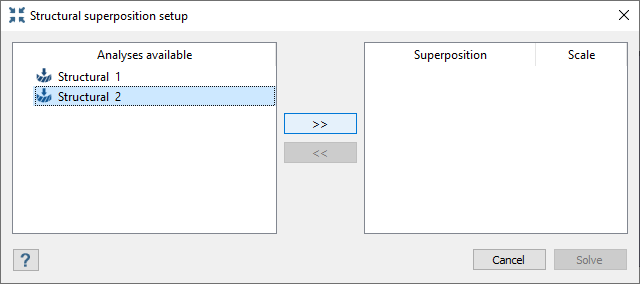
-
Click Solve.
A Superposition subcase appears in the Project Tree.
Review Results
- In the Project Tree, Select the Structural 1 subcase.
-
On the Analysis Workbench, select .
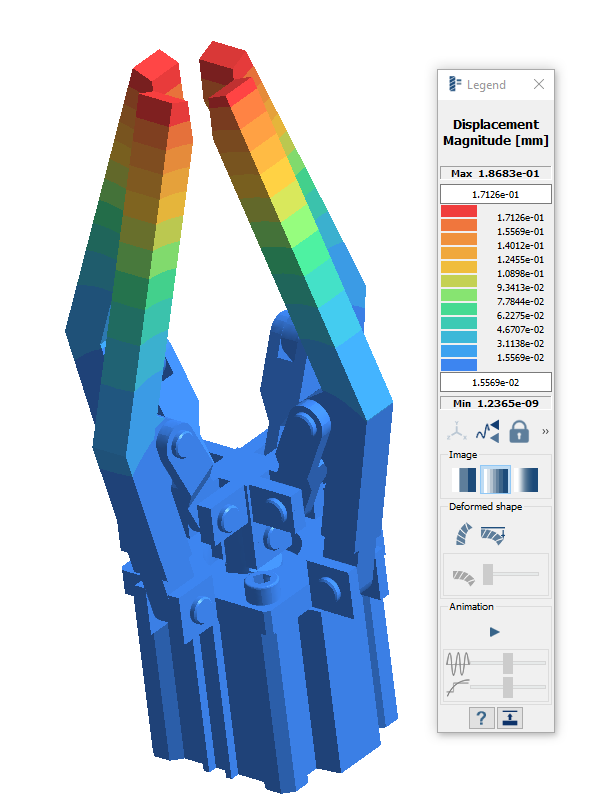
The Legend window opens and displays the contour plot.
Figure 5. Displacement Magnitude plot for Structural 1 subcase 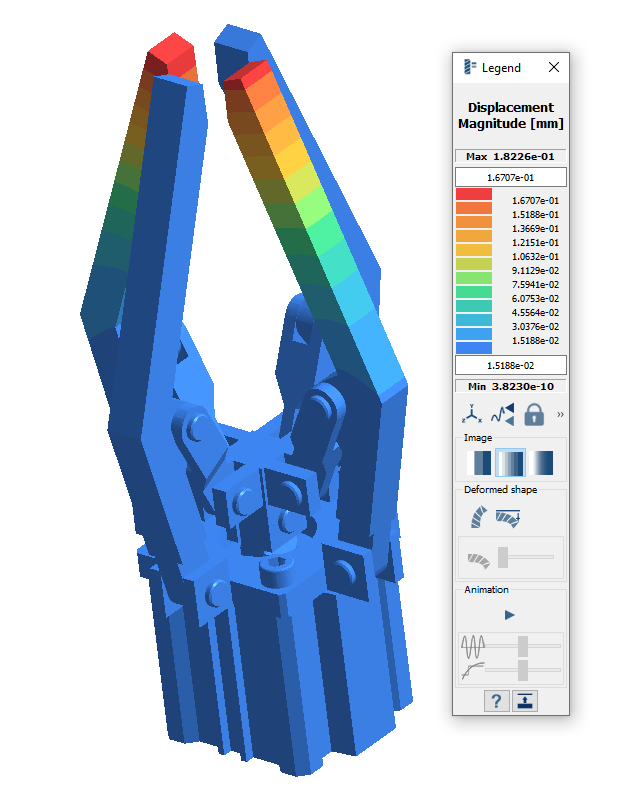
-
Repeat this process for Structural 2 and
Structural superposition 1.
Figure 6. Displacement Magnitude plot for Structural 2 subcase 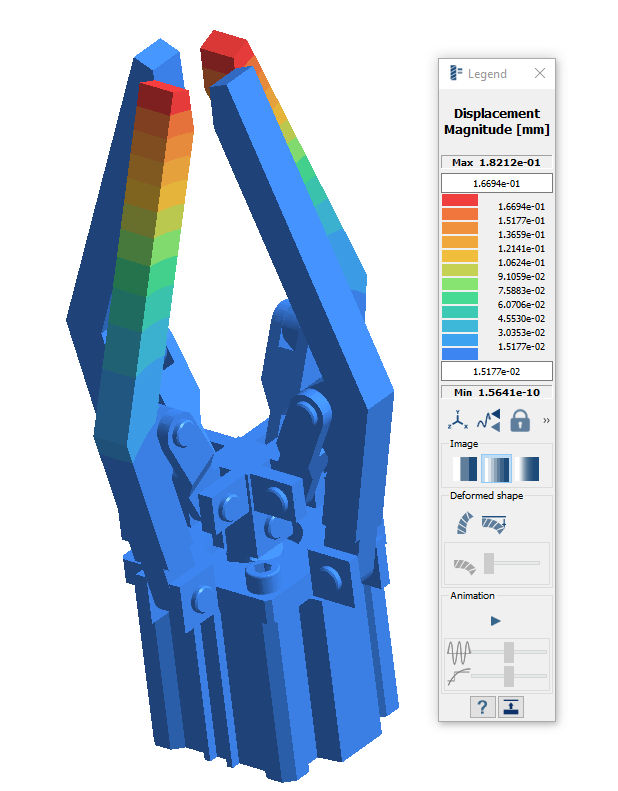
Figure 7. Displacement Magnitude plot for Structural superposition 1 subcase 