
Workspace
The Inspire workspace includes the ribbon, modeling window, legend, and status bar.

The Inspire workspace is organized into the following areas:
- Title bar
- Tab and pulldown menus
- Ribbon (includes both menus and ribbon tabs with icon groups)
- Model Browser (F2)
- Property Editor (F3)
- Python Window (F4 — not displayed)
- Construction History (F6 — not displayed)
- Altair CoPilot (not displayed)
- Demo Browser (F7 — not displayed)
- Design Explorer Browser (not displayed)
- Modeling window is where you interact with your model.
- View Controls
- Status Bar
- Snap Filter
- Unit System Selector
- Model Configuration (F5 — not displayed)
Customize the Workspace
Change the appearance of the workspace including the color scheme, language, and various elements of the user interface.
- Select the File menu.
- Click the Preferences button.
- Select Workspace and change the settings as desired.
- Click OK.
Customize the Ribbon
Create one or more custom tabs on the ribbon and populate them with your favorite tools.
-
Click the
 icon on the ribbon to create a custom tab.
-
Drag icons from the standard tabs to the custom tab. If an icon contains
multiple tools, all of the tools on the icon are copied to the custom tab.
You can rename or delete the custom tab by right-clicking the tab name, and then selecting Rename or Delete. To delete multiple custom tabs simultaneously, right-click empty space on the ribbon, select Delete Custom Pages, select the tab names, and then click Delete.
-
Organize the tools on the custom ribbon.
- To move an icon, drag the icon.
- To rename an icon, right-click the icon, select Rename, and then type the new name.
- To delete an icon, right-click the icon, and then select Delete.
-
To export a custom tab, right-click the tab name, and then select
Export. To export multiple custom tabs
simultaneously, right-click empty space on the ribbon, select Export
Custom Pages, select the tab names, and then click
Export.
The custom tabs are exported as an .xml file.
Collapse or Expand the Ribbon
Switch between having the ribbon collapsed or expanded.
-
To control this option, do one of the following:
- Go to .
- Double-click a ribbon tab to collapse or expand the ribbon.
The selected mode persists across sessions. For example, if the application is closed while the ribbon is collapsed, it remains collapsed when you relaunch the application.The ribbon is displayed above graphics and browsers and will not cause them to resize.
- To dismiss the ribbon tab's tools/options while in collapse mode, click anywhere in the application.
-
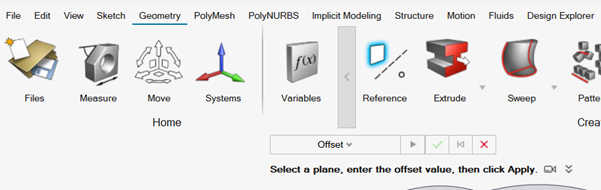
Activating a tool or context while in collapse mode displays the guide bar, secondary toolbar, and workflow help on the left
side of the modeling window, instead of under the active
tool/context.

-
If you dismiss the ribbon while the tool/context is still active, the guide bar and workflow help shift up and the secondary toolbar
remains hidden.
-
To display the secondary toolbar again, click the ribbon tab.
The guide bar and workflow help shift below the ribbon and the secondary toolbar is displayed.
-
After deactivating collapsed mode and returning to expanded mode, the guide bar, secondary toolbar, and workflow help display below
their respective tool when selected.
Customize Keyboard Shortcuts
Assign custom keyboard shortcuts to specific functions in the Preferences.
- Select the File menu.
- Click the Preferences button to open the Preferences window.
- Select Keyboard Shortcuts.
- Click on the value for a command to change the assigned keyboard shortcut.
- Click OK.