The Mission Management page allows you to manage a specific Mission after Envelope
Management and Item Management are performed.
To use Mission Management:
In the Mission Management page, the navigation panel
displays all the Missions that are already created in the system. The Mission
Management page is shown in the following image.
The Mission Management page allows you to:
Reload the Program tree in the navigation panel.
Add a Mission item to the Program.
Remove a Mission item from a Program.
Add a new Mission task.
Remove an existing Mission task.
Add or delete folders and sub folders.
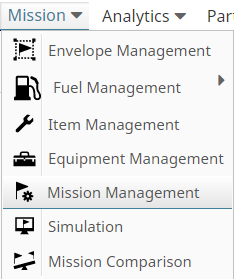
Click Mission > Mission Management.
The Mission Management page is displayed.
Click the Add Missionicon.
The Main Attributes tab is displayed.
Click the Enable Changes icon.
The fields become editable and you can enter the required Mission data
in the Description and
Notes fields.
Click the Add Mission Task icon in the Mission Tasks section.
A new task is added and you can select the required Missions from the
Task Item dropdown
list.
Enter the required values for the Mission quantity in the Quantity text field.
Select a task item and click Move Up
Mission Task
icon.
The item is moved to one level above the other Mission.
Select a task item and click the Move Down
Mission Task
icon.
The item is moved to one level below the other Mission.
Select a task and click the Delete Mission Task icon.
The Mission task is deleted.
Click the Undo Changes icon.
The changes made are discarded.
Click the Save Changes icon.
A confirmation message is displayed.
Click OK to save the changes
or Cancel to discard the
changes.
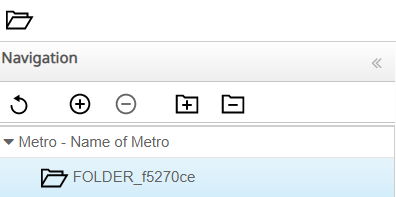
Add or delete folders and sub folders
You can organize Missions into folders and sub folders.
To add or delete folders and sub folders:
In the Navigation pane, click the icon.
A new folder is added and displayed in the Navigation
pane.
Select the folder and then click the icon to add a new Mission into the selected
folder.
Optionally, click the icon to delete the folder that you have
created.
Note: You can also drag and drop a Mission
from one folder to a different folder in the Navigation
pane.
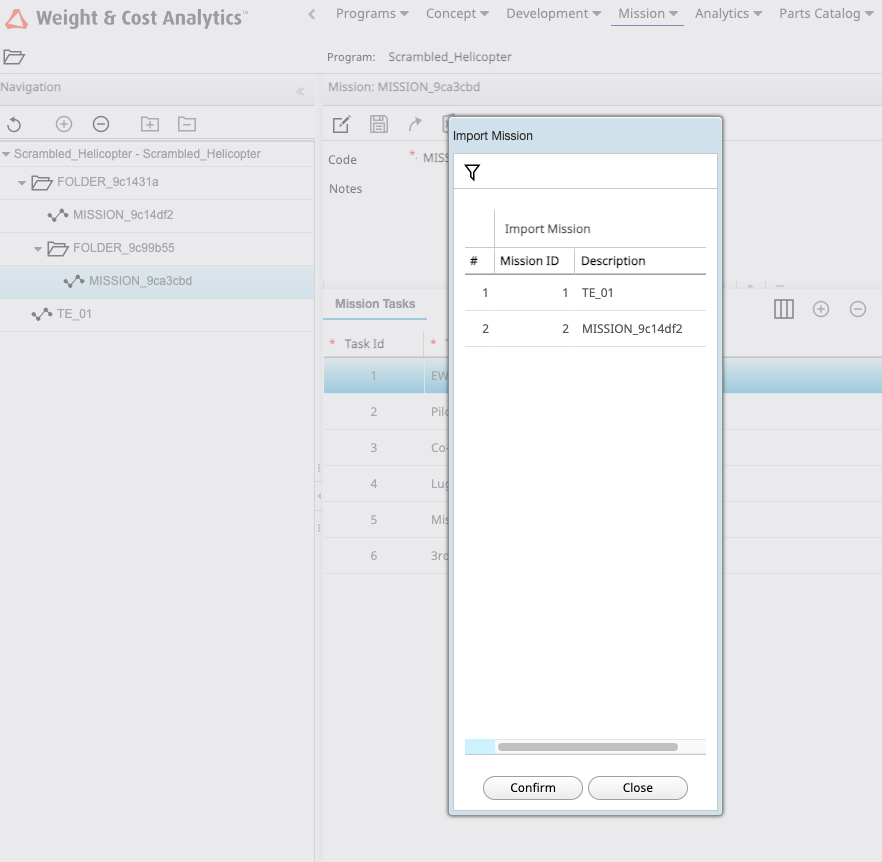
Import a Mission
You can import tasks Missions into the same Program.
To import a Mission:
In the Mission tasks tab, select a Mission and then click the icon.
A dialog box displays the list of Missions that you want to import
into the same Program except the one that you have selected is
displayed.
Click Confirm and then click
Close.
A message confirming that the task Missions were imported
successfully is displayed. and the tasks defined in the imported Mission
will be appended to the current task at the last position.

 icon.
The Main Attributes tab is displayed.
icon.
The Main Attributes tab is displayed. icon.
The fields become editable and you can enter the required Mission data in the Description and Notes fields.
icon.
The fields become editable and you can enter the required Mission data in the Description and Notes fields.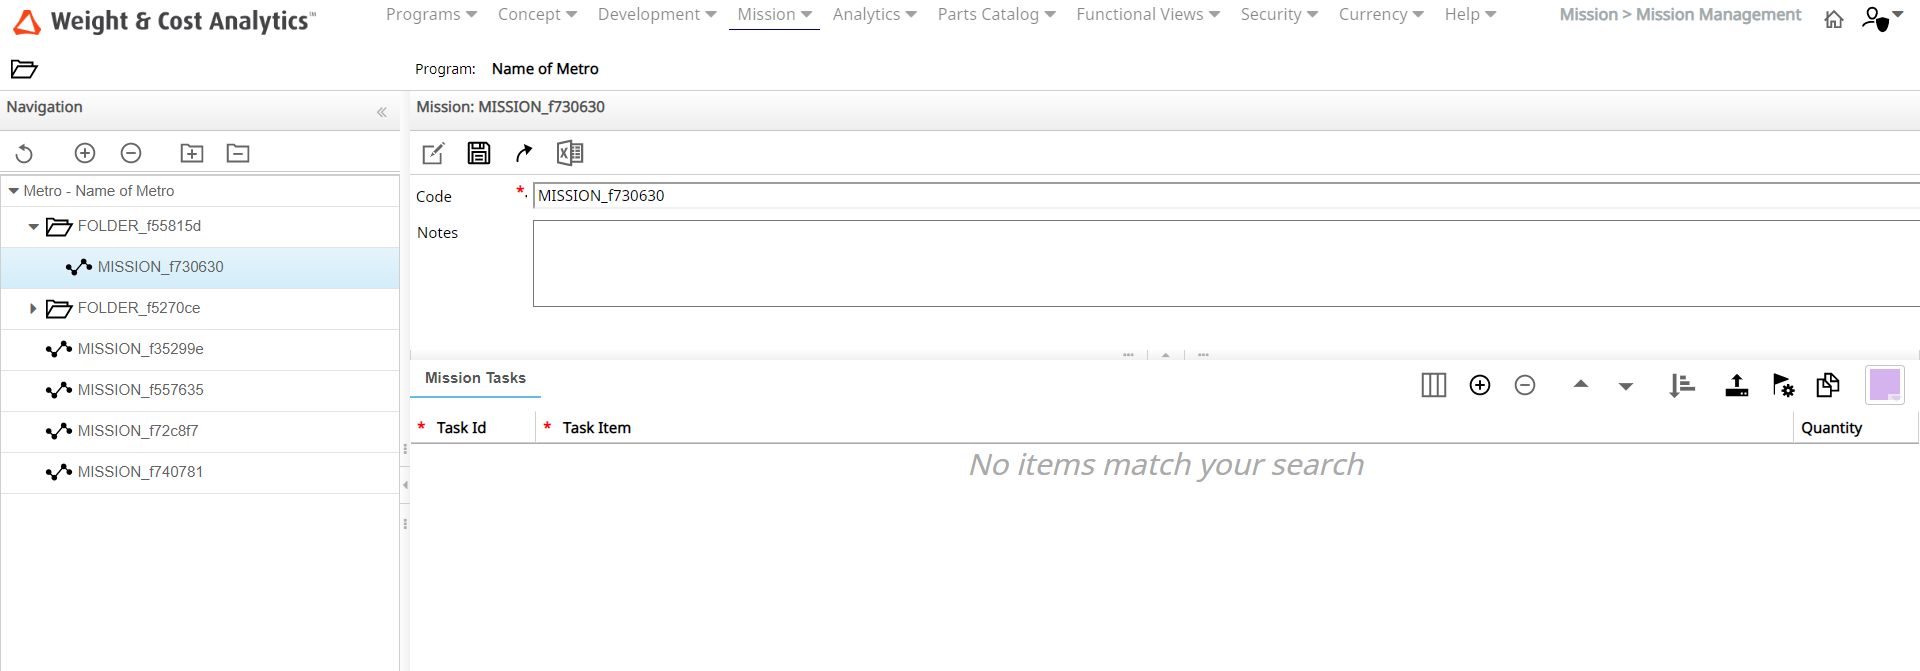
 icon in the Mission Tasks section.
A new task is added and you can select the required Missions from the Task Item dropdown list.
icon in the Mission Tasks section.
A new task is added and you can select the required Missions from the Task Item dropdown list.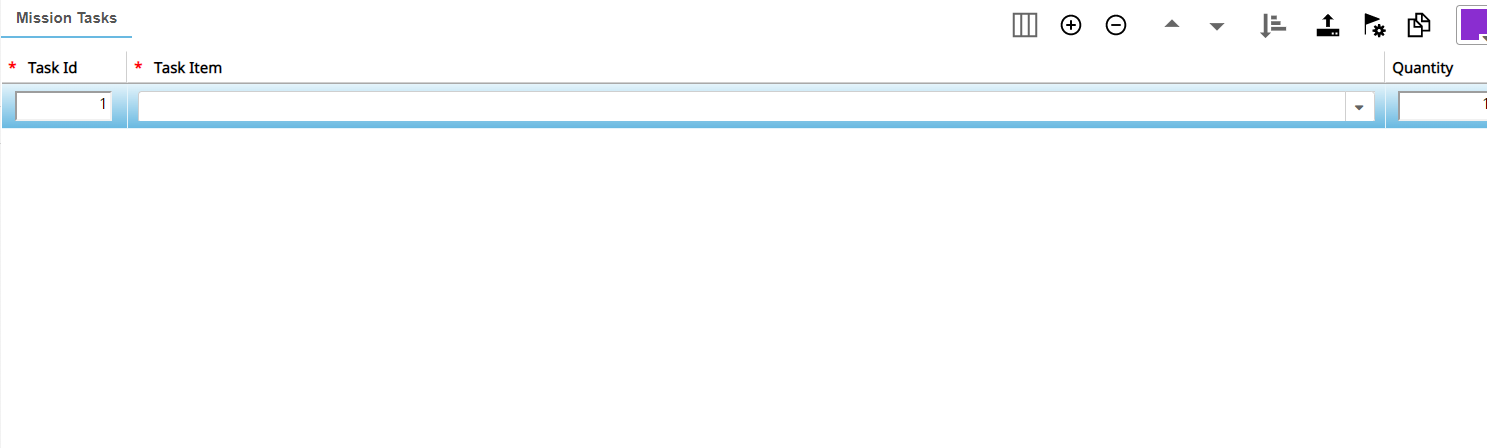
 icon.
The item is moved to one level above the other Mission.
icon.
The item is moved to one level above the other Mission. icon.
The item is moved to one level below the other Mission.
icon.
The item is moved to one level below the other Mission. icon.
The Mission task is deleted.
icon.
The Mission task is deleted. icon.
The changes made are discarded.
icon.
The changes made are discarded. icon.
A confirmation message is displayed.
icon.
A confirmation message is displayed. icon.
icon.
 icon to add a new Mission into the selected
folder.
Optionally, click the
icon to add a new Mission into the selected
folder.
Optionally, click the icon to delete the folder that you have
created.Note: You can also drag and drop a Mission from one folder to a different folder in the Navigation pane.
icon to delete the folder that you have
created.Note: You can also drag and drop a Mission from one folder to a different folder in the Navigation pane. icon.
icon.