The Equipment Management page allows you to add one or more special items (with
weight in addition or subtraction) to a simulation and create or manage a specific
equipment.
To use Equipment Management:
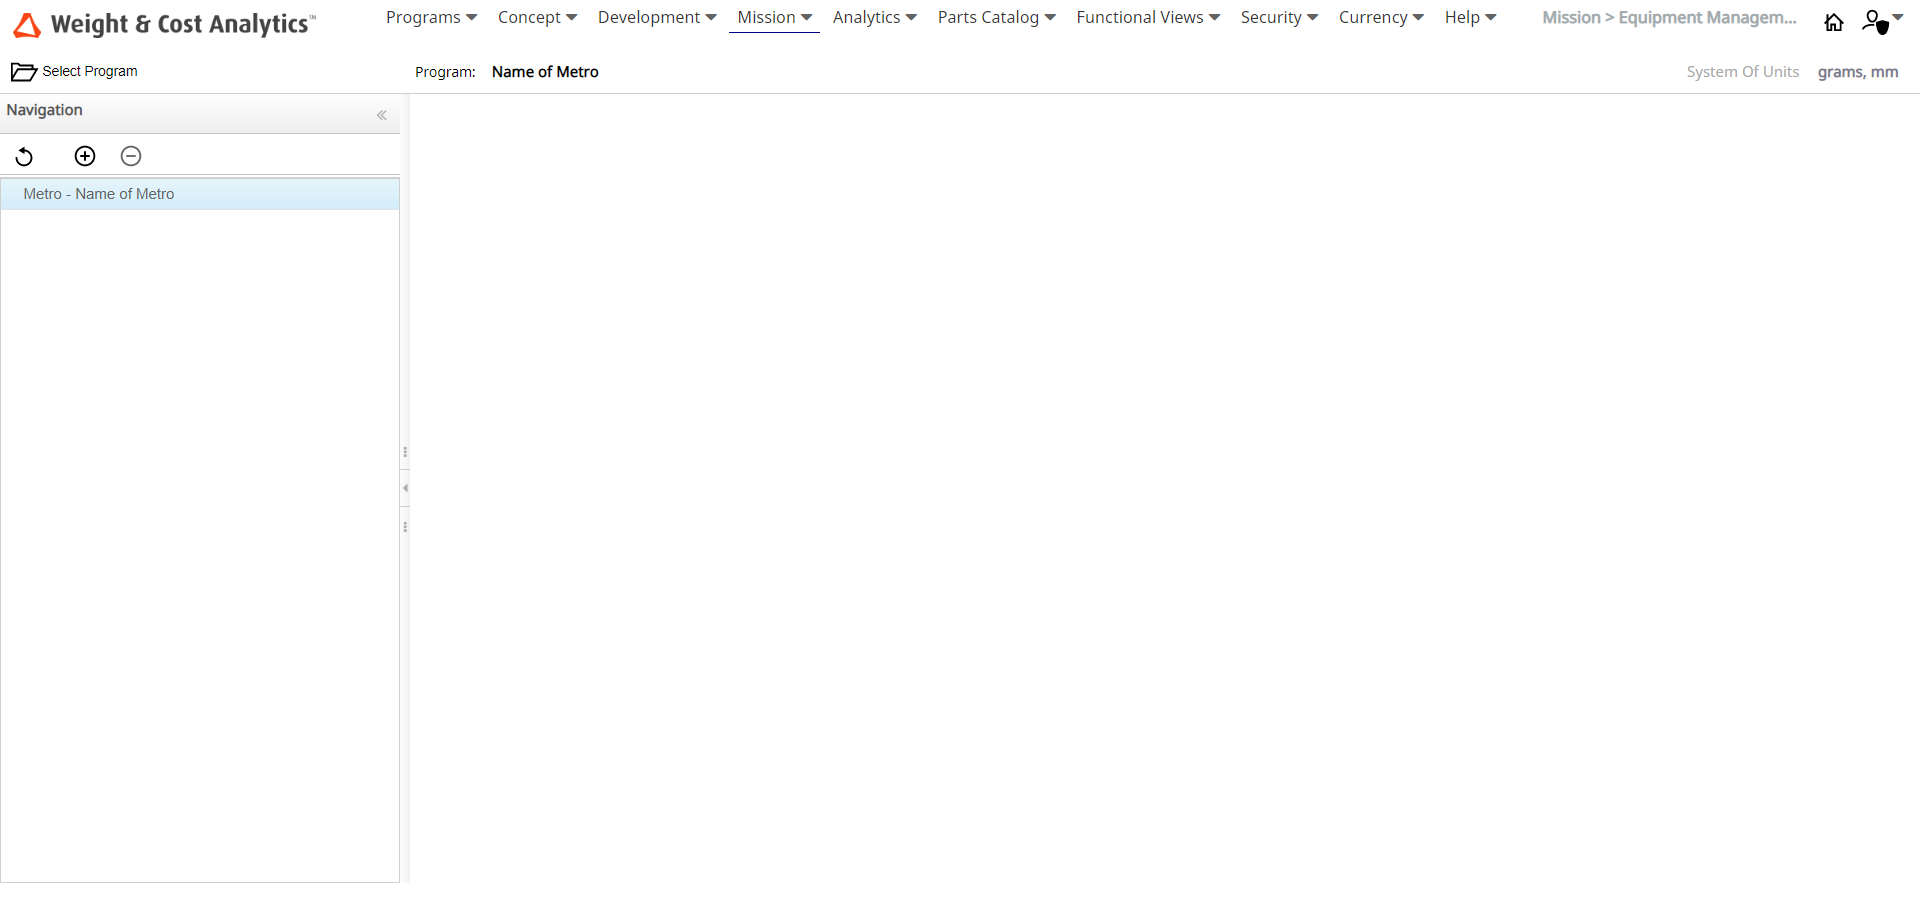
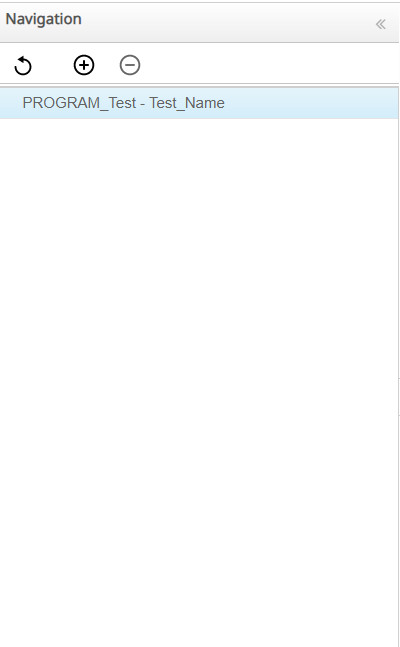
In the Equipment Management page, the Navigation
panel displays all the equipment that are already created in the selected program.
The Equipment Management page is shown in the following image.
Note: If you have not selected a Product, the Equipment Management page is empty. If you are working on a Product,
the Product is selected by default in the Equipment Management page and the selected Product is maintained
throughout different sessions.
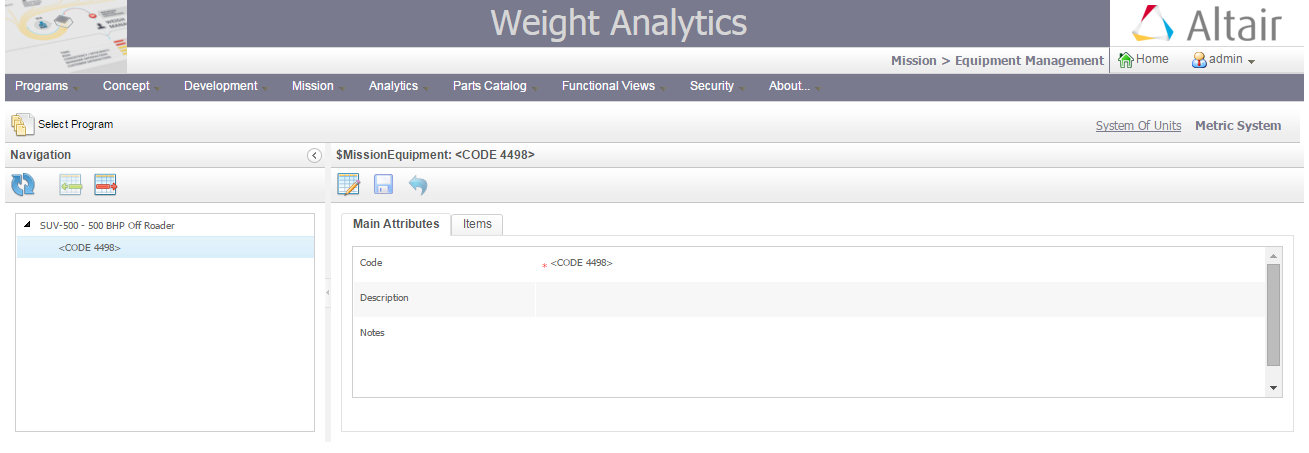
When you pre-select a Program with an equipment item, the Equipment Management page is displays the Main Attributes
and Items tabs.
The Equipment Management page allows you to:
Select a Program.
View and change the attributes of an Equipment.
View and manage the Equipment items (add or remove parts).
Reload the Program Equipment tree in the navigation panel.
Add an Equipment to a Program.
Remove an equipment from a Program.
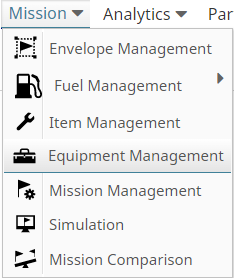
Click Mission > Equipment Management.
In the Equipment Management page, click the Select Program icon.
The Select Program window is displayed.
Select a Program and click Select
Program.
The Program is populated in the Navigation panel.
Add New Equipment
Click the Add Equipment icon.
The new equipment is added in the Navigation panel and the
Main Attributes tab is displayed.
Click the Enable Changes icon.
The text fields become editable and you can edit the required
fields.
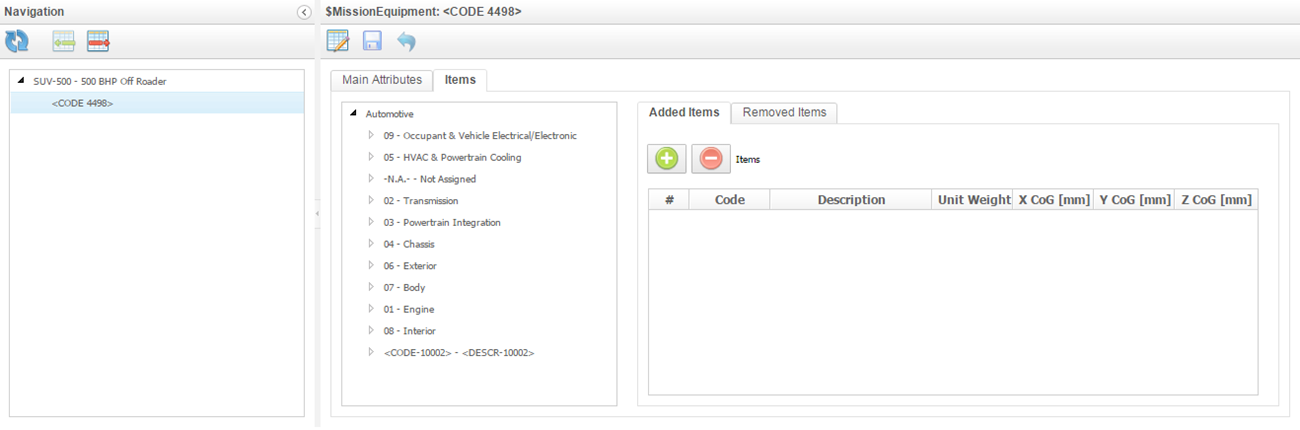
Select the Items
tab.
Note: The Functional View associated with the Selected
Program is shown in the tree and you can add or remove items to define
the Mission equipment.
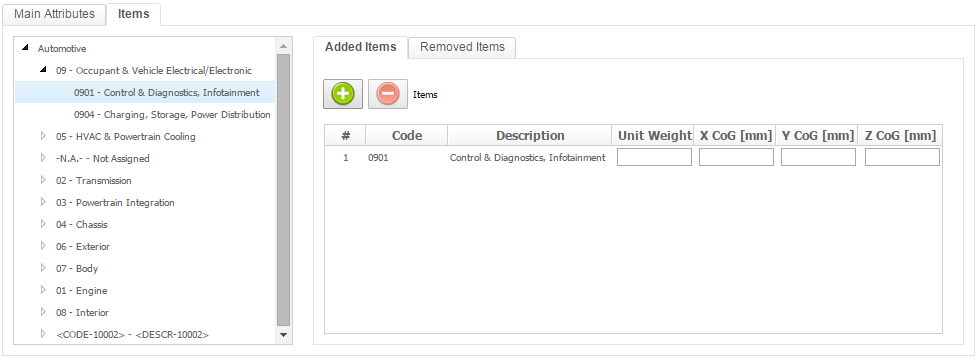
Add a new Item to the Equipment
Click the Enable Changes icon and select a node from the Functional
View.
The icon in the Added Items tab is enabled.
Click the icon.
The node is populated in the table and you can enter the weight
values to add in the simulation.
Select an item from the table and click the
icon.
The item is removed from the table.
Remove an Item from the Equipment
Click the Enable Changes icon and select a node from the functional
view.
The icon in the Removed Items tab is enabled.
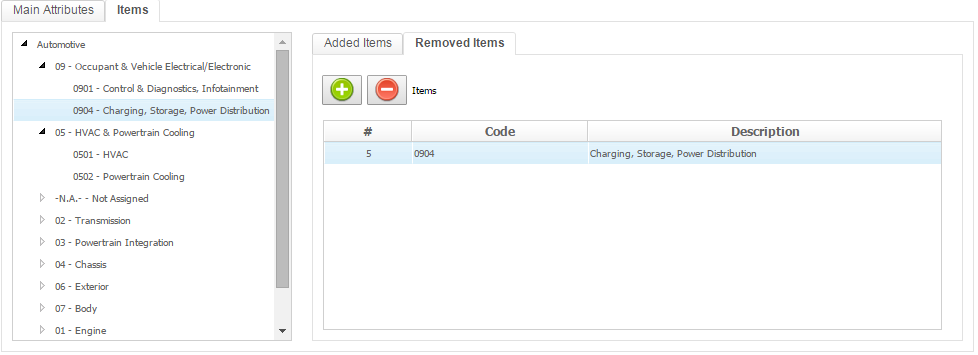
Click the icon in the Removed Items tab.
The selected node is populated in the table.
Select an item from the table and click the
icon.
The item is removed from the table.
Click System Of Units.
The System of unit selection window is
displayed.
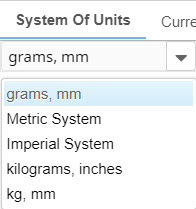
Select the required System of units from the Metric System dropdown list.
 icon.
The Select Program window is displayed.
icon.
The Select Program window is displayed.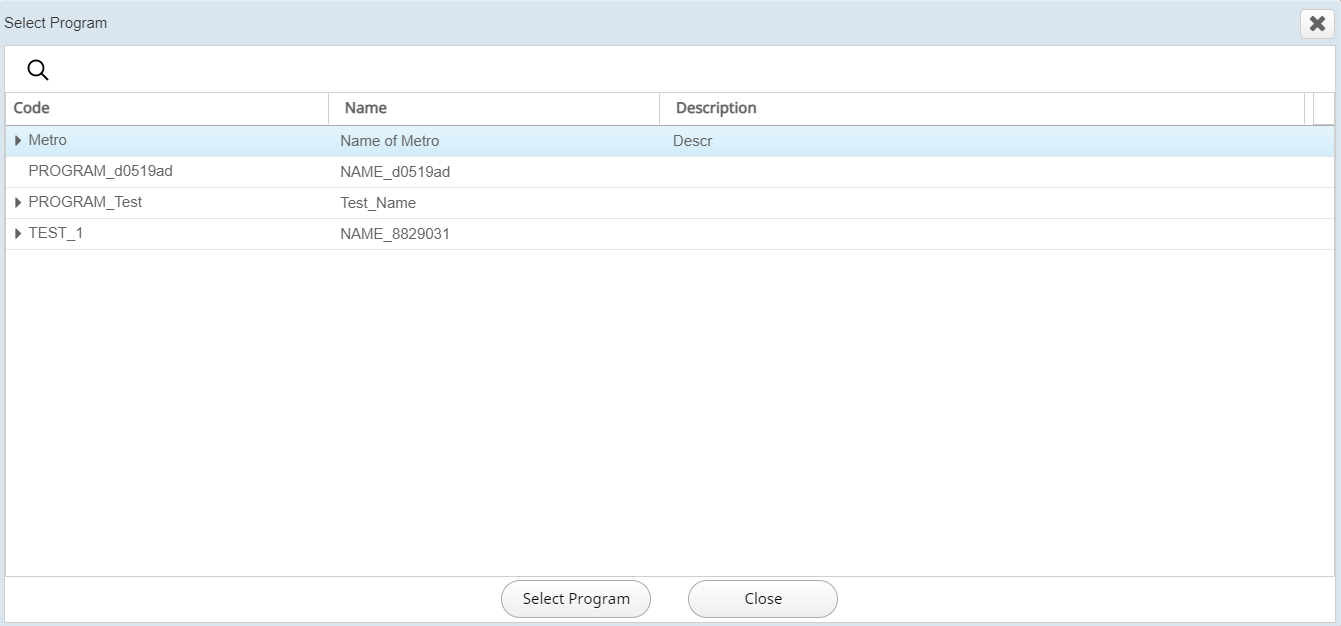
 icon.
The new equipment is added in the Navigation panel and the Main Attributes tab is displayed.
icon.
The new equipment is added in the Navigation panel and the Main Attributes tab is displayed.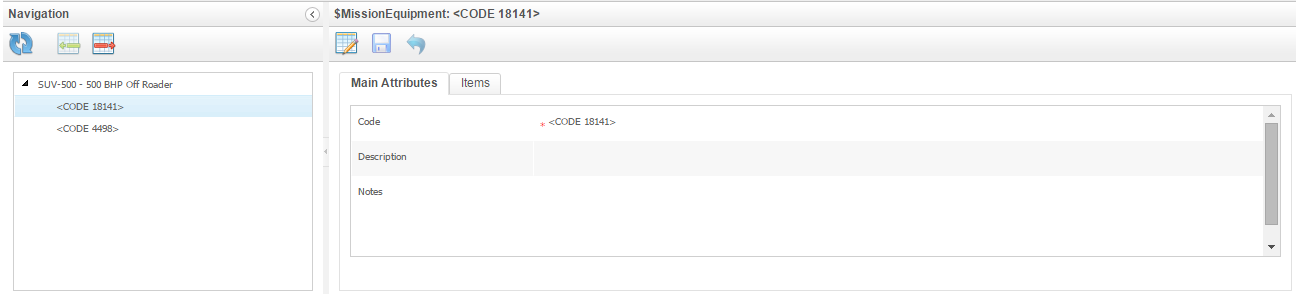
 icon.
The text fields become editable and you can edit the required fields.
icon.
The text fields become editable and you can edit the required fields.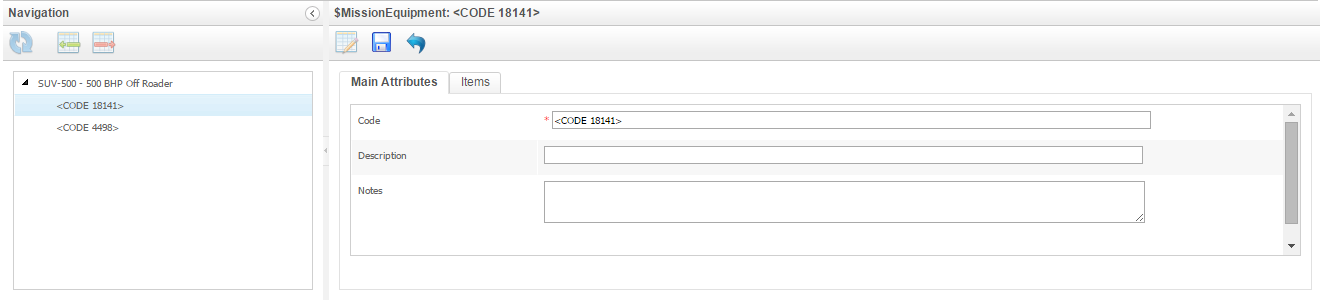
 Note: The Functional View associated with the Selected Program is shown in the tree and you can add or remove items to define the Mission equipment.
 icon in the Added Items tab is enabled.
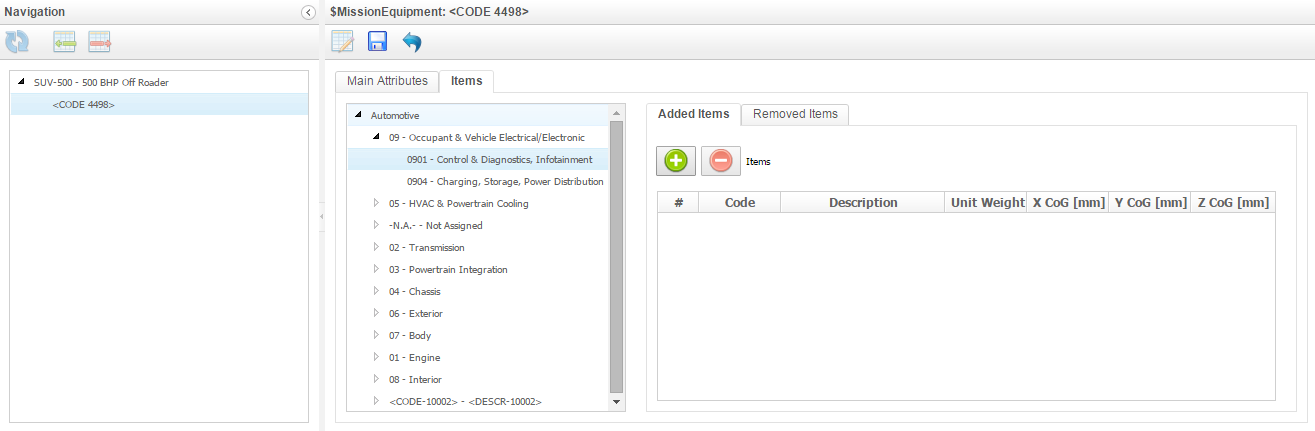
 icon.
The item is removed from the table.
icon.
The item is removed from the table.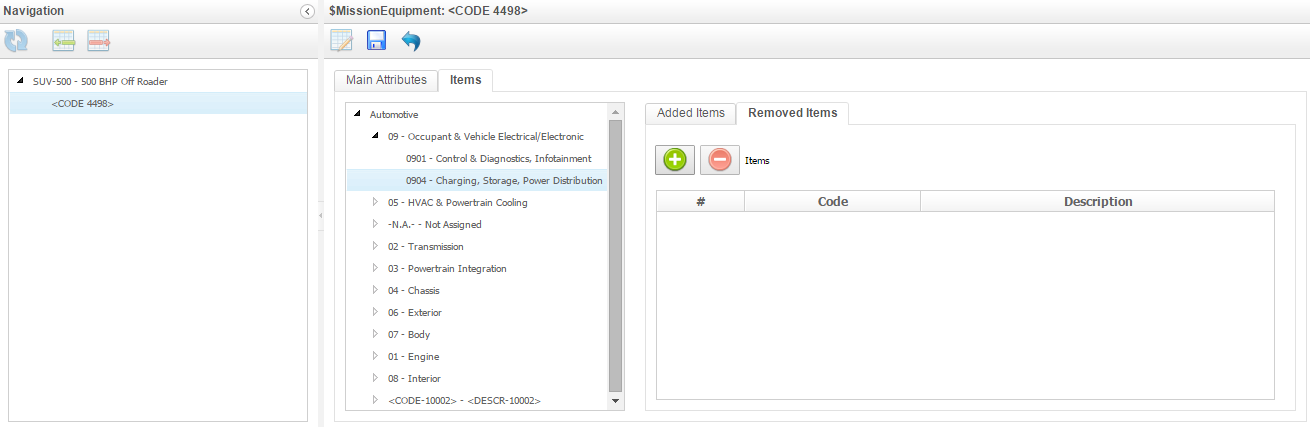
 .
The System of unit selection window is displayed.
.
The System of unit selection window is displayed.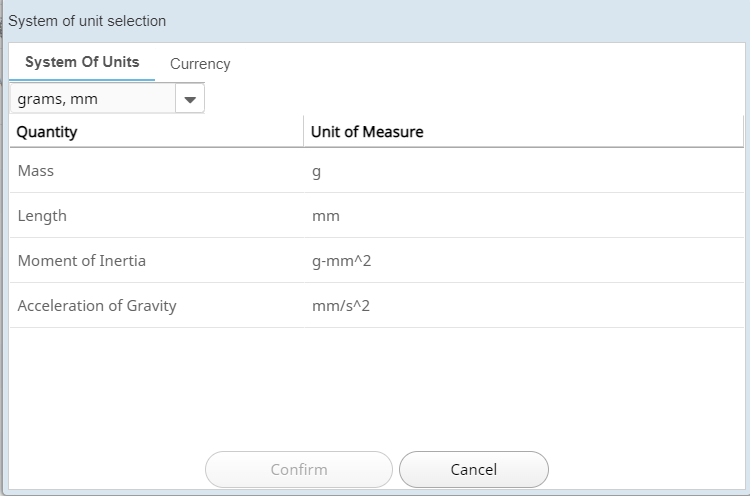
 icon.
A confirmation message is displayed.
icon.
A confirmation message is displayed.