The Envelope Management page allows you to create a simulation based on a Concept or
Snapshot in a Program. You must create at least one Envelope and a list of the task
items.
To use Envelope Management:
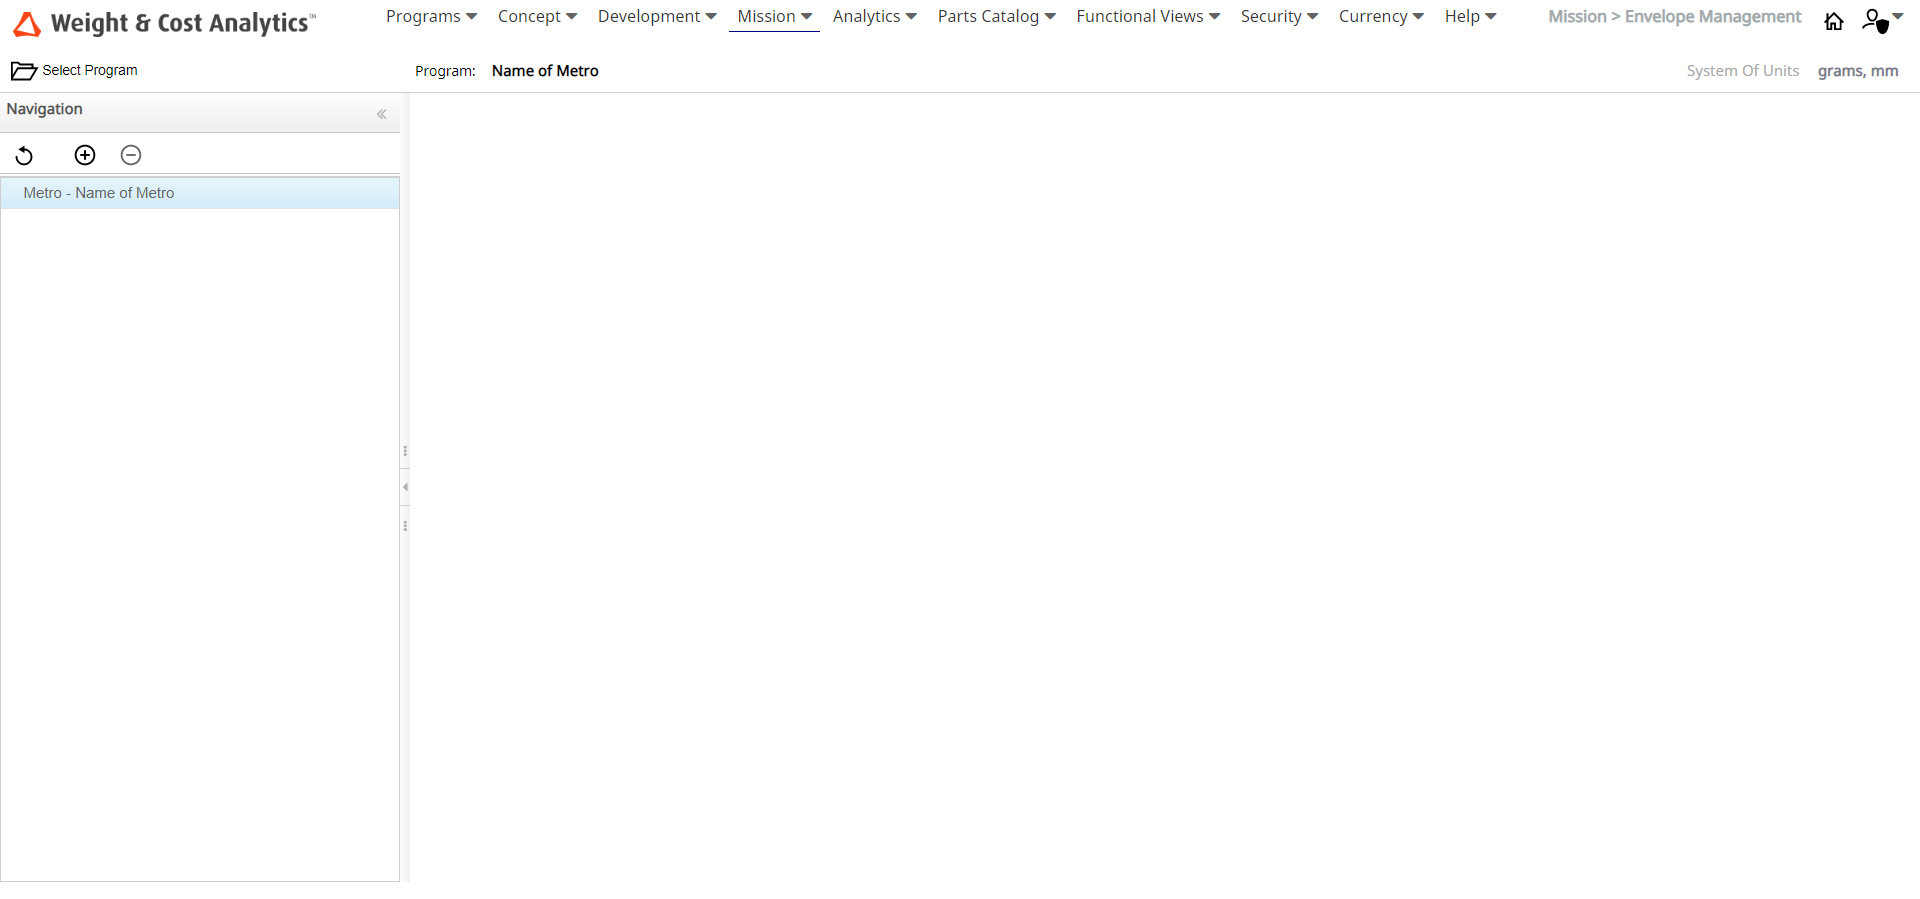
The Envelope Management page is shown in the
following image.
Note: The Envelope Management page is empty if you have not previously
selected a Product. If you are working on a Product, the Product is selected by
default in the Envelope Management page and maintained throughout different
sessions.
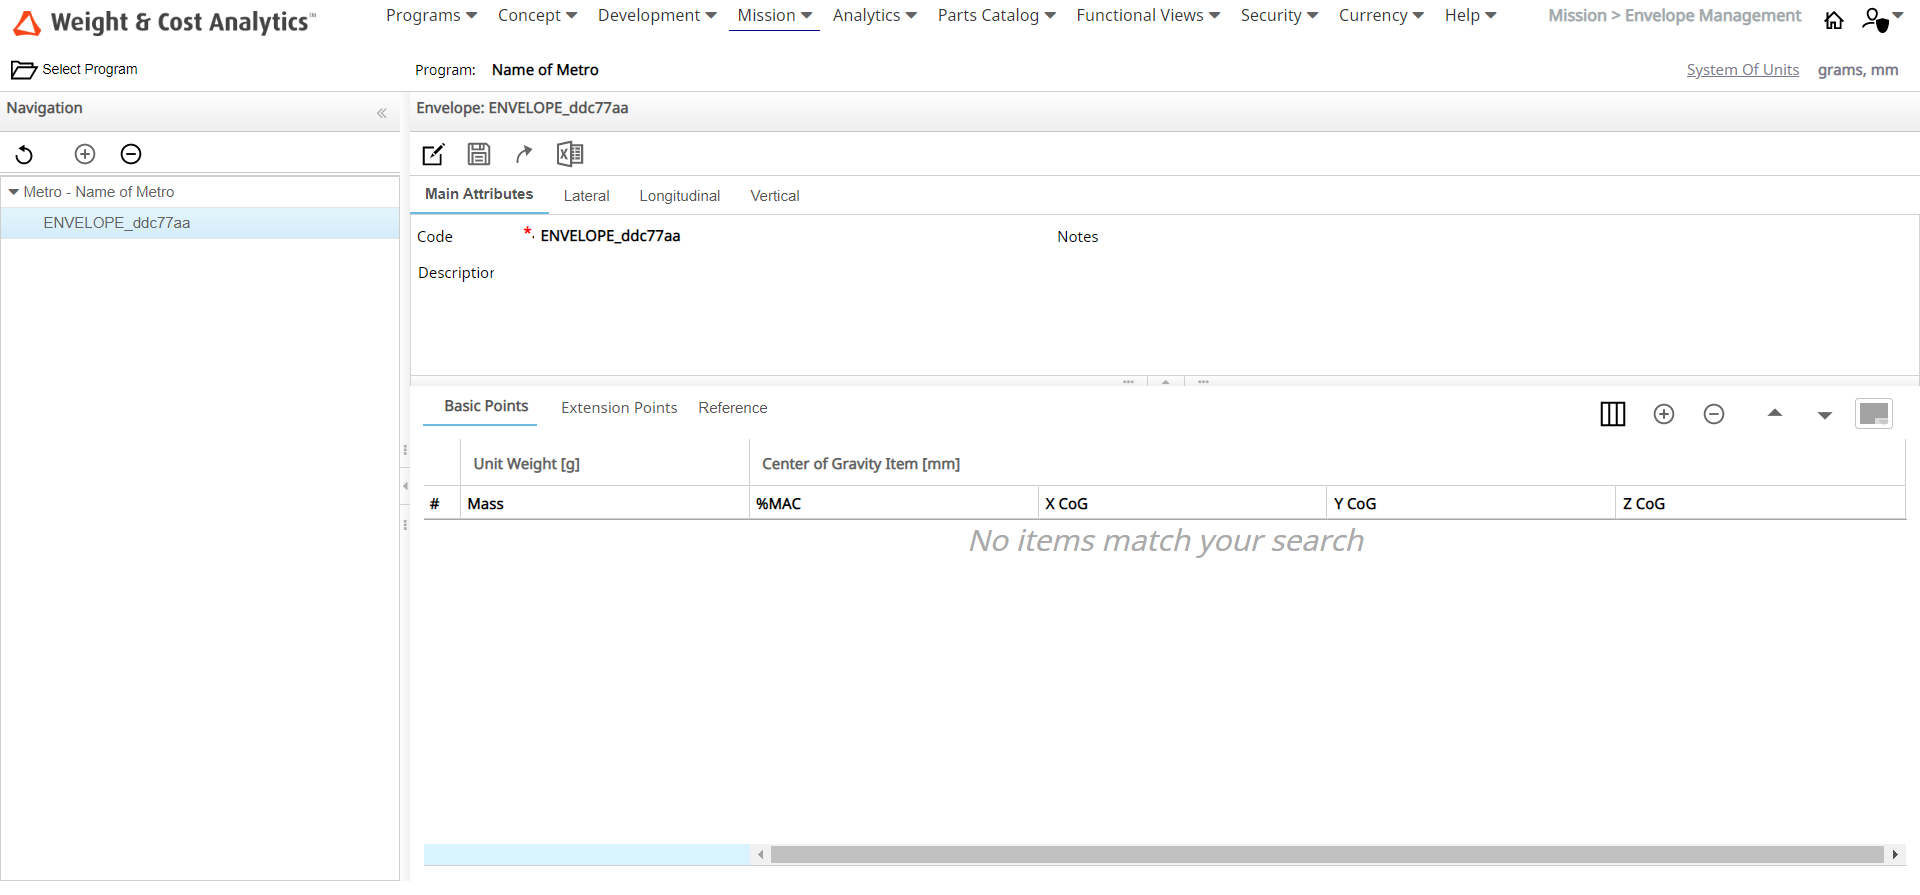
When you pre-select a Program with an Envelope, the
Envelope page is displayed with
the Main Attributes,
Lateral, Longitudinal and Vertical tabs.
The Envelope Management page allows you to:
Select a Program.
View and change the attributes of an Envelope.
View the impact of an Envelope graphically.
Reload the Program tree in the navigation panel.
Add an Envelope to the selected Program.
Remove an Envelope from the Program.
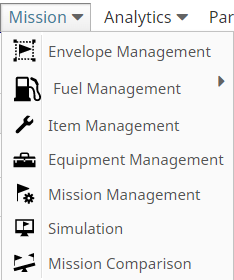
Click Mission > Envelope Management.
The Envelope Management page is displayed.
Click the Select Program Select Program icon.
Select Program window is displayed.
Note: The Select Program window displays only the Programs which has
permissions.
Select a Program that has Snapshots and then click Select Program.
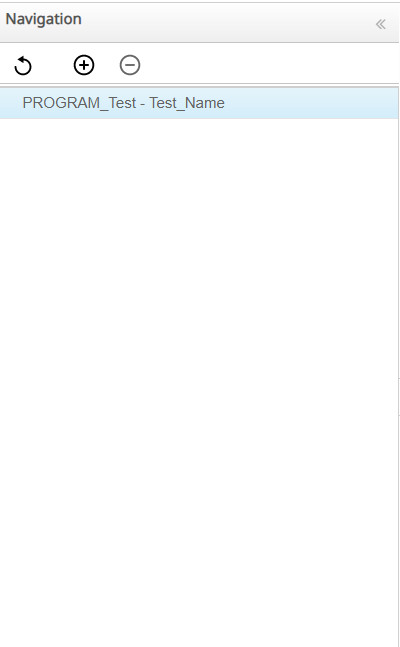
The Program is populated in the Navigation panel.
Add a new Envelope
Click the Program in the Navigation panel.
Add Envelope icon is enabled.
Click the Add Envelope icon.
The newly added Envelope is added in the Navigation panel.
Click the Enable Changes icon.
The text fields in the Main Attributes tab become editable.
Enter the required data in theCode, Description and Notes text fields.
Click the Add Point icon in the Basic Points section.
Enter the values in the text fields Unit Weight, X
CoG, Y CoG
and Z CoG in the Basic Points tab.
Click the Add Point icon in the Extension Points tab.
Enter the values in the text fields Unit Weight, X
CoG, Y CoG
and Z CoG under the
Extension Points section.
Click the Add Point icon in the Reference Points tab.
Enter the values in the text fields Unit Weight,
X CoG, Y CoG and
Z CoG under the Reference
Points tab.
Click the Save Changes icon.
A message confirming the changes is displayed.
Click OK to save the
changes or Cancel to
discard the changes.
Select the Lateral tab in the Envelope Management page.
The graphics impact related to the Envelope attributes is displayed.
Select the Longitudinal tab in the Envelope Management page.
Graphics impact related to the envelope attributes is displayed.
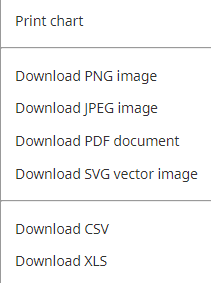
Click the Chart context menu icon and select the required format to
download the chart.
Example for a typical Envelope Management Chart:
Edit an Existing Envelope
Click the Select Program icon.
The Select Program window is displayed.
Note: The Select Program window displays only the Program which has
permissions.
Select a Program that has Snapshots and click the Select Program icon.
The Program is populated in the Navigation panel.
Note: Select a Program with snapshots, else the Envelope Management page is empty.
Select an Envelope and click Remove Envelope icon in the Navigation panel.
The newly added envelope is removed from the Navigation panel.
Click the Reload Tree icon.
Envelope Management page is updated with newly added
envelops.
Click the Undo Changes icon.
The changes made are discarded.
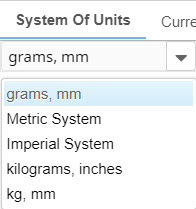
Click System Of Units.
The System of unit selection window is
displayed.
Note: The selection panel has two columns:
Quantity :
Information about the quantity.
Unit of Measure
: Information about the unit of measurement for the quantity
type in the Quantity column.
Select the required system of units from the Metric System drop down
list.
 The Envelope Management page is displayed.
 icon.
Select Program window is displayed.
icon.
Select Program window is displayed.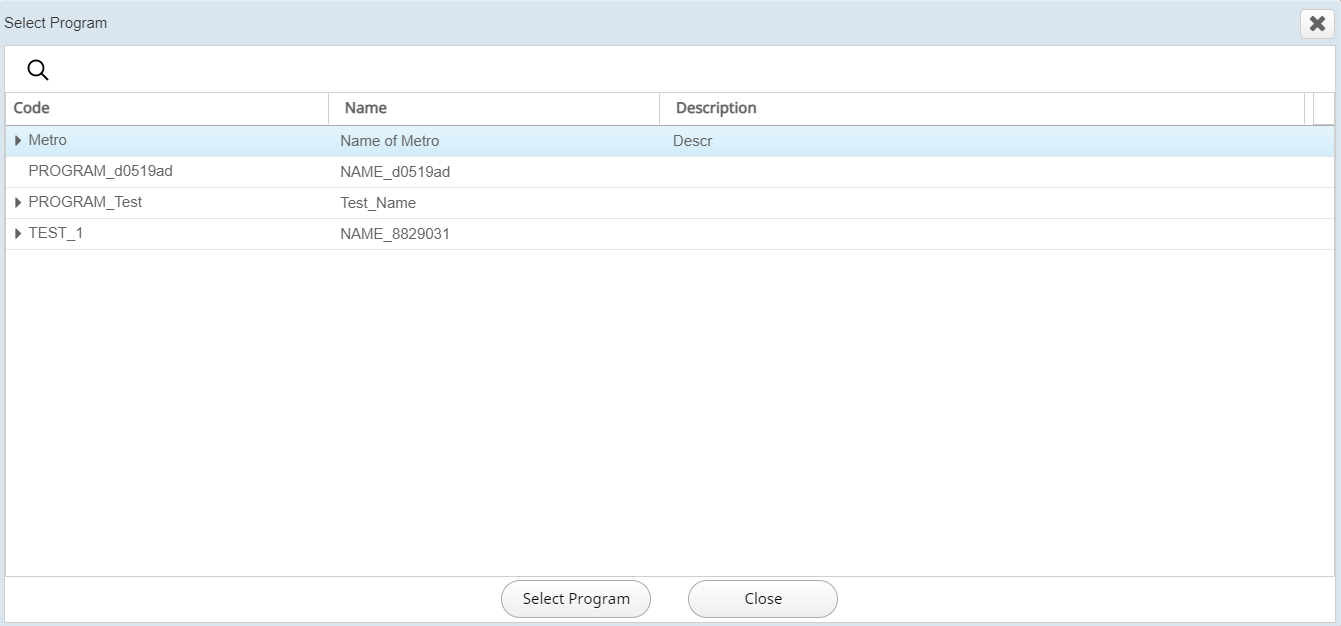
 icon is enabled.
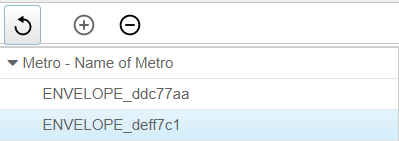 The newly added Envelope is added in the Navigation panel.
 icon.
The text fields in the Main Attributes tab become editable.
icon.
The text fields in the Main Attributes tab become editable.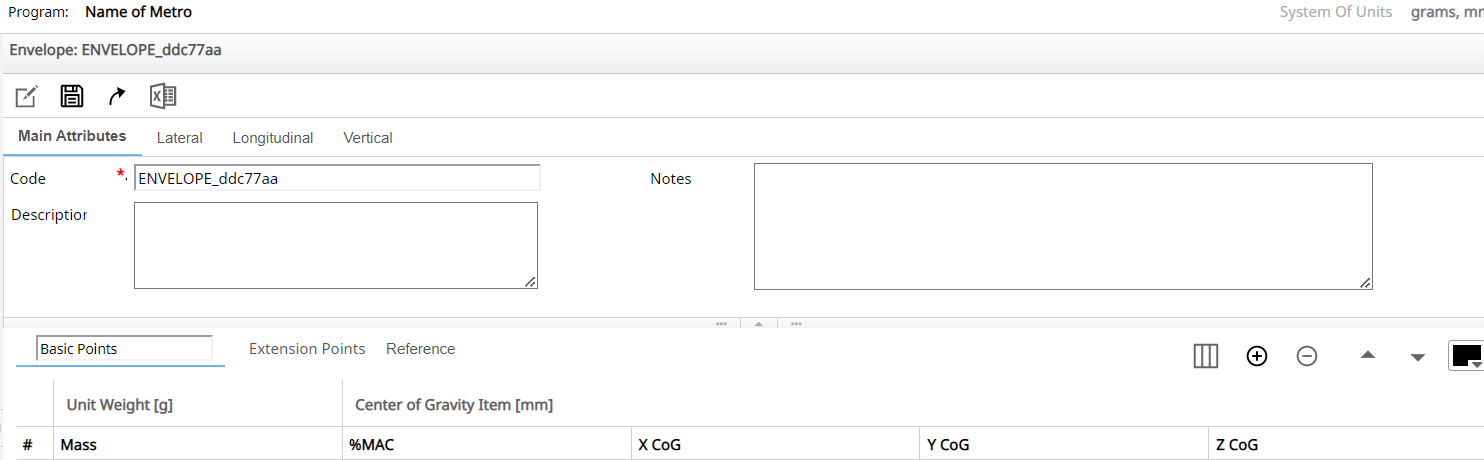


 icon.
A message confirming the changes is displayed.
icon.
A message confirming the changes is displayed. icon and select the required format to
download the chart.
icon and select the required format to
download the chart.
 Example for a typical Envelope Management Chart:
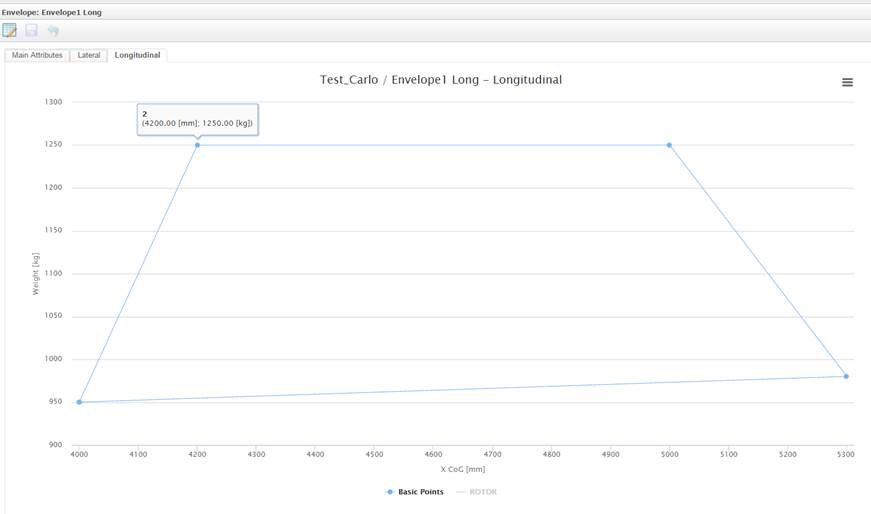
 icon in the Navigation panel.
The newly added envelope is removed from the Navigation panel.
icon in the Navigation panel.
The newly added envelope is removed from the Navigation panel. icon.
Envelope Management page is updated with newly added envelops.
icon.
Envelope Management page is updated with newly added envelops. icon.
The changes made are discarded.
icon.
The changes made are discarded. .
The System of unit selection window is displayed.
.
The System of unit selection window is displayed.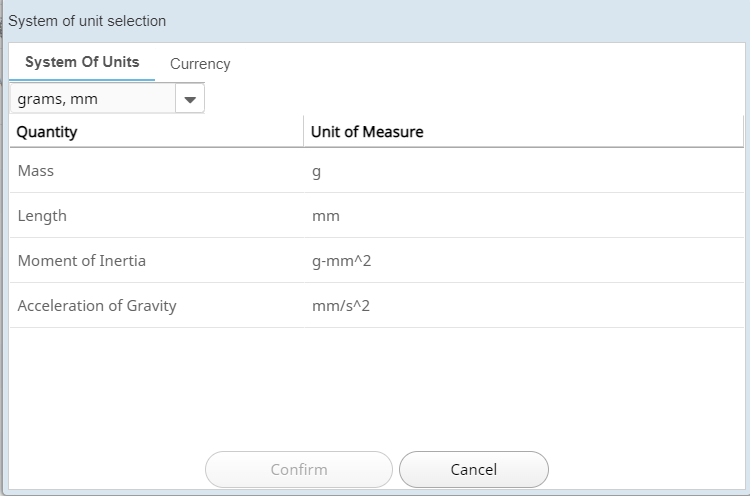 Note: The selection panel has two columns: