Item Management
The Item Management page allows you to create and manage the mission items.
The Item Management page is shown in the following
image.
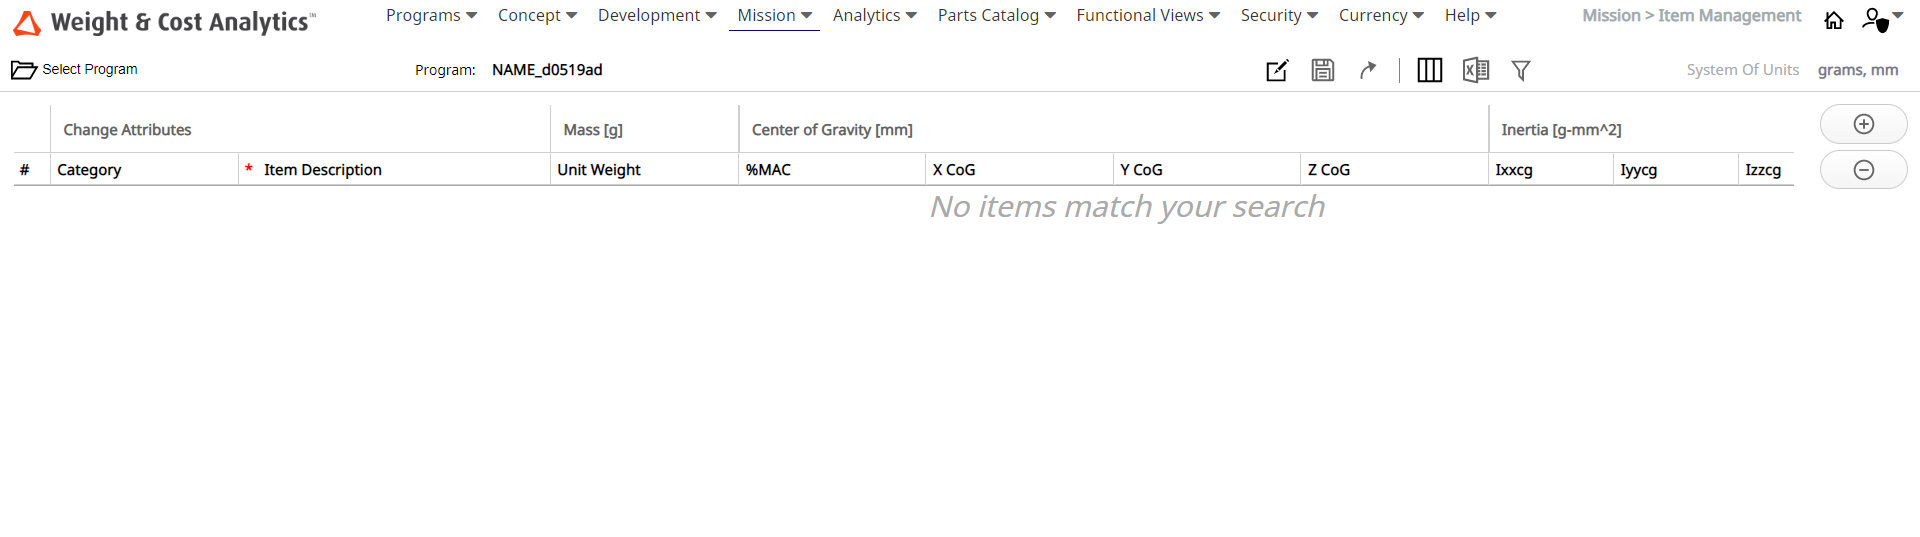
The Item Management page allows you to:
- Search for Mission items in the program.
- Enable changes and edit the Mission item data.
- Save the changes made in the Mission items.
- Reject any changes made in the Mission item data.
- Change the System of units for Mission items.
- Add new Mission items to a Program.
- Remove a Mission item from a Program.
-
Click
The Item Management page is displayed. Note: If the Mission items already exist in the session, all the Mission items are populated in the Item Description table.
 -
Enter the Mission item description or a part of description in the text field
under the Item Description label and click Search Mission Items
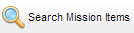 button.
Mission items in the session are searched and populated in the table.
button.
Mission items in the session are searched and populated in the table. -
Click the Enable Changes
 icon.
The text fields in the table become editable and you can edit the required fields.
icon.
The text fields in the table become editable and you can edit the required fields. -
Click the Add Mission Item
 icon.
A new mission item is added to the table.
icon.
A new mission item is added to the table. -
Select a Mission item from the table and click the Remove Mission Item
 icon.
The selected Mission item is removed from the table.
icon.
The selected Mission item is removed from the table. -
Click the Save Changes
 icon.
The changes made are saved.
icon.
The changes made are saved. -
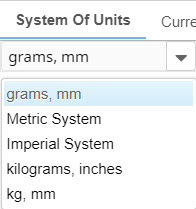
Click the System Of Units
 icon.
System of unit selection dialog box is displayed.
icon.
System of unit selection dialog box is displayed.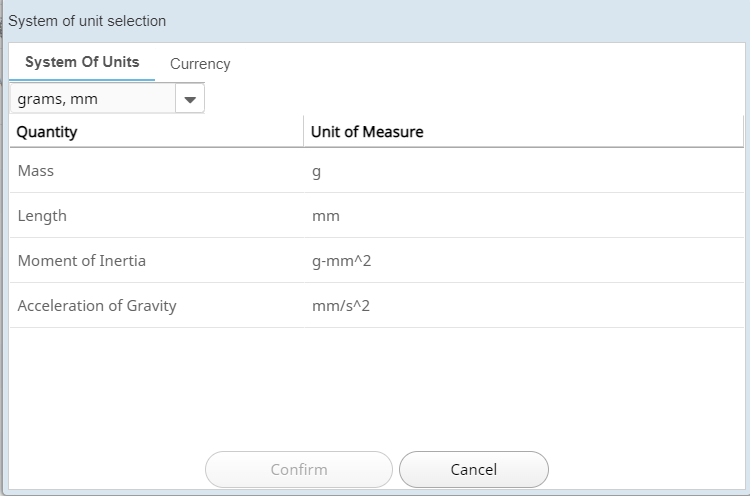
Note: The selection panel has two columns:- Quantity : Information about the quantity.
- Unit of Measure : Information about the Unit of measurement for the quantity type in the Quantity column.
-
Select the required System of units from the Metric System dropdown list.