Adding Marker Points to Geo-Reference the Image
Use marker points to position database objects (geo-referencing) relative to one another.
Note: Marker points are generally used when drawing multiple and complex buildings
relative to one another. It is not required for this example, but the steps are
highlighted.
-
Add a marker point using one of the following workflows:
- On the Edit menu, click .
- On the View toolbar, click the
 icon.
icon.
-
Click in the X/Y window.
A marker point is placed on the image at the location of the mouse click. The marker point is indicated by a
 blue crosshair.
 -
Activate the marker point by clicking again on the marker.
The marker point is now indicated by a
 red crosshair.
 -
Right-click on the red crosshair and from the right-click context menu,
click Assign Reference.
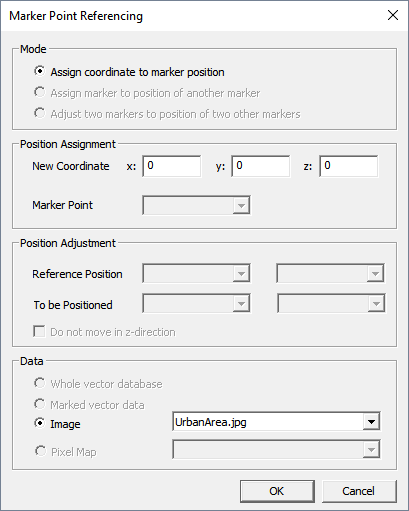
Figure 1. The Marker Point Referencing dialog. 
- Under Position Assignment, in the New Coordinate field, enter the coordinates of the marker.
- Click OK to close the Marker Point Referencing dialog.