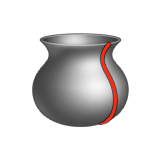
Revolve
Rotate a curve or 2D surface around an axis to create a 3D surface. You perform the same revolve on multiple objects at a time.
Create a Revolve
Rotate a curve or 2D surface around an axis to create a 3D surface. You perform the same revolve on multiple objects at a time.
- On the ribbon, click the Surfaces tab.
-
Click the Revolve icon.
-
Click one or more curves or faces, and then right-click to confirm.
Tip: To select a single curve or edge when the two are tangent to each other, hold down Alt while clicking.By default, the object is rotated 360° around the axis.
If you selected a curve, by default the rotation axis is placed on the first point of the curve.
- See Step 2 of Edit a Revolve.
- Right-click and mouse through the check mark to exit, or double-right-click.
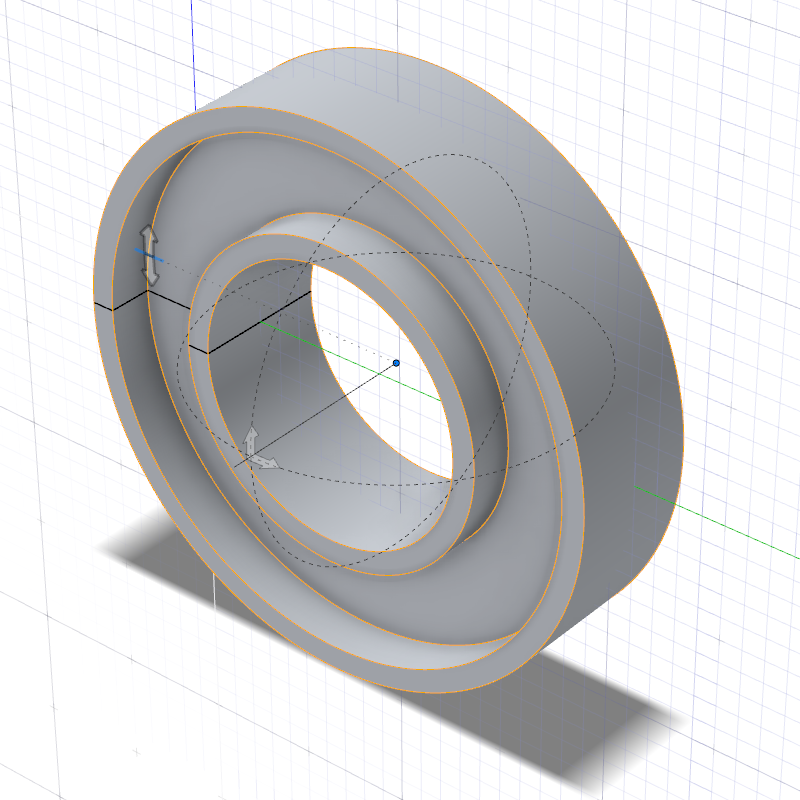
Edit a Revolve
Reselect objects to revolve, change the selection method, change the revolve direction, reposition the origin, and change the revolve angle.
- Double-click the revolve to enter edit mode.
-
Edit the revolve:
To Do this Notes Reselect objects to revolve - In the guide bar, click Objects.
- Click the objects you want to add or remove.
- Right-click to confirm.
Change the selection method In the guide bar, select one of the following options: - Standard Selection
- Chain Selection
- Single Selection
Change the revolve direction In the guide bar, select one of the following options: - Global Axis X: Revolve along the global x-axis.
- Global Axis Y: Revolve along the global y-axis.
- Global Axis Z: Revolve along the global z-axis.
- Ref Geometry: Set the revolution direction by clicking a reference geometry.
- Normal: Revolve in the normal direction.
- Custom: Revolve in a custom
direction by doing one of the following:
- Drag the axis arrows.
- Drag the direction point.
- Click an arrow, and then type an angle.
Reposition the origin - Drag the Origin.
- Click the Origin, and then type the x, y, and z coordinates.
Change the revolve angle - Drag the Start Angle or End Angle arrow.
- Click the Start Angle or End Angle arrow, and then type an angle.
By default, the object is rotated 360° around the axis. - Drag the FREE ANGLE or Phi Angle arrow.
- Click the FREE ANGLE or Phi Angle arrow, and then type an angle.
- Right-click and mouse through the check mark to exit, or double-right-click.
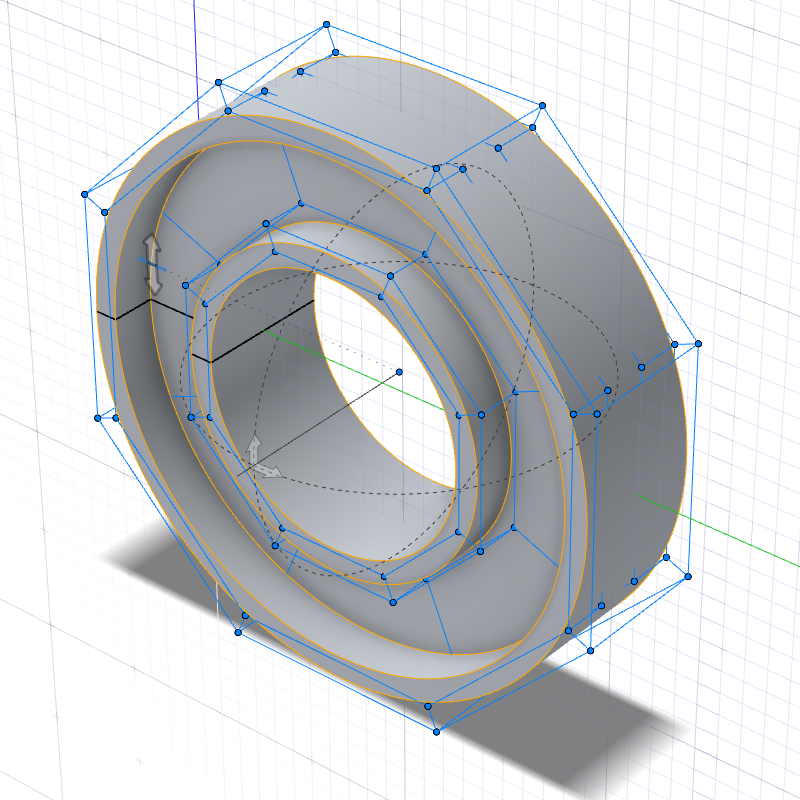
Manipulate the Shape of a Revolve
Select a degree option and then reposition or change the number of the control points in order to manipulate the shape of a revolve.
If you want to manipulate the shape, select one of the degree options.
-
In the guide bar, select NURBS Degree 2, 3 or 5.
Note: Select a higher degree for a smoother curvature.
-
Modify the control points.
To Do this Change the number of points In the guide bar, enter the number of Points. Reposition a point - Drag a point.
- Click a point, and then enter the x, y, and z coordinates.
Modify multiple points - Click a blue line, and then drag one of the selected points.
- Box select the points, and then drag one of the selected points.
Undo changes for selected points Click the points you want to revert, and then in the guide bar, select Un-edit selected. - Right-click and mouse through the check mark to exit, or double-right-click.