Extend
Creates the holder surface by extending the surface at the selected edges.
- On the ribbon, click the Die Design tab.
-
In the Flange Die section, click the New icon.

-
Click the Extend icon.

- In the guide bar, select the Flange Part object to assign to the holder.
- Right-click to confirm.
-
Choose a selection method, and then select the Flange
Edges.
If you select this method Then do this Chain selection (default) Click an edge and all connected edges are selected automatically. Tangent selection Click an edge and the tangent edge is also selected automatically. Single selection Click an edge. Standard Selection When you click an edge, all connected edges are automatically selected. To reselect the Flange Part Edges, in the guide bar, select Clear Selection , and then select different part edges.The holder surface that is created is associated with the selected flange edge.
 -
Select the surface edges you would like to extend to create the holder
surface.
If you select this method Then do this Chain selection (default) Click an edge and all connected edges are selected automatically. Tangent selection Click an edge and the tangent edge is also selected automatically. Single selection Click an edge. Standard Selection When you click an edge, all connected edges are automatically selected. -
In the guide bar, select a rib type:
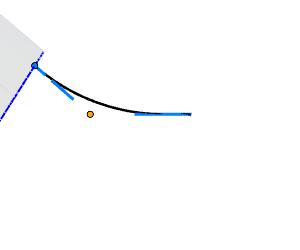
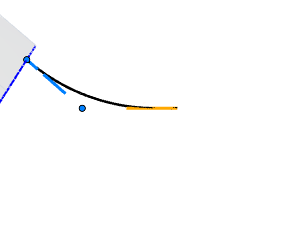
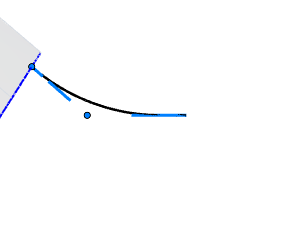
- Start with Arc: The rib extends from the part
with an arc, ensuring tangent continuity, and drops down to the binder
with a smooth fillet between them.
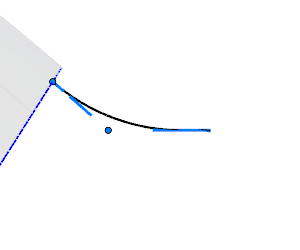
The rib is parametric. To edit the dimensions, select the respective handles.
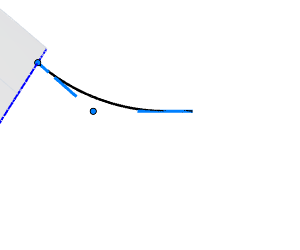
- Line with Arc: The rib extends from the part with
a line, ensuring tangent continuity, and then follows with an arc and
flat before dropping down to the binder with a smooth fillet between
them.
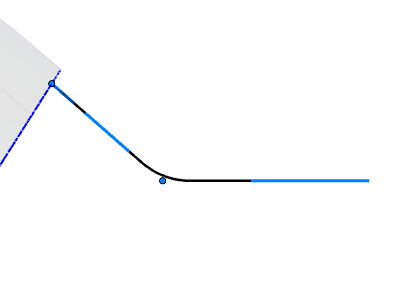
The rib is parametric. To edit the dimensions, select the respective handles.
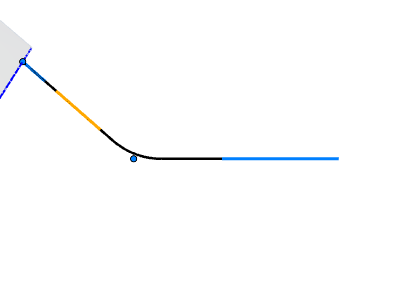
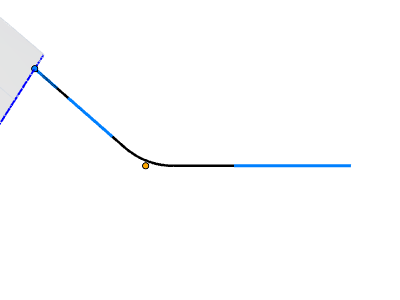
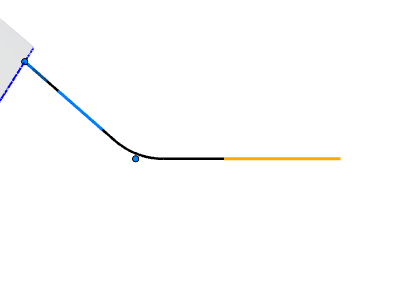
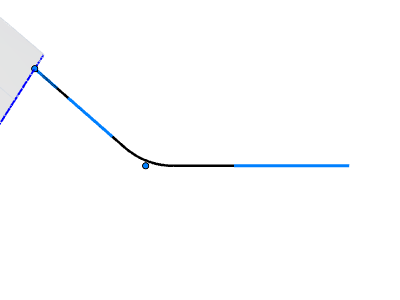
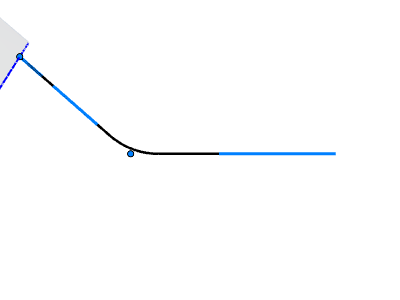
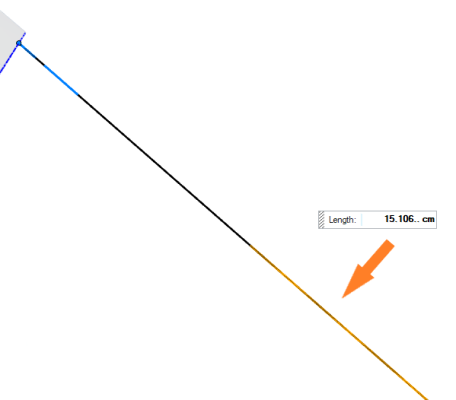
- Straight Line: The rib extends from the part with
a line, ensuring tangent continuity, and is continuous down to the
binder. Tip: You can align Straight Line ribs with an existing edge using the Reference Edge option detailed below.

The rib is parametric. To edit the dimensions, select the respective handles.
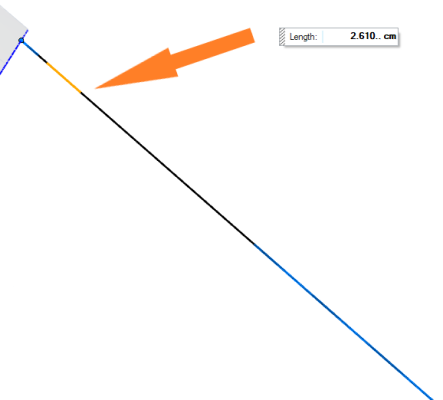
- S Line: The rib drops down from the part, then
extends in a straight line.
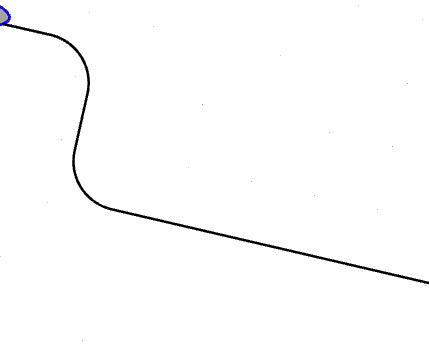
The rib is parametric. To edit the dimensions, select the respective handles.

- Start with Arc: The rib extends from the part
with an arc, ensuring tangent continuity, and drops down to the binder
with a smooth fillet between them.
-
Create the ribs and the surfaces that extend from the flange part:
- To automatically create ribs at standard locations (sharp corners where edge continuity is broken), right-click. To add ribs at custom locations, see the next step.
-
The rectangular box shows the size of the extended part.
- You can adjust the size and orientation of the box by using the graphical manipulator on the box face.
- Use the white arrow in the center of the box to adjust the position of
the holder surface and trim box.

-
Adjust the extension surface:
Note: In the modeling window, the extended surface intersection with the box is indicated by a green line. A discontinuity in the green line indicates the surface has not been extended sufficiently and should be fixed.
To Do this Note Edit the ribs In the guide bar, select Edit Ribs. You can add, delete, and adjust ribs. - To add ribs at custom locations, first hold down Alt while hovering over an part edge, and then click a blue or green dot. A green dot indicates a sharp corner where edge continuity is broken.
- To delete a rib, select it and press Delete.
- To adjust a rib, select it and configure the options in the microdialog or Control Panel. See Rib Options.
Copy some parameters of a source rib to target ribs - In the guide bar, select Pass Rib Parameters.
- Select the source rib.
- To select the target ribs, do one of the
following:
- Alt+click
- Right-click, and then select Select ribs except source or Select ribs of same type.
- To copy the parameters from the source to targets, right-click, and then select Update.
The following parameters are passed on: - Rib configuration
- Angle
- Length
- Tangency (G1) to the part
- Radius
- Rib plane orientation
- Align to XY draw plane
See Rib Options for parameter definitions.
Create a copy of a rib - In the guide bar, select Copy Rib.
- Select the rib to copy.
- To paste a copy of the rib, Alt+click.
Automatically align ribs to a source rib - In the guide bar, select Auto-align Ribs.
- Select the source rib.
- To select the ribs to align, do one of the
following:
- Alt+click
- Right-click, and then select Select ribs except source or Select ribs of same type.
- To align the ribs, right-click, and then select Update.
Using this option, you can basically copy the following parameters from the source ribs to the target ribs: - Rib plane orientation
- Align to XY draw plane
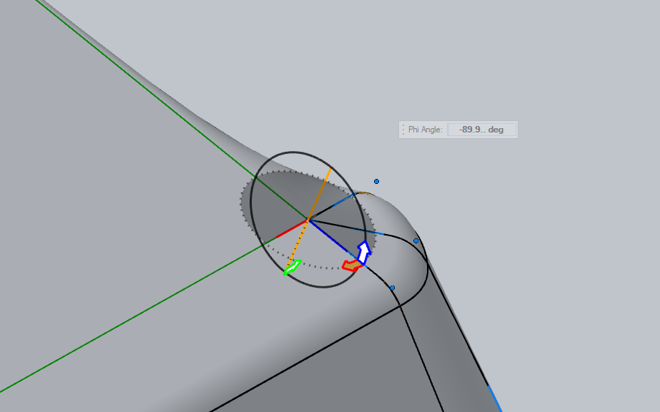
Rotate the rib plane If none of the options to automatically align the ribs produces the desired result, use the graphic manipulator to reposition the rib plane. - In the guide bar, select Edit Ribs.
- Click and drag one of the red, green, or blue arrows to rotate the rib plane around the corresponding colored axis. The angle measures the rib angle with respect to the corresponding axis.
- Right-click and mouse through the check mark to exit, or double-right-click.