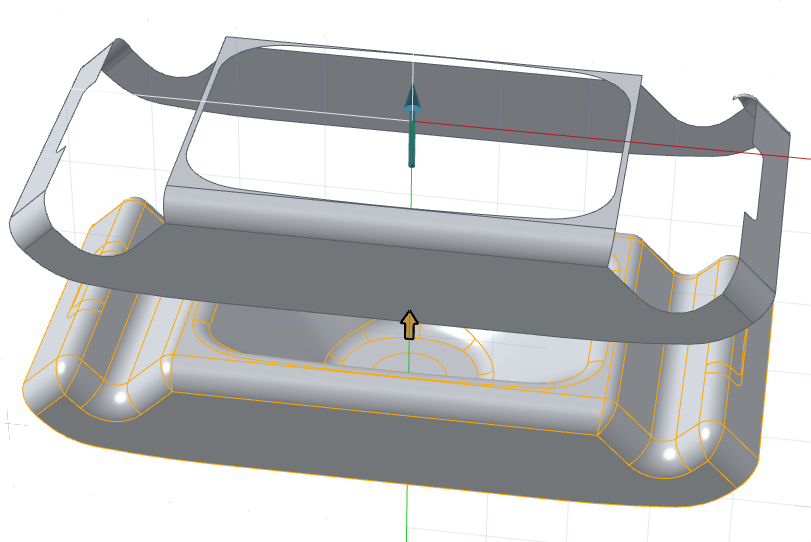
Assigns the existing surface as a holder surface for the flange die.
-
On the ribbon, click the Die Design tab.
-
In the Flange Die section of the ribbon, click the
Holder icon.
![](../../../images/figures/studio/holder.png)
-
Click the Assign icon.
![](../../../images/figures/studio/assign_holder.png)
-
In the guide bar, select the Flange Part object to
assign to the holder:
-
Select the Flange Edges.
-
Right-click to confirm.
-
Select the Surface to create the holder object.
-
Right-click to confirm.
The holder is assigned.
![](../../../images/figures/studio/holder_arrow.png)
-
Use the white arrows to adjust the position of the holder.
-
Right-click and mouse through the check mark to exit, or double-right-click.