Extrude

Creates the holder surface by extruding a curve or a surface edge.

  1. On the ribbon, click the Die Design tab.
  2. In the Flange Die section of the ribbon, click the Holder icon.

  3. Click the Extrude icon.

  4. In the guide bar, select the Flange Part object to assign to the holder:
  5. Choose a selection method:
    If you select this method Then do this
    Chain selection (default) Click an edge and all connected edges are selected automatically.
    Tangent selection Click an edge and the tangent edge is also selected automatically.
    Single selection Click an edge.
    Standard selection When you click an edge, all connected edges are automatically selected.
  6. Select the Flange Edges.

  7. Choose a selection method.
    If you select this method Then do this
    Chain selection (default) Click an edge and all connected edges are selected automatically.
    Tangent selection Click an edge and the tangent edge is also selected automatically.
    Single selection Click an edge.
    Standard selection When you click an edge, all connected edges are automatically selected.
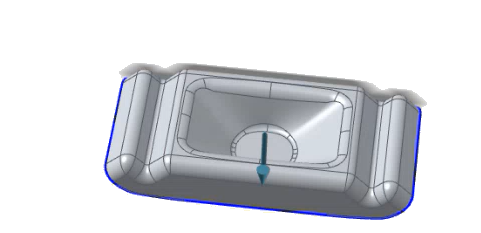
  8. Select the Extrude Edges.

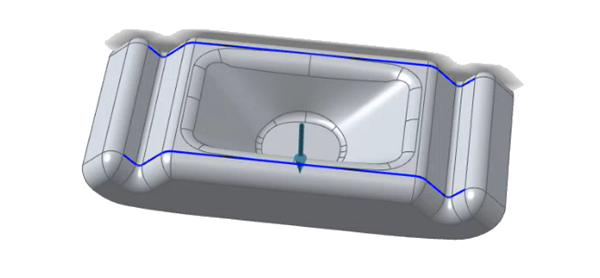
  9. Right-click to create the Holder.
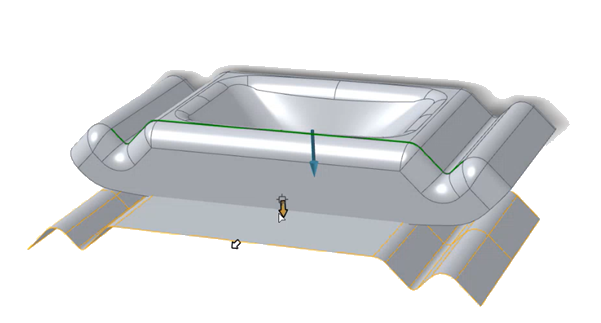
    The holder is created.

  10. Adjust the holder position:
    1. Use the white arrows on the holder to change the holder size, position, and extrude direction.

    2. In the guide bar, you can select a extrude direction:
      Option Description
      Global X Axis
      Global Y Axis
      Global Z Axis
      Reference Geometry: In the modeling window, click a reference object.
      Note: The reference object must be a planar surface.
      Custom : In the modeling window, drag the Phi Angle and Theta Angle arrows, or click one of the arrows and enter an angle. You can also drag the Direction Point.
      Invert Direction
  11. Right-click and mouse through the check mark to exit, or double-right-click.