Create Die
Trim the binder and add a round to finalize the draw die.
-
Click the Die icon.

-
Select the Die tool on the secondary ribbon.

-
Select a binder.
To reselect a binder, in the guide bar, select Clear Selection
 , and then select a different binder.To confirm your selection, right-click.Note: The wall and addendum related to the selected binder are automatically selected. If it is missed, you can select it.
 -
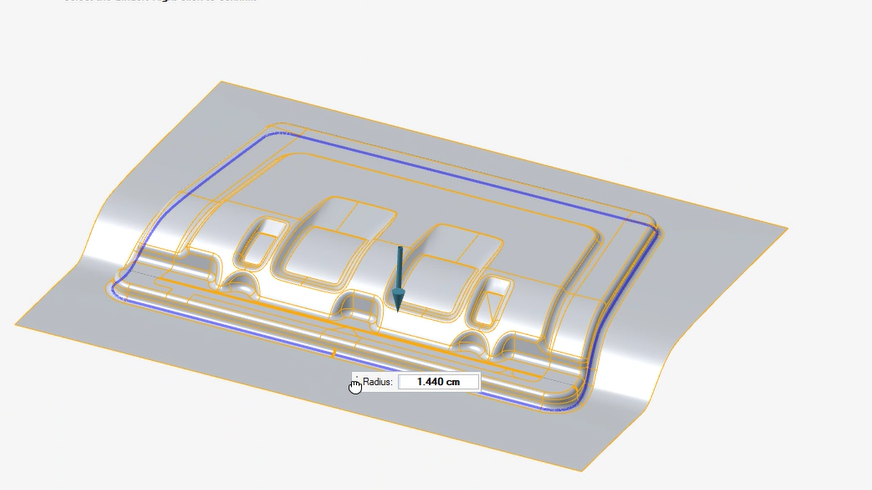
In the guide bar, select a trim option, and then right-click to confirm.
- Trim and Edge Fillet
- Trim and Face Fillet
- Trim
The selected flange part, extend surface, and holder are automatically trimmed.