Assign
Creates a new object to be the starting input for the flange die. Allows you to select the objects or surface that can be assigned to it.
- On the ribbon, click the Die Design tab.
- In the Flange Die section of the ribbon, click the New icon.
-
Select Assign.

- Select part objects you would like to use to create the new flange die.
- Right-click to confirm.
- Select the flanges you would like to assign to the new flange die.
-
Right-click to confirm.
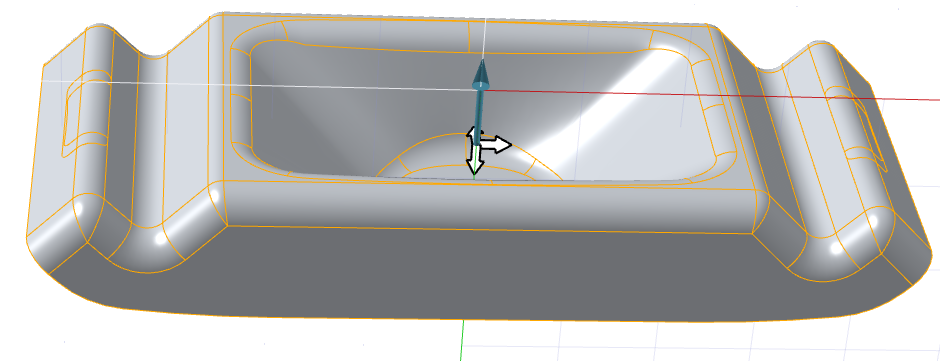
The new Flange Part is created.

- Use the white arrows to adjust the position of the new flange part (flange die transfer), or enter a value in the microdialog.
- Right-click and mouse through the check mark to exit, or double-right-click.