Selecting Materials
Use the Materials tool to select materials for the analysis.
-
From the Quenching ribbon, click
the Materials tool.

-
In the Material Database dialog, to the right of
 , click the triangle and select Workpiece.
Workpiece materials must have TTP curve data for the analysis.
, click the triangle and select Workpiece.
Workpiece materials must have TTP curve data for the analysis.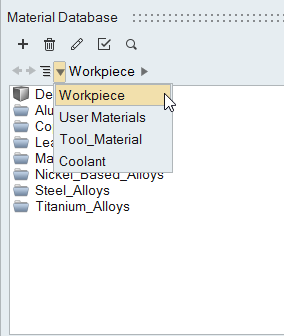
-
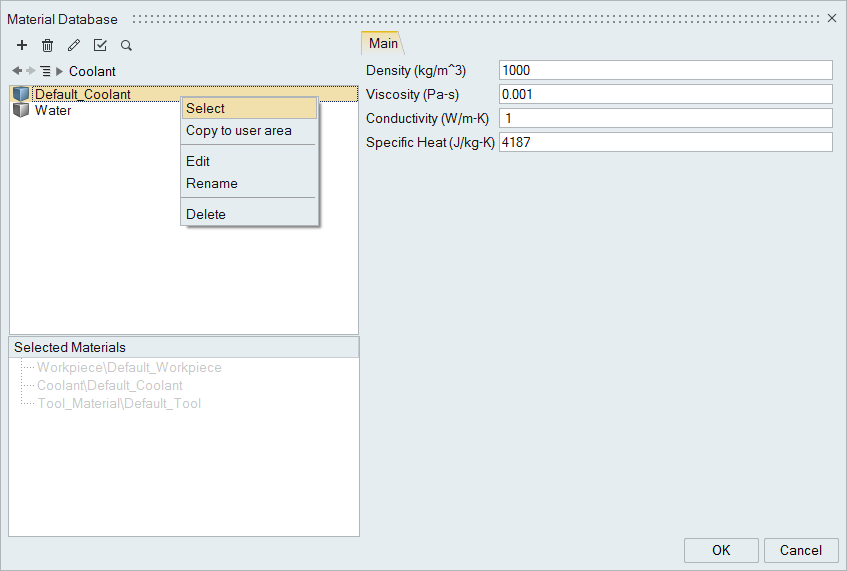
Select the appropriate material(s) for the analysis by right-clicking on the
material and selecting Select from the context menu, or
click
 .
You may select only one Workpiece material. You can select/unselect materials as you choose.
.
You may select only one Workpiece material. You can select/unselect materials as you choose.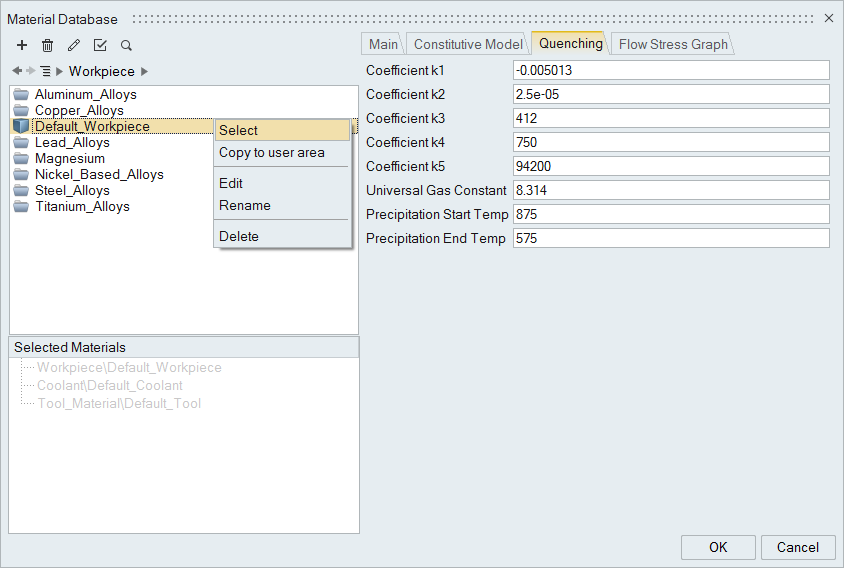 You can review properties of the material including the Flow Stress Graph which allows you to observe the flow stress of the material with respect to strain rate.
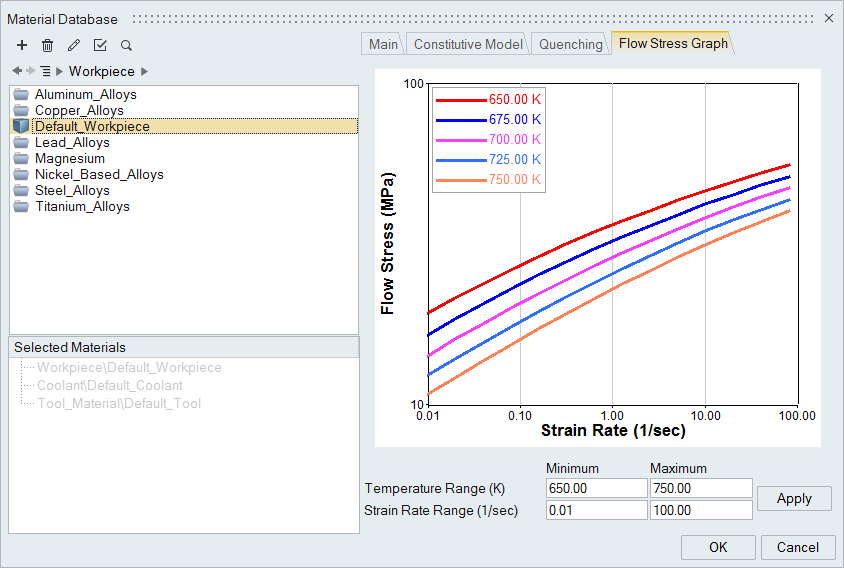
-
Repeat the above steps to select the coolant material.