
Final Rendering
Produce and save an image of your scene.
Define the Rendering Settings
Define the image resolution and select a rendering engine.
- On the ribbon, click the Rendering tab.
-
Click the Render tool.

Tip: To find and open a tool, press Ctrl+F. For more information, see Find and Search for Tools.The Rendering Options dialog box is displayed.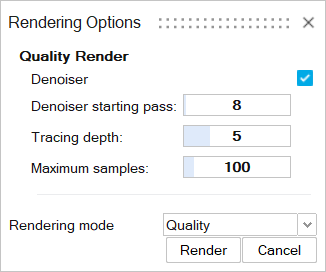
-
Edit the parameters:
Name Function Denoiser Reduce the amount of noise/grains in the final rendered image. There are noise/grains around the bottom of the car, as indicated by the red arrows. 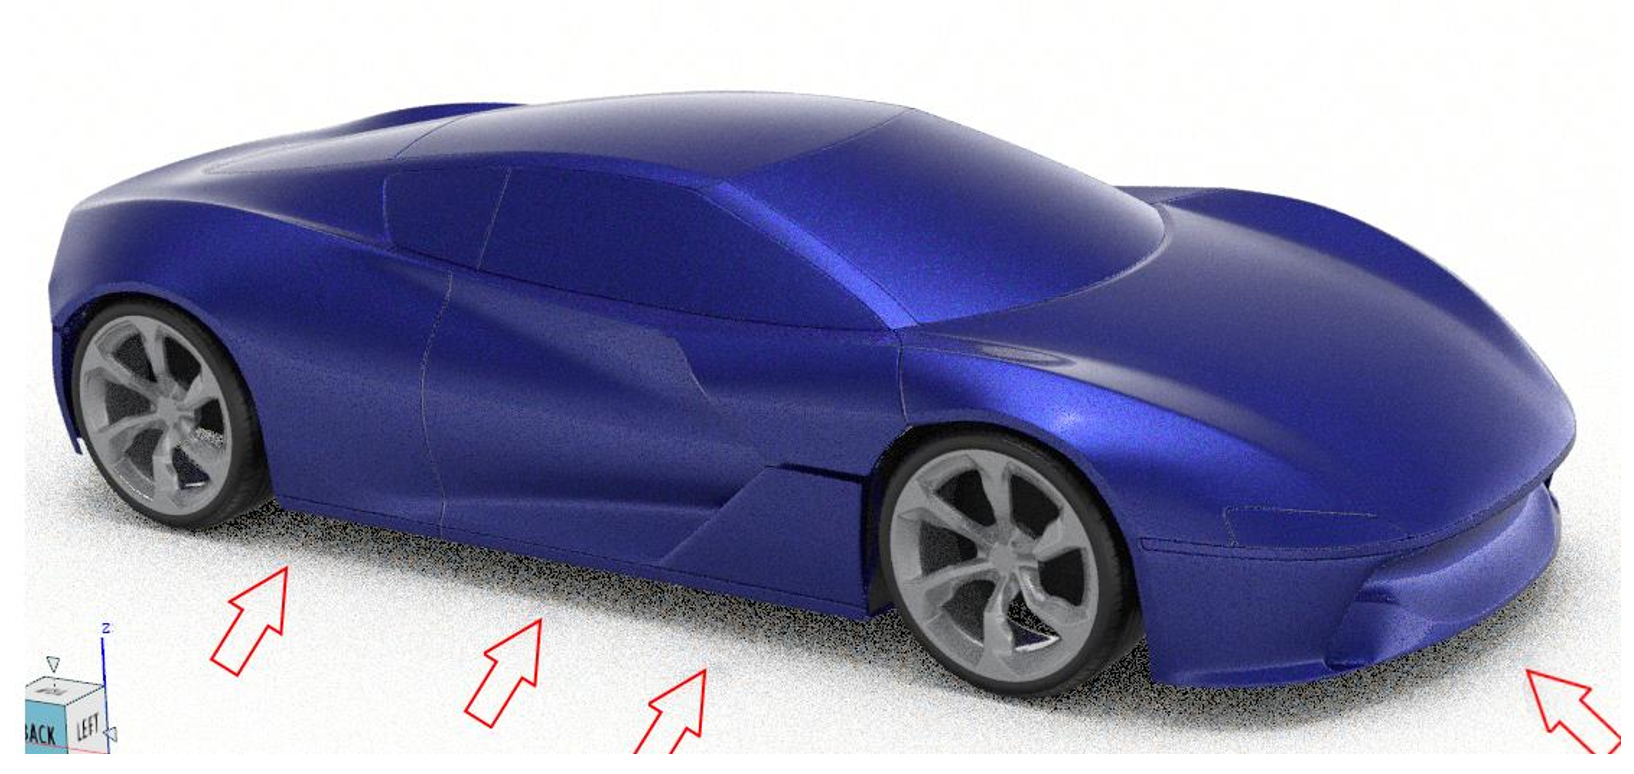
After applying a denoiser, noise/grains have been removed. 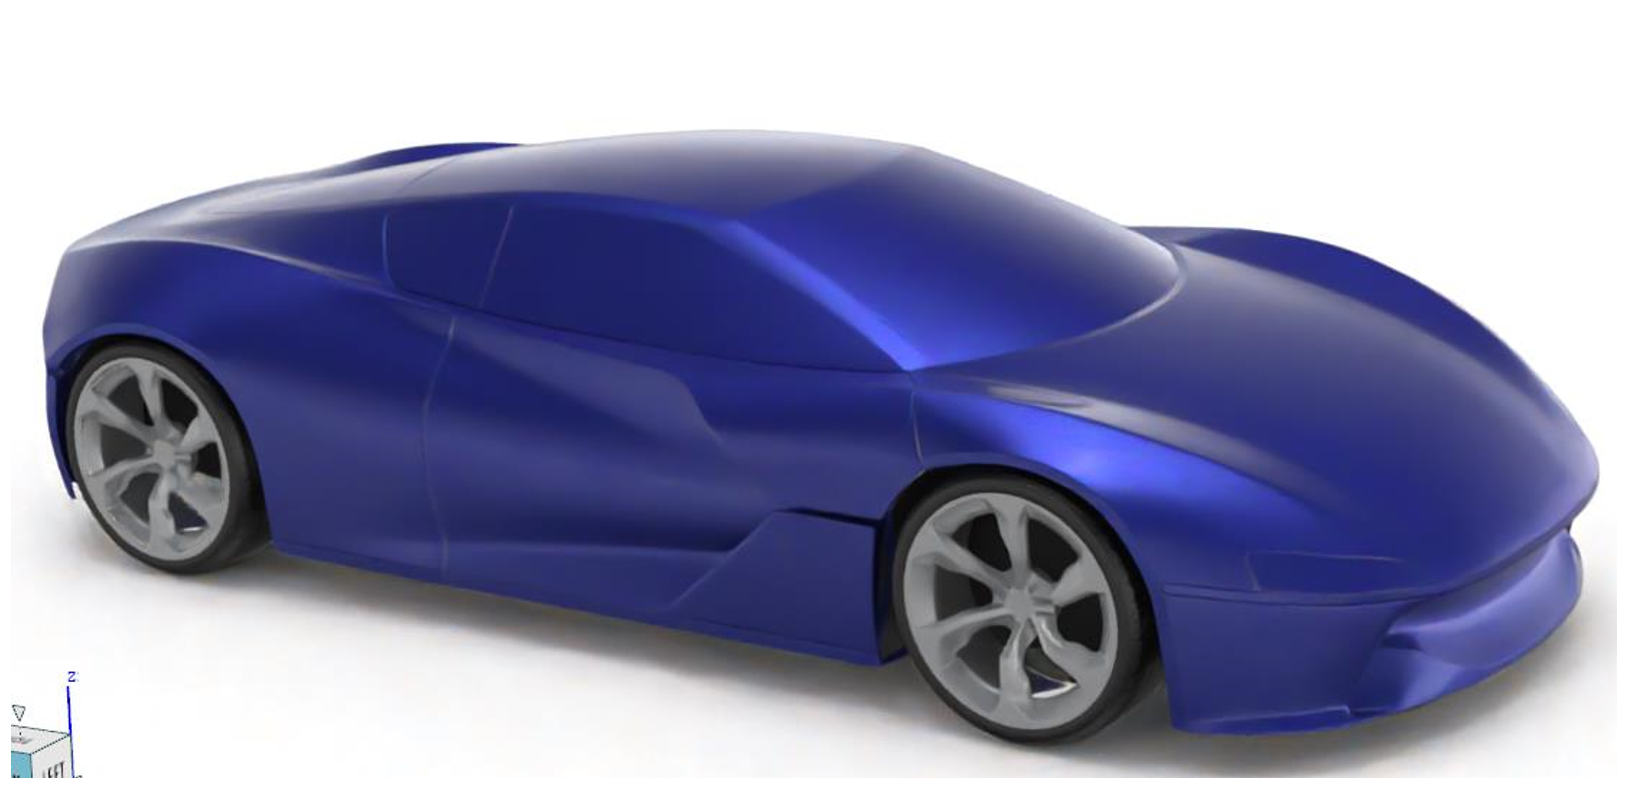
Denoiser starting pass Define the number of passes after which the denoiser should start working. Tracing depth Define the maximum number of bounces a ray will have (diffuse, reflection, etc.).
Increase the value for a more accurate visualization, or decrease it to reduce rendering time.
Maximum samples Control the maximum number of times each pixel will be calculated and refined for further accuracy. Each additional sample smooths out noise/grain one step further. Use higher values for a smoother, cleaner rendering. Denoiser shared memory (AMD) Enables the denoiser to use shared memory in the GPU in order to share data with the application. This option improves performance because it avoids transferring data in CPU memory.
Create and Save a Rendering
Render the entire scene to produce an image file. Once you've generated a final rendered image that you like, save it as a .jpg, .tiff, .png, or .bmp.
-
On the Rendering tab, select the
Render tool.
Tip: To find and open a tool, press Ctrl+F. For more information, see Find and Search for Tools.The Rendering Options window is displayed. - If you haven't already, define the rendering settings. For more information, see Define the Rendering Settings.
-
On the Rendering tab, click the
Render tool. In the Render Options window, click the
Render button.
The Rendering window is displayed. The progress is displayed at the bottom left. To start, pause, or resume rendering, click Start/Pause/Resume rendering
 at the top right.
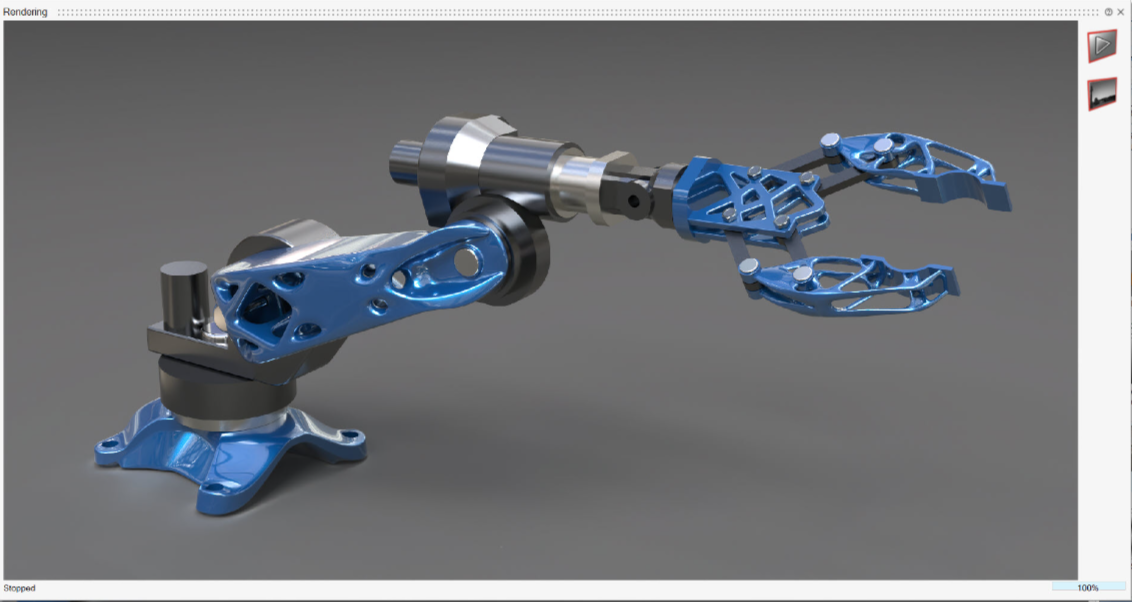
-
Once you've generated a final rendered image that you like, you can save it by
doing the following:
-
At the top right of the Rendering window, click
Save
 .
.
-
Choose from the following formats:
- .jpg
- .tiff (with or without alpha channel)
- .png (with or without alpha channel)
- .bmp
Figure 1. Without Alpha Channel 
Figure 2. With Alpha Channel 
-
At the top right of the Rendering window, click
Save