
Tutorial: Creating Connections
Tutorial Level: Beginner View and redefine contacts, and create fasteners including nuts and bolts, screws, and grounded bolts.
- Automatically find contacts on import.
- Automatically create bolts and screws.
- Create fasteners manually where parts have gaps between them.
- Filter contact types using the contacts table.
- Redefine contact types.
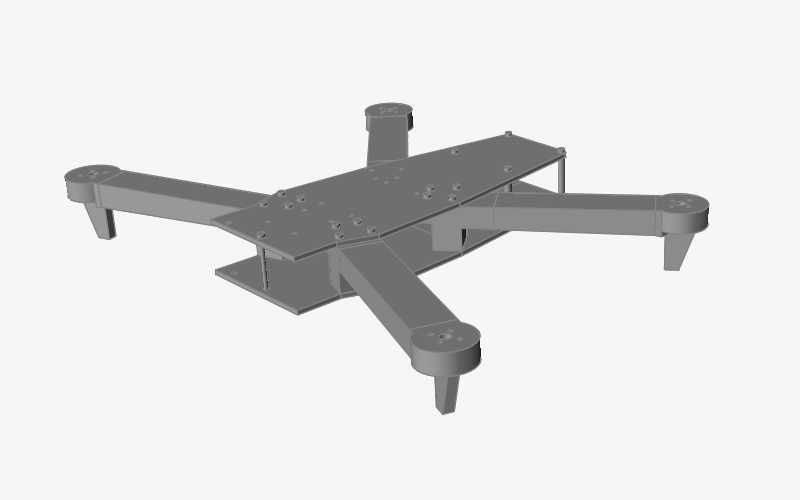
Open the Quadcopter Model
- Double-click the Quadcopter.x_b file to load it in the modeling window.
-
Click OK in the Create Automatic Contacts guide panel to
automatically create contacts.
View Contacts
-
Select the Contacts tool on the Structure ribbon.

Tip: To find and open a tool, press Ctrl+F. For more information, see Find and Search for Tools. -
The guide bar appears to create more contacts if needed. In this case, we've
already generated contacts.
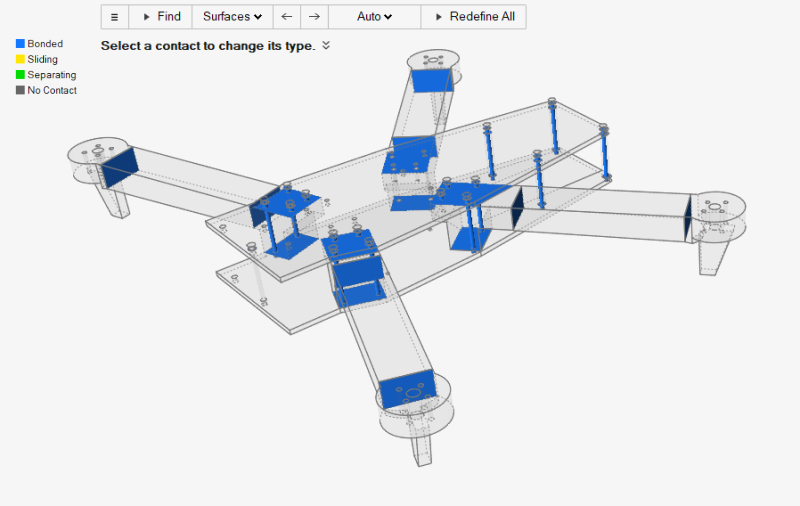
Note:The number of contacts found is displayed in a counter above the Contacts icon.

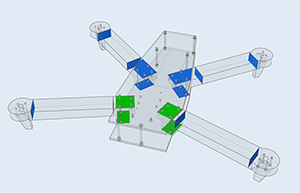
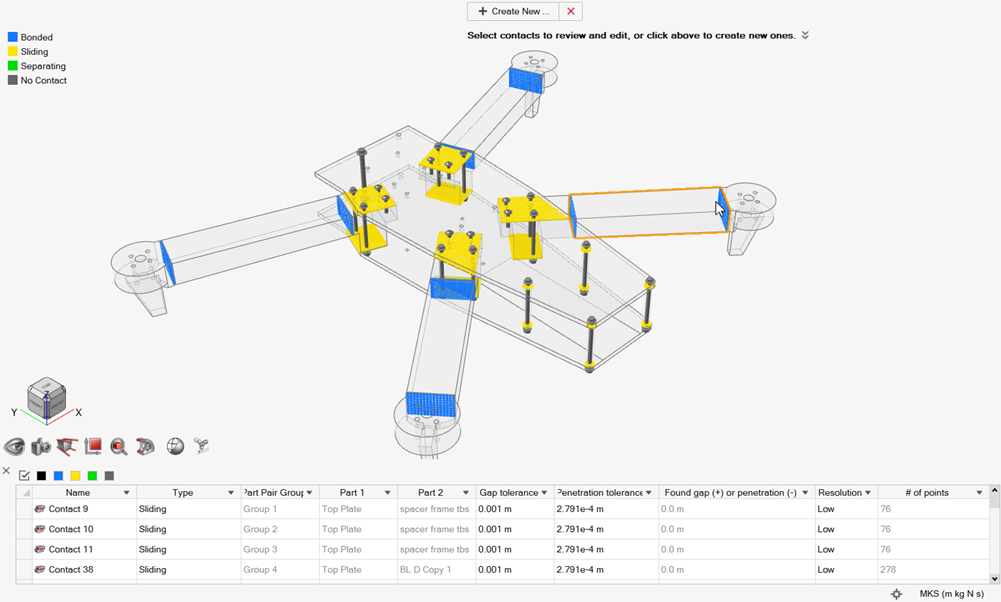
Bonded contacts are shown in blue, and contacting contacts are shown in green. By default, if there are fasteners or joints connecting two neighboring parts, they are assumed to be Contacting; otherwise, they are set to Bonded. In this example, there are no fasteners or joints present, so all of the contacts are assumed to be Bonded.
- The Contacts Table displays all contacts and includes quick filters at the top of the table to control which contact types are displayed.
- Right-click and mouse through the check mark to exit, or double-right-click.
Create Fasteners Automatically
Now let's start creating some fasteners to connect parts with internal logic.
-
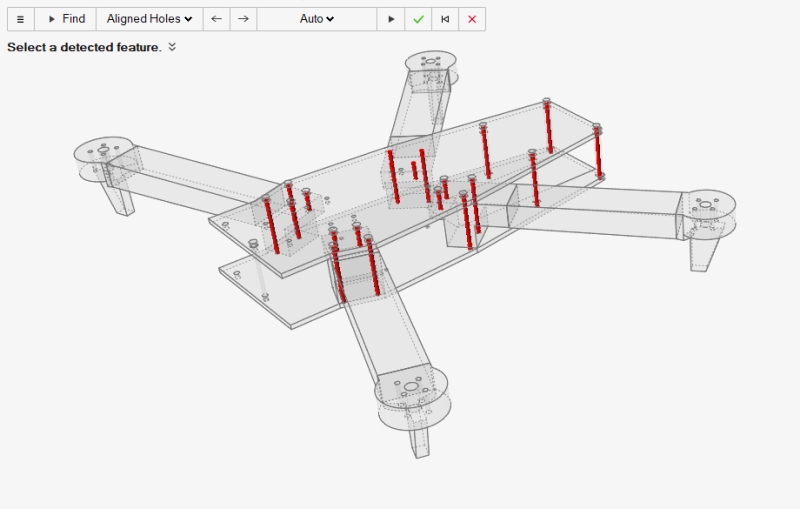
Select the Fasteners tool on the Structure ribbon.

Tip: To find and open a tool, press Ctrl+F. For more information, see Find and Search for Tools. -
Observe as the guide bar appears, and the tool automatically finds locations
where fasteners can be placed and highlights them in red.
-
Make sure that Aligned Holes is selected on the guide
bar. This will filter the search results so that only aligned holes on
neighboring parts are found, rather than single holes.
The number of aligned holes is displayed in a counter above the Fasteners icon.

-
Click Find Options and select
Options.
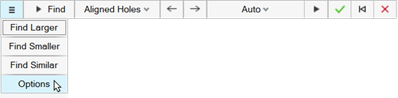
- Select the Find parts in holes checkbox.
- Make sure that Auto is selected on the guide bar.
-
Click Apply
 .
When Auto is selected, Inspire will automatically place nuts and bolts in through holes and screws in blind holes when fasteners are created.
.
When Auto is selected, Inspire will automatically place nuts and bolts in through holes and screws in blind holes when fasteners are created.
Create Fasteners Manually Where Parts Have Gaps
-
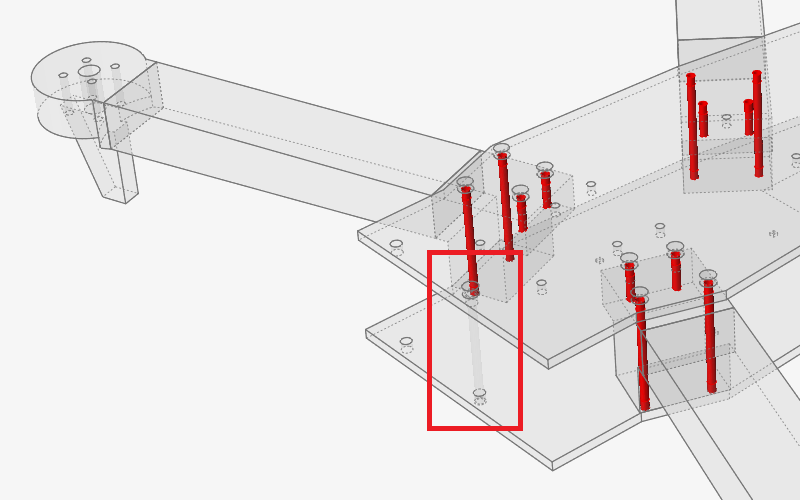
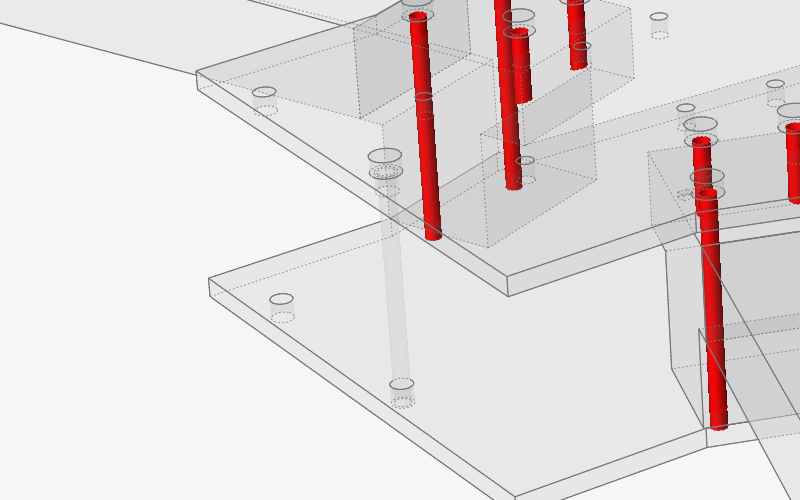
Zoom in on the front of the quadcopter.
-
Note that the existing geometry in this set of aligned holes is now
transparent.
When we create a fastener at this location, the original geometry will be hidden and configured off, meaning it will no longer be included in analysis and optimization calculations.
-
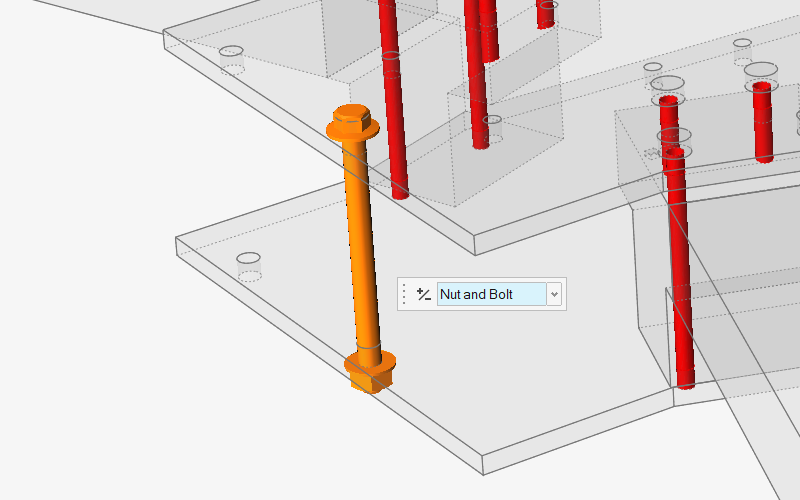
Click one of the holes to create the fastener.
Since this is a through hole, Inspire automatically creates a nut and bolt. You can change the fastener in the microdialog.
Filter Contact Types Using the Table
Use the filters in the Contacts Table to view different contact types.
-
Select the Contacts tool on the Structure ribbon.
Tip: To find and open a tool, press Ctrl+F. For more information, see Find and Search for Tools. -
The Contacts Table is displayed below the model. Notice that some of the
Bonded contacts that were created automatically are
now Sliding.
-
Select the Filter Sliding Contacts quick filter at the
top of the contacts table.
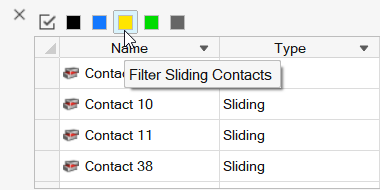
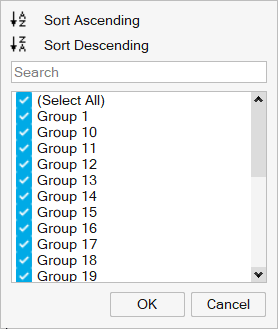
Notice that only Sliding contacts are displayed.Tip:- Click the down arrow on a column heading to sort the results based on
that column or apply column-based filters:
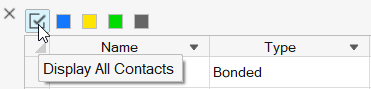
- To remove all filters, click Display All
Contacts.
- Click the down arrow on a column heading to sort the results based on
that column or apply column-based filters:
Redefine Contact Types
- Click and drag to create a window selection around the model.
-
Use the microdialog to set the selected Sliding contacts
to No Contacts.

Note: If needed, you can select individual contacts and change their types. - Right-click and mouse through the check mark to exit, or double-right-click.