Since version 2026, Flux 3D and Flux PEEC are no longer available.
Please use SimLab to create a new 3D project or to import an existing Flux 3D project.
Please use SimLab to create a new PEEC project (not possible to import an existing Flux PEEC project).
/!\ Documentation updates are in progress – some mentions of 3D may still appear.
GUI Mode
In order to install Altair Flux & FluxMotor Version 2026, follow these instructions:
- Close all the applications in use
-
Download the Altair
Flux & FluxMotor
2026 installer: hwFluxFluxMotor2026_win64.exe
from the Altair One site: https://altairone.com/
And save it locally
- Run the executable file hwFluxFluxMotor2026_win64.exe
-
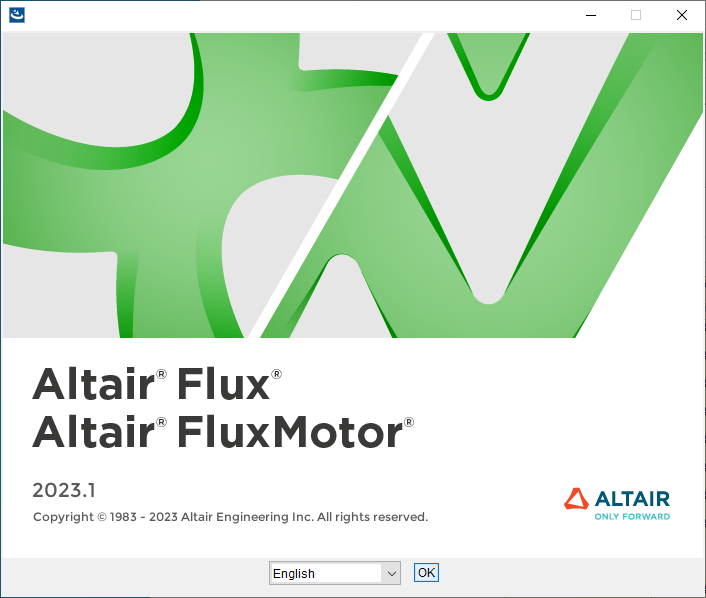
- Select a language
- Click on the OK button
-
In the Altair
Flux & FluxMotor
2026 – Windows 64-bit window
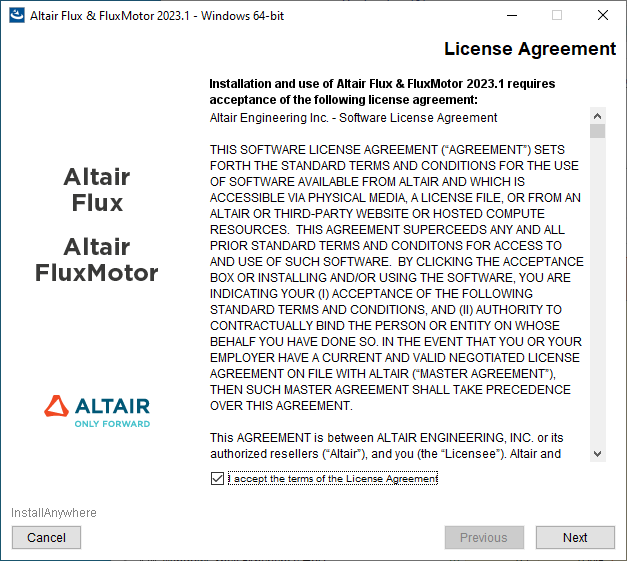
(License Agreement panel):
- Read through the license agreement and if you accept the terms of the License Agreement, then check the I accept the terms of the License Agreement box
- Click on the Next button to start with the Altair Flux & FluxMotor 2026 installation
-
In the next Altair
Flux & FluxMotor
2026 – Windows 64-bit window
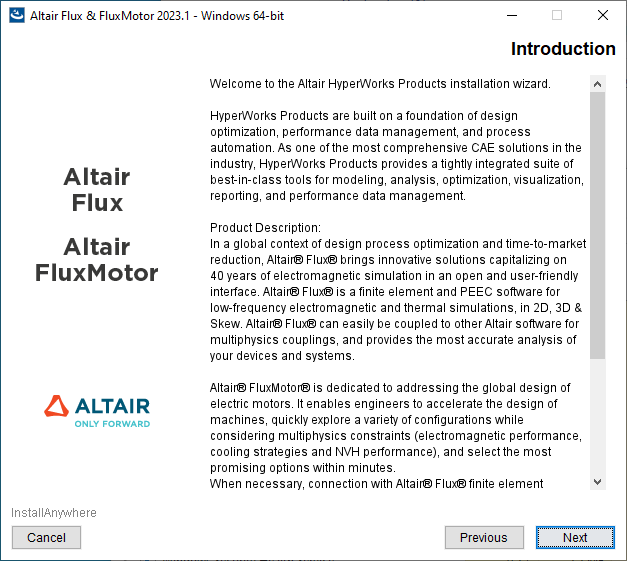
(Introduction panel):
- Read the introduction and click on the Next button to continue with the Altair Flux & FluxMotor 2026 installation
-
In the next Altair
Flux & FluxMotor
2026 – Windows 64-bit window
(Choose Install Folder panel):
- Choose an installation directory:
- By default:
- with a user account: the installation directory is C:\Users\<username>\Altair\2026
- with an administrator account: the installation directory is C:\Program Files\Altair\2026
- You can specify another installation directory, however, make sure that the full directory path does not include any special characters, then click on the Choose button
- By default:
- Click on the Next button to continue with the Altair Flux & FluxMotor 2026 installation

- Choose an installation directory:
-
In the next Altair
Flux & FluxMotor
2026 – Windows 64-bit window
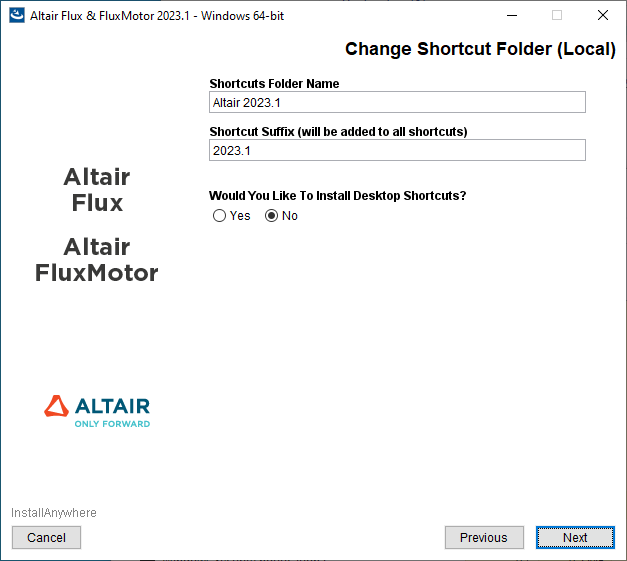
(Change Shortcut Folder (Local) panel):
- Specify the folder name that will contain the start menu shortcuts.
- Specify the suffix string to be added to the shortcuts (Optional).
- Select one of the following options:
- Yes if you want to add the Altair Flux & FluxMotor shortcuts on the desktop
- No if you do not want to add the Altair Flux & FluxMotor shortcuts on the desktop
- Click on the Next button to continue with the Altair Flux & FluxMotor 2026 installation
-
In the next Altair
Flux & FluxMotor
2026 – Windows 64-bit window
(Altair License Management System panel):
- Enter the license location:
- If you have a network license, then enter
port@hostname
where port is the TCP/IP port number used by the license server and hostname is the name of the license server computer
- If you have a local license (standalone license), then enter the full pathname of the license file
- If you have a network license, then enter
port@hostname
- Click on the Next button to continue with the Altair Flux & FluxMotor 2026 installation
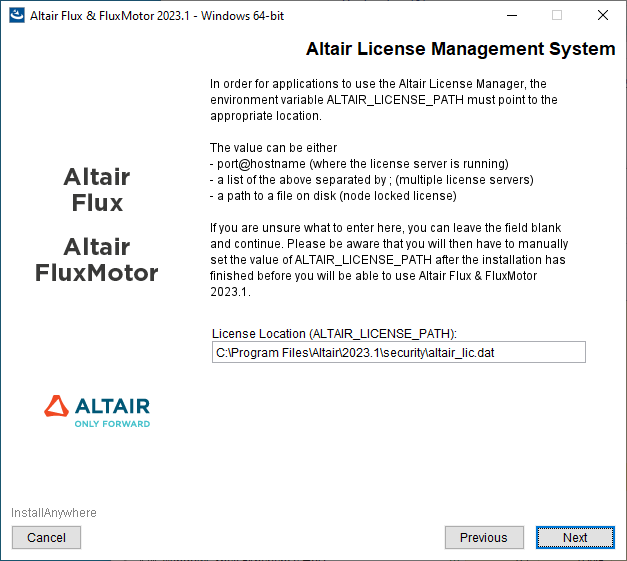
Note: This window is only displayed if the license has not yet been configured. - Enter the license location:
-
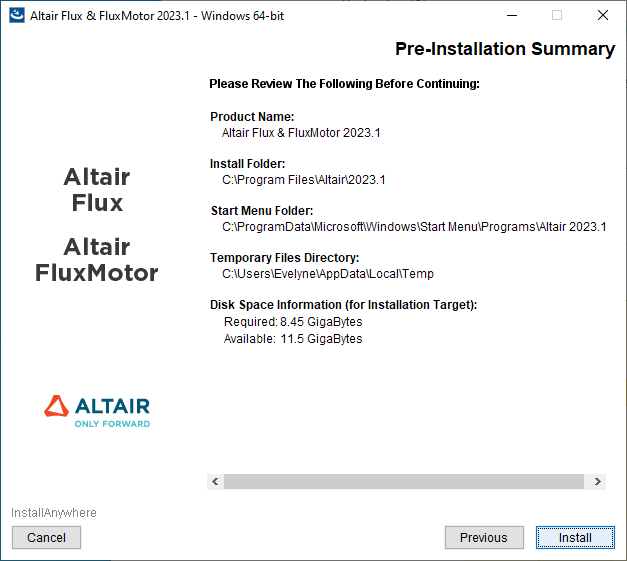
In the next Altair
Flux & FluxMotor
2026 – Windows 64-bit window
(Pre-Installation Summary panel):
- Review the installation details and click on the Install button to start the Altair Flux & FluxMotor 2026 installation
-
In the last Altair
Flux & FluxMotor
2026 – Windows 64-bit window
(Install Complete panel):
- Click on the Done button to complete the Altair Flux & FluxMotor 2026 installation and exit the installer
