Named User License
To utilize a named user license, it is necessary to allocate it to a specific user, and the number of licenses purchased must correspond to the number of users.
-
Click Named User.
The list shows a series of named user licenses purchased by a company, each with an Allowed Number that denotes the number of assignments still available to utilize the corresponding application and suite.
Figure 1. Named User License 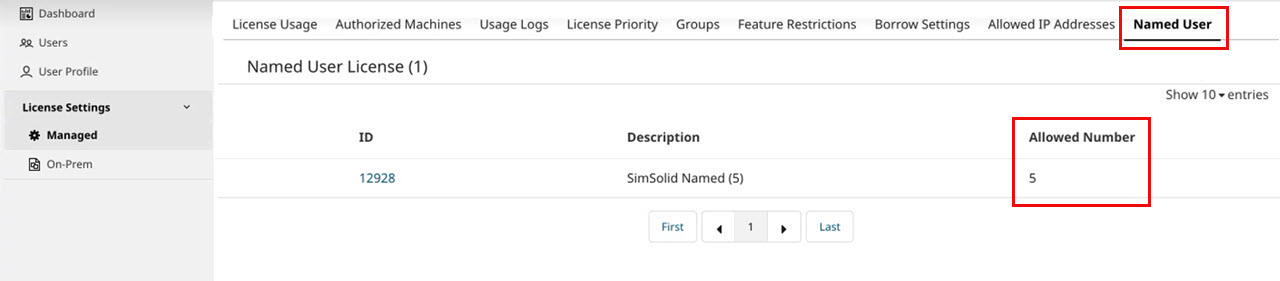
-
Click the required ID.
If no assignments have been made yet, a message, No assignment is present is displayed on the panel opens on the right.
- Click .
- Select the user name from the list.
-
Click Add User.
The user is assigned the named user license.
Figure 2. Named User Assignment 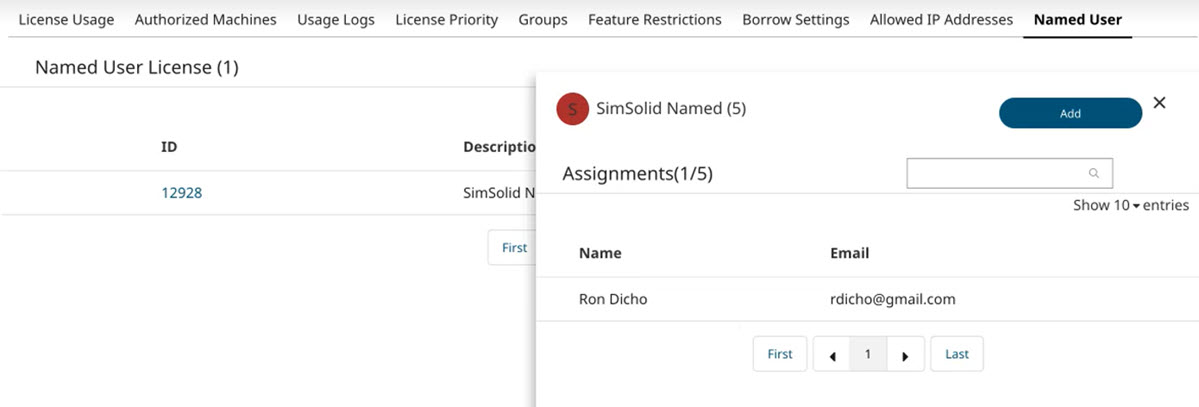
-
Click
 to export the named user assignment as a
CSV file.
to export the named user assignment as a
CSV file.
-
To activate a named user license for a user, follow these steps:
- Create a new group specifically for the named user license.
- Add the user to the newly created group.
- Assign the required named user license to the user in the group.
Click the Groups tab. -
Click Add Group.
For example, Named User Group.
Figure 3. Create a Named User Group 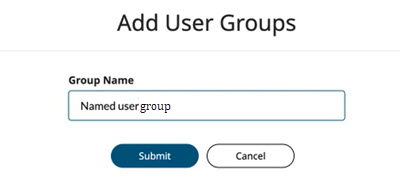
-
Click Add.
The group is added.
- Open the Named User Group you created.
- Click Add User to add a user to the group.
-
Select the required user from the list and click
Add.
Note: You may specify an end date as a restriction to use the license.
Figure 4. Add User to Group 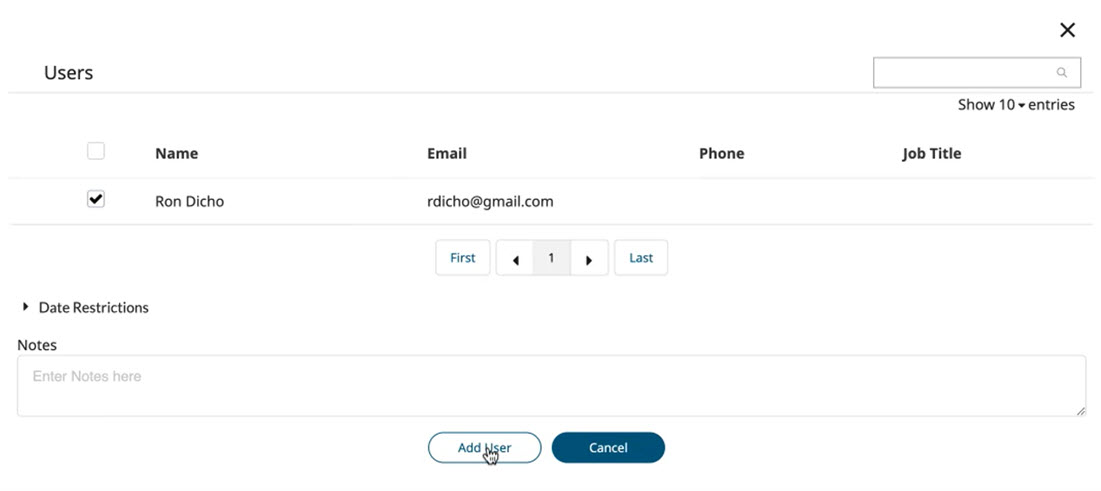
-
Click Assign License to assign a license to the
user.
Figure 5. Assign License to the Group of Users 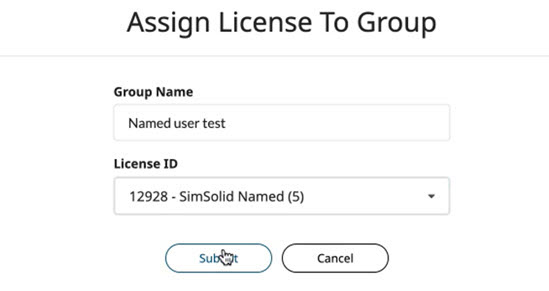
-
Click Submit.
The named user license is active for the user.