Manage groups to assign licenses, set license priority for a group of users, and mark
group as a default group.
You create a group for a set of users to prioritize and restrict their license
usage.
Non-group users must enable the Non-group users can access license
toggle button in Set License Priority. This setting enables all
onboard users to utilize any license without any license priority
restrictions.
Click Groups.
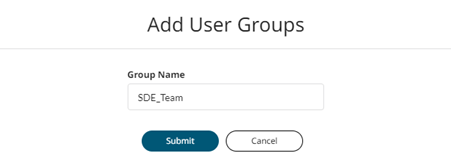
Click Add Group.
Enter Group Name in the Add User Groups dialog
box and click Add.
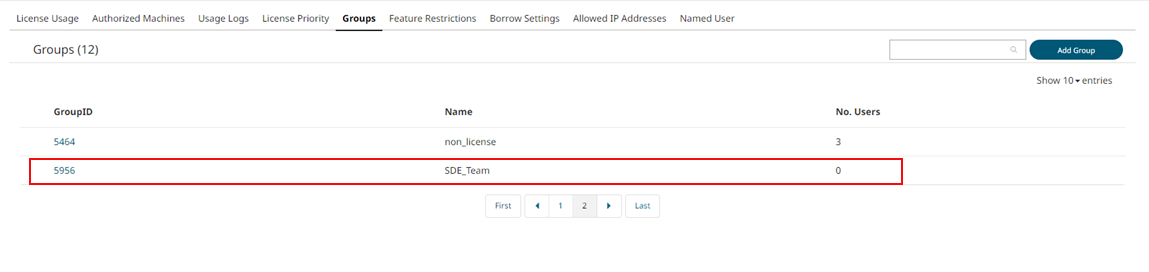
Figure 1. Add User Group The new user group is added to the Groups list.Figure 2. New Group
Note: Click to customize the number of items to view in the
list. By default, it is set to 10 entries.
Search for a specific group or user using their id or name.
Search for a group ID or a name. A specific group or list of groups is
displayed.Figure 3. Search Group
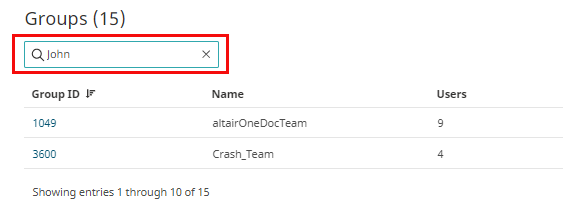
Search for a user name to display the list of groups the user belongs
to.Figure 4. Search for a User
Click the new Group ID link.
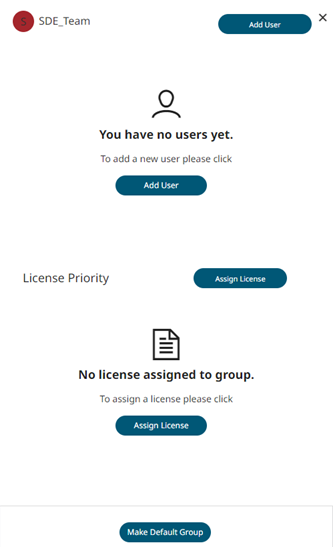
A panel with the group name is displayed on the right.Figure 5. New Group
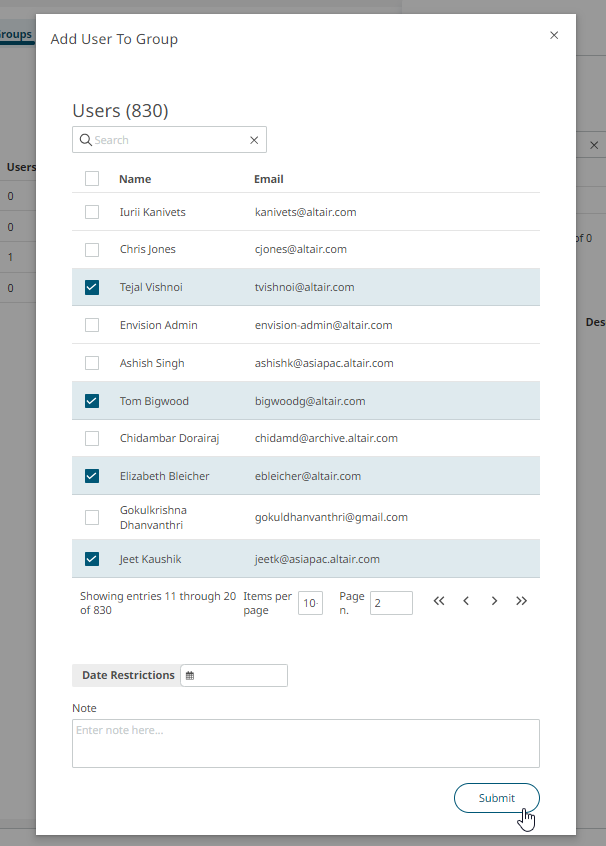
Click Add User to view your company's users list.
Select the required users.
Note: You can search for specific user using a user name,
email address, job title, or phone number.
Click Add User to Group.
The selected users are added to the new group.Figure 6. Add Users
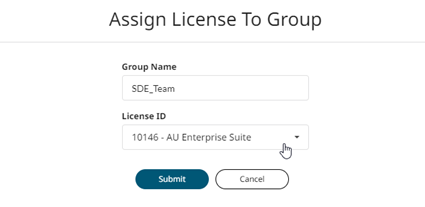
Click Assign License.
In the Assign License to Group dialog box, select the License
ID from the drop-down list.
Figure 7. Assign License to Group
Click Submit.
The selected license is assigned to the group.
Among the selected licenses, use the to change the priority of the license.
Figure 8. Change the Priority of the License
Optional: Click Make Default Group to update the group as a
default group. A pin
symbol is added representing it a default group.
The default group is preselected, modify the group name as required.Figure 9. Make Default Group
 to customize the number of items to view in the
list. By default, it is set to 10 entries.
to customize the number of items to view in the
list. By default, it is set to 10 entries.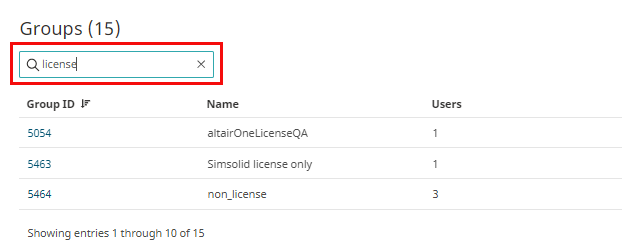
 to change the priority of the license.

 symbol is added representing it a default group.
The default group is preselected, modify the group name as required.
symbol is added representing it a default group.
The default group is preselected, modify the group name as required.