Weight Analytics allows you to delete a Functional View or its
nodes and sort/reorder the nodes.
To delete a Functional View:
Click the Functional View that you want to delete from the Functional View dropdown list.
Click the Delete Existing Functional View icon .
A dialog box confirming the deletion of the Functional View is displayed.
Click OK to confirm the
deletion.
If a Functional View is used in a Program, then WA will not delete the Functional View and displays the following message:
The Functional View must be disassociated with the listed Program before
it can be deleted from the system.
Delete a Node from a Functional View
You can also delete a node from an exiting Functional View.
To delete a Node from a Functional View:
Click the node that you want to delete from the Navigation area and click the
Remove Functional Node icon.
Note: You can only delete the leaf nodes of any
Functional View. If you click any node that has one or more child nodes,
the Remove Functional Node icon will be disabled and will only become active when you click a
node that does not have any child nodes.
A dialog box confirming the deletion of the node is displayed.
Click OK to confirm
deletion of the node.
The node is deleted from the Functional View.
Sorting Nodes
You can reorder or sort the nodes of a Functional View.
To reorder the nodes of a Functional
View:
Click the parent node of the set of nodes that you want to reorder in
the Navigation
section.
The following table describes an example of a Functional View:
Top Level
Level 1
Level 2
0 - Name of Functional View
01 - Node A
02 - Node B
0201 - Node W
0202 - Node Y
03 - Node C
0301 - Node Alpha
To reorder the nodes in Level 1, click the name of the
Functional View in the top level. To reorder the nodes in Level 2, click
the parent node of the Level 2 nodes in Level 1.
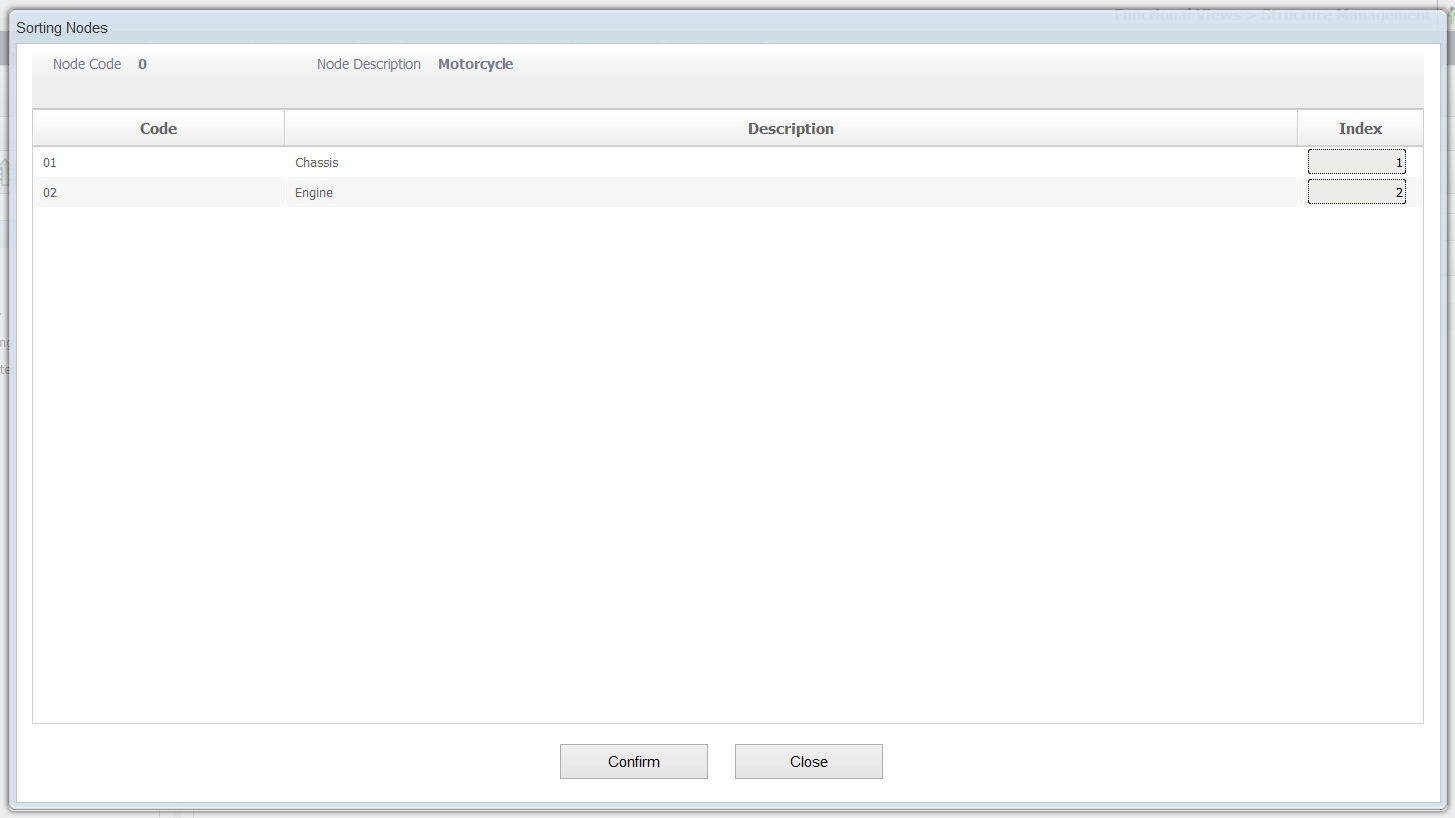
Click the Sorting Nodes.
The Sorting Nodes dialog box is displayed.
In the Index column, specify the desired order for
the nodes.
Click Confirm to accept the new order.
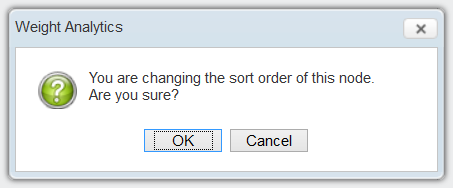
A dialog box confirming the change of the sort order is
displayed.
 icon .
A dialog box confirming the deletion of the Functional View is displayed.
icon .
A dialog box confirming the deletion of the Functional View is displayed.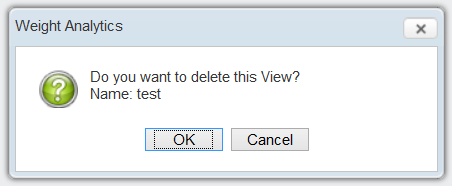

 icon.
Note: You can only delete the leaf nodes of any Functional View. If you click any node that has one or more child nodes, the Remove Functional Node
icon.
Note: You can only delete the leaf nodes of any Functional View. If you click any node that has one or more child nodes, the Remove Functional Node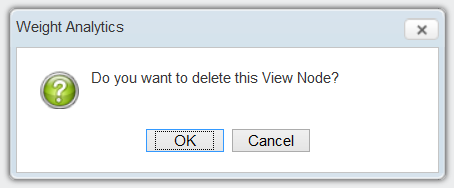
 .
The Sorting Nodes dialog box is displayed.
.
The Sorting Nodes dialog box is displayed.