You can confirm the results after the analysis is completed and it has an extension
of TECR. The result can be shared with other user who requests for the result
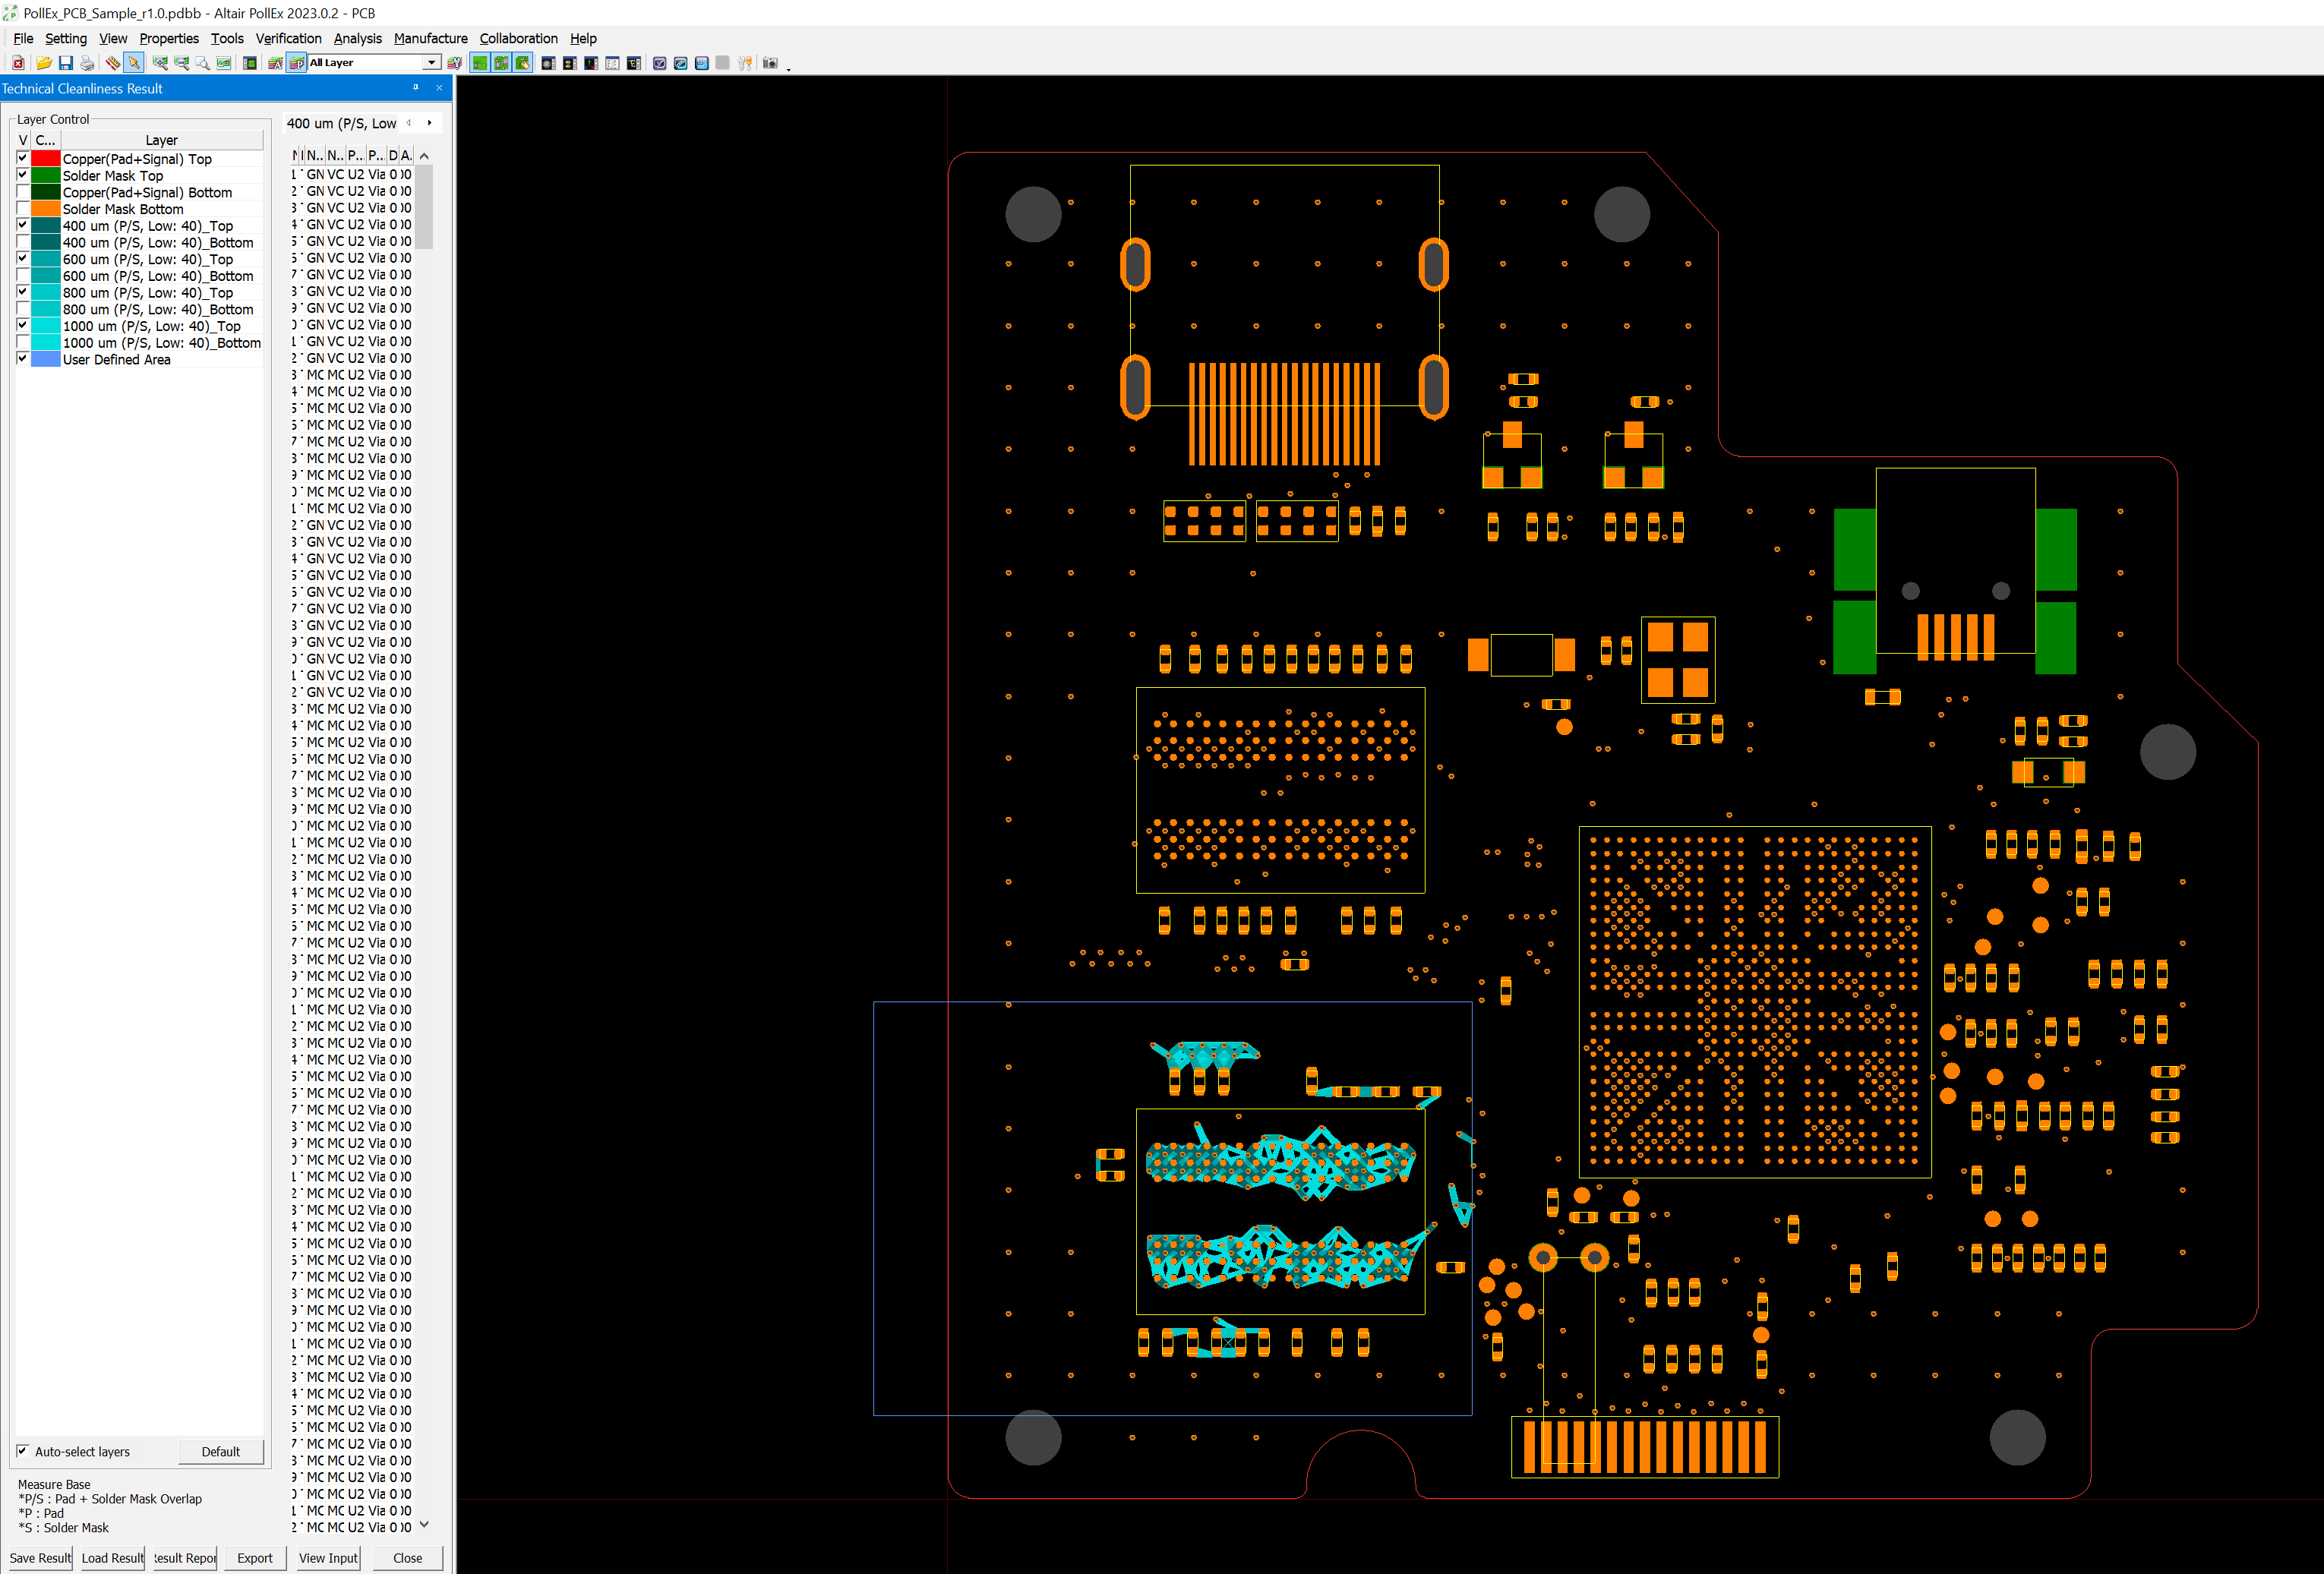
data.Figure 1.
The initial result window is as follows:
Layer Control - This section shows the test categories and areas.
User Defined Area - This layer is for the user specified section
selected before analysis. The set area is highlighted in Blue
Default - This button resets the layer control to its original
settings.
Save Result - This button allows the result data to be saved.
Load Result - This button is for loading the result data (TECR) file. The
saved result data can be sent to others separately to enable sharing of the
result.
When loading results if the design name differs, an error
occurs.
View Input - This button is used to confirm the selected test
conditions.
Export - This button exports the result data to ODB++ format.
Output Directory - Specifies the location for saving the ODB++
file.
Layer Set-up - Choose which layers to export, selecting either
specific layers or all layers.
Output Options - Decide whether to compress the file.
Select Unit - Choose the unit of measurement for the ODB++
file.
Link to ECAD - This option Cross Probes the analysis results between the
design's ECAD tool and PollEx.
Open the ECAD tool with the design sample.
Open the same sample in PollEx and save it as a PDBB file.
Perform a technical analysis on the PDBB file.
In the result table, click on a result to view it in the ECAD tool.
Note: The "Link to ECAD" option is enabled
by default in the Environment settings. You can disable this
option if it's not needed for your work-flow.
Show All Hazards - This button restores the result display to its default
view.
Result report - This button allows the result data to be saved in an Excel
file format.